40 Fathoms - Swimming into the Wrecked Ship (Part 2)
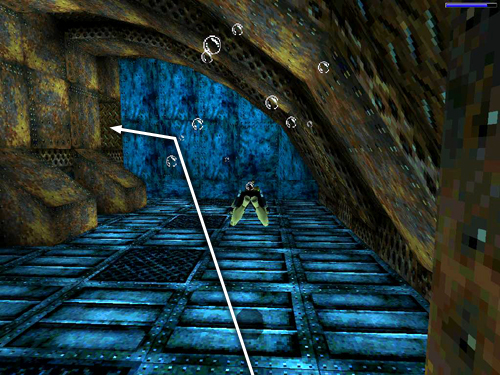
The next room has a low, curved ceiling—presumably the inner hull of the upside down ship. Swim straight across and exit through the square opening at the end of the left wall.
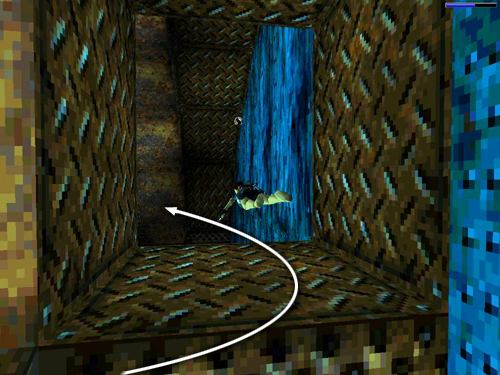
The next room is almost a mirror image of the previous one, with the curved hull forming the ceiling. As you enter, turn left.
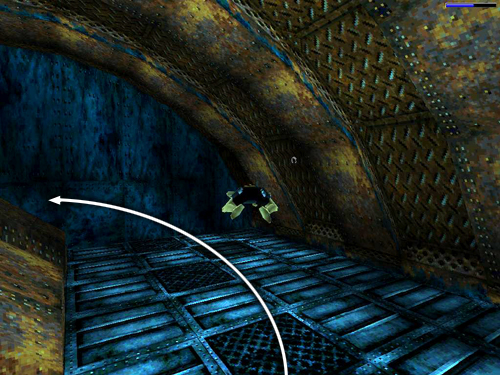
Proceed to the end wall and look for a lever on the left wall in the corner.
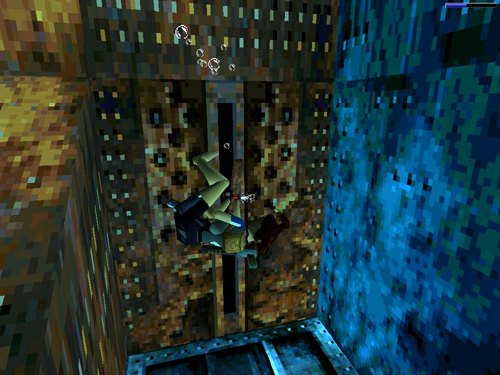
Pull the lever to open a trapdoor in the floor.
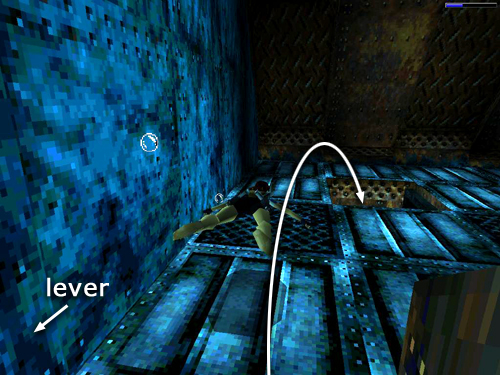
Roll and swim forward then down through the trapdoor.
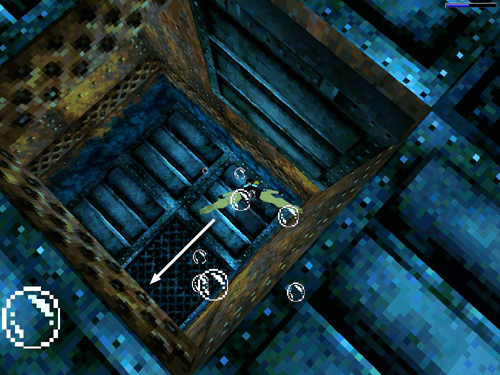
In the room below, turn left.
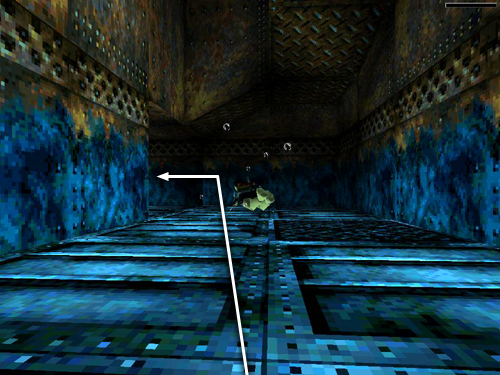
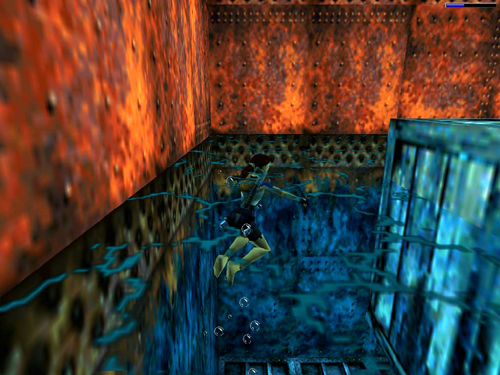
Swim across the bottom of the room and exit through the opening on the left, which is the only other way out.
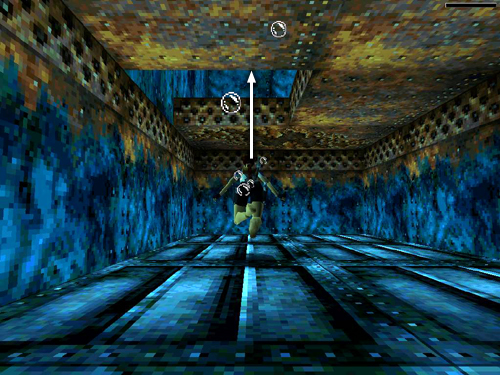
There's a square hole in the ceiling of the next small room. Swim up through it. . .
. . . to surface in a room with air to breathe and a number of wooden crates.
Copyright © 1998- - Stellalune (). Feel free to copy or print this walkthrough for personal use. By all means, share it with friends, but please include this credit line so people can send me their feedback. No part of this walkthrough may be reproduced on another site without permission. Follow this link for details about this site's advertising and privacy policy.
Stella's Tomb Raider Site: tombraiders.net.