40 Fathoms - Swimming into the Wrecked Ship (Part 1)
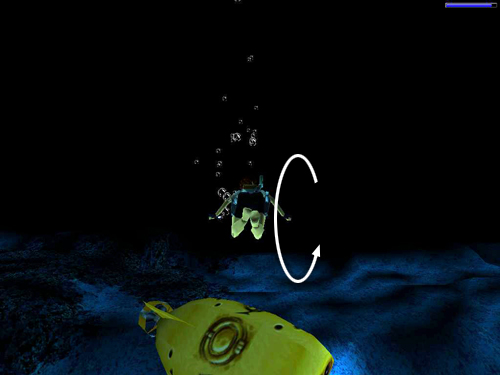
As soon as you regain control of Lara after the movie sequence, roll to face away from the damaged sub.
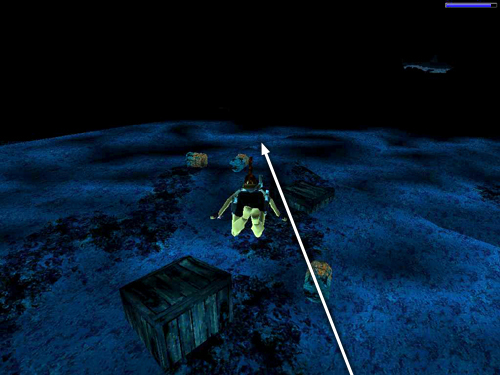
Swim forward, veering a little toward the left, and following the trail of junk on the sea floor toward a sunken ship. A great white shark swims in from the right. Ignore it for now. If you take the time to harpoon it, you'll most likely run out of air.
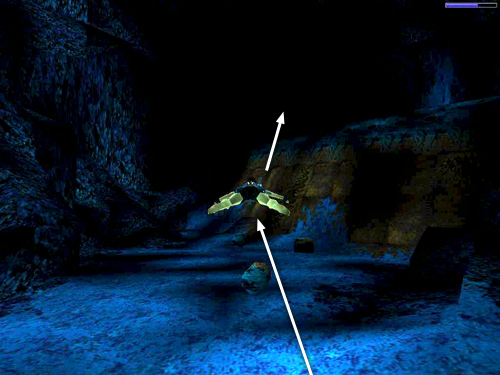
Instead, head directly to the left end of the wreck. Swim to the top, which is actually the bottom of the ship, since it's positioned upside down.
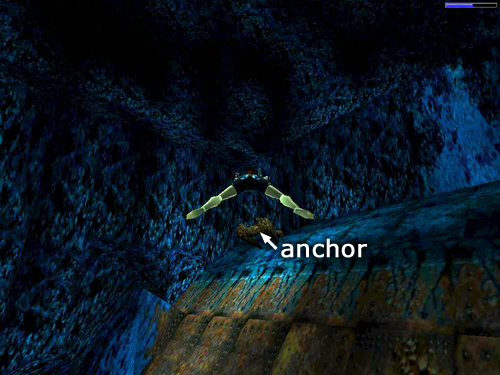
There you'll see a rusted anchor protruding from the hull.
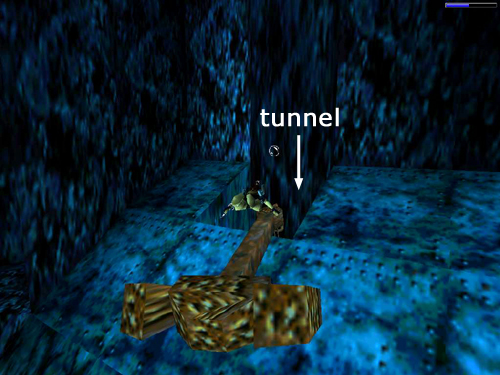
Behind it is an opening. Swim inside. . .
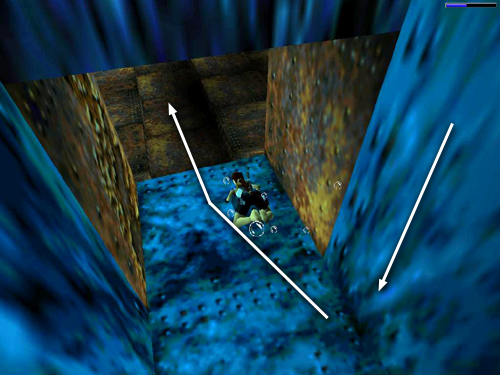
. . . straight down a vertical tunnel then forward . . .
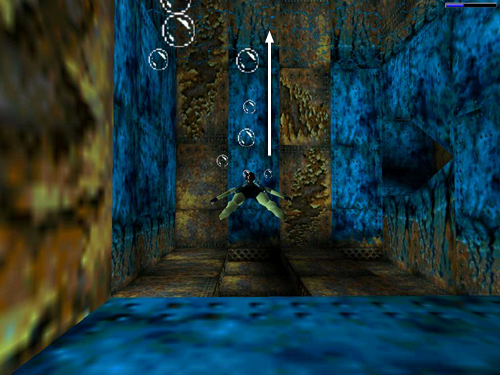
. . . and upward to surface in a room with an air pocket.
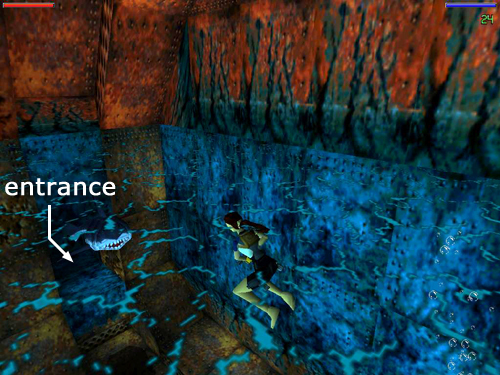
The shark will follow you in, along with a second shark not far behind. If you want all the kills, take a deep breath, draw your harpoon gun, dive below the surface and kill each shark as it enters. Otherwise, you can skip the fighting, fill Lara's air meter and continue to the next safe area.
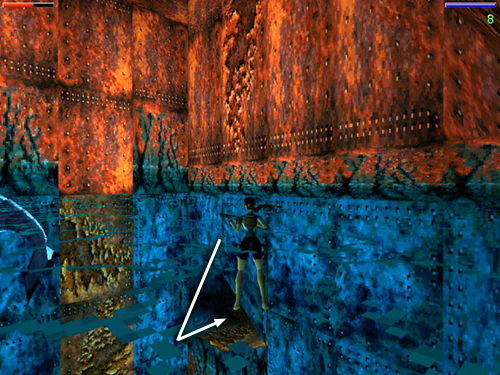
Go through the large underwater opening on the right (i.e., right if Lara's back is to the tunnel where she entered the room with the air pocket, as shown above).
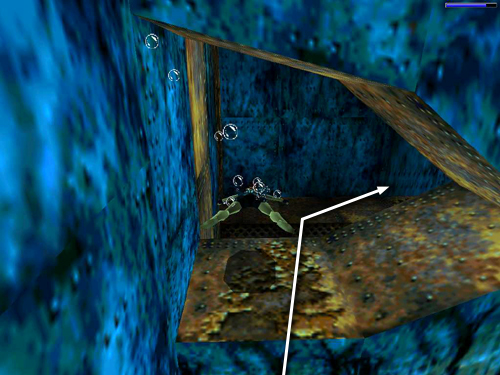
In the next room, swim to the right. . .
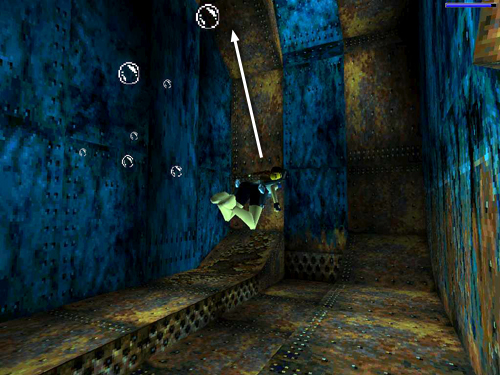
. . . then upward.
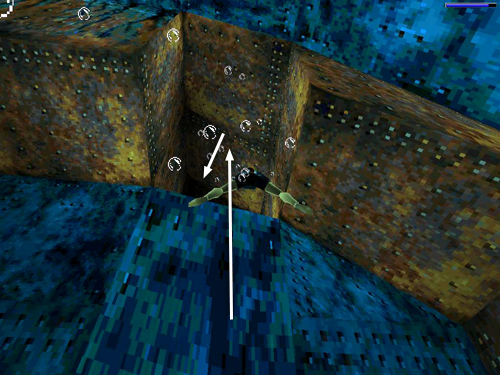
At the top of the room, look to the left for a square opening just below the ceiling. Swim through.
Copyright © 1998- - Stellalune (). Feel free to copy or print this walkthrough for personal use. By all means, share it with friends, but please include this credit line so people can send me their feedback. No part of this walkthrough may be reproduced on another site without permission. Follow this link for details about this site's advertising and privacy policy.
Stella's Tomb Raider Site: tombraiders.net.