Tomb of Tihocan - Long Chute and Secret #2
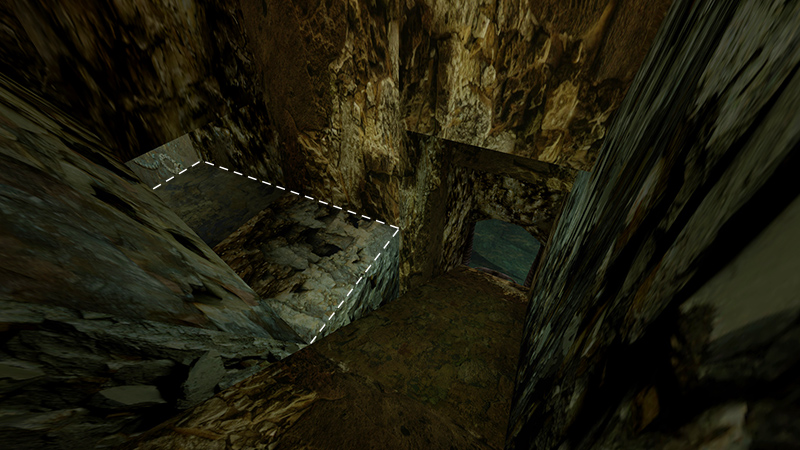
After obtaining the 2 RUSTY KEYS and unlocking the door, as shown in the previous section, Lara finds herself at the top of a long ramp leading down to an underground lake. (There's a save crystal here in NG+.) There's an easily missable secret on the way down, so save the game before stepping onto the slope. Use Photo Mode to scout ahead if you like. You're aiming for the small, flat ledge on the left side of the slope, about 3/4 of the way down.
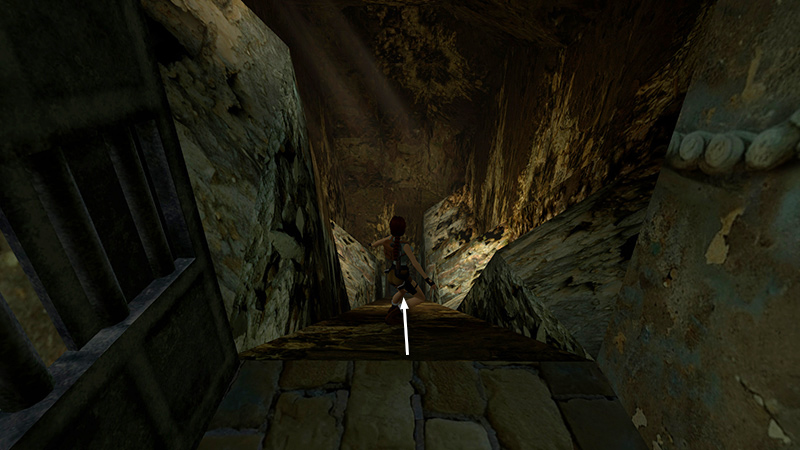
To get there without too much fuss, slide down the slope facing downhill. Either hold Look as you go...
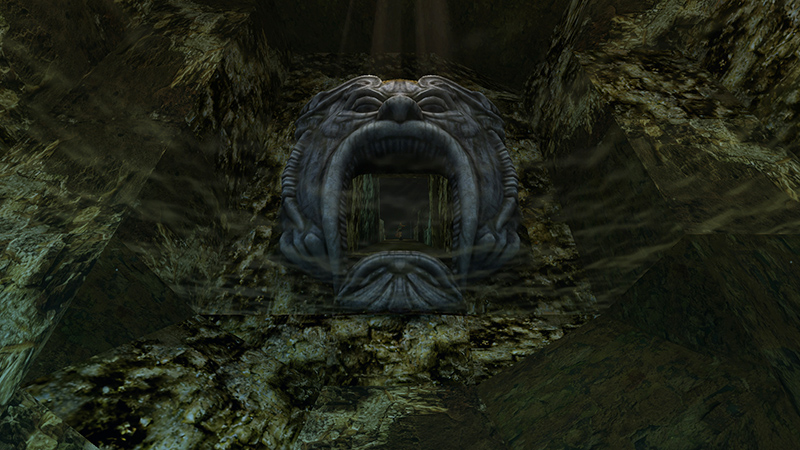
...or press Look briefly as soon as the camera angle shifts to the view of Lara sliding.
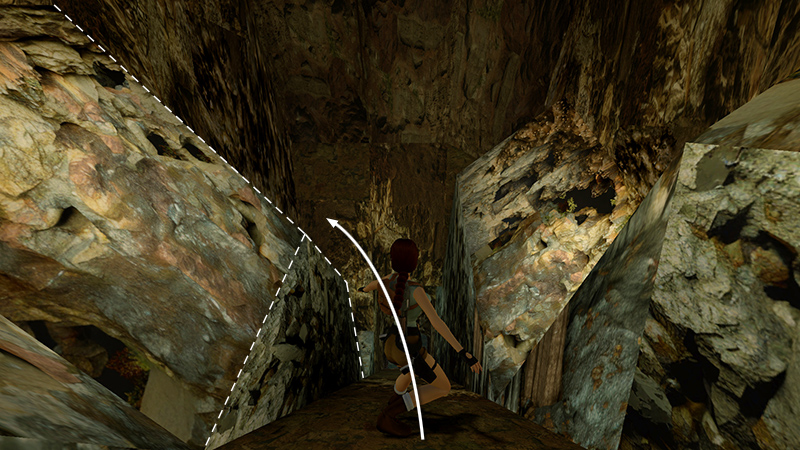
As she reaches the pointed rock on the left side of the slope, just before the flat ledge, jump and press Left to curve the jump in the air and land on the ledge.
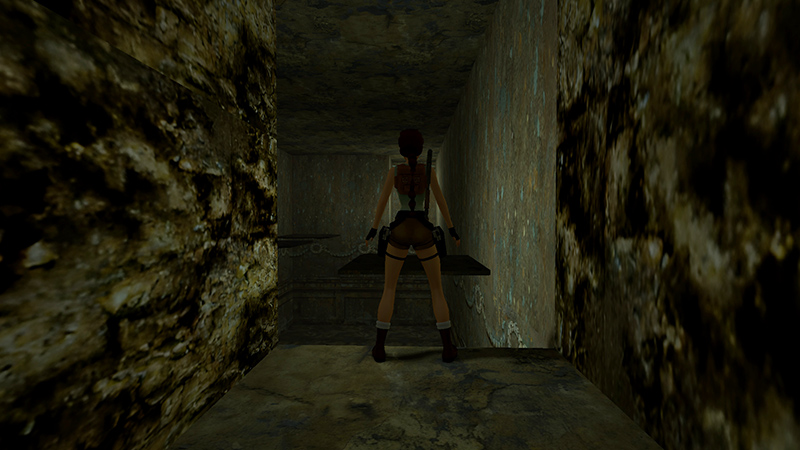
Move into the doorway. Ahead is a rectangular room with 5 break-away tiles (37-41/51)—two on the left, three on the right—and an alcove in the far wall opposite the entrance. You'll want to shatter all 5 tiles for the "After Us the Deluge!" achievement/trophy on the way to the alcove. Stand in the middle of the doorway and walk to the edge.
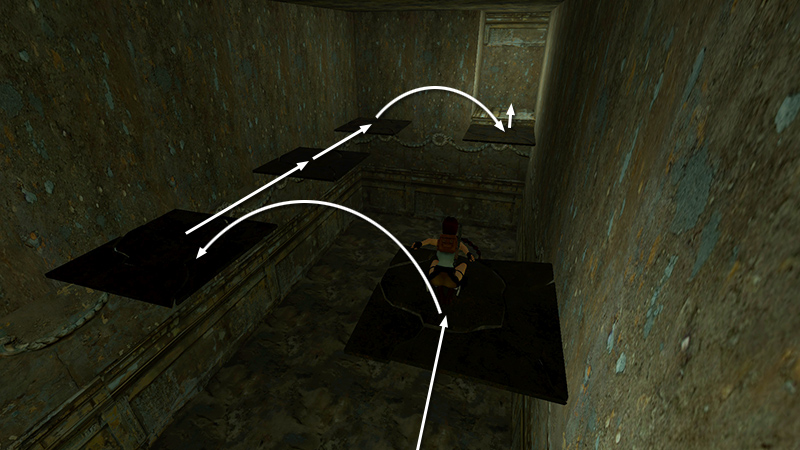
Now do the following series of jumps to land on the tiles: standing jump forward, side flip to the left, standing jump forward, standing jump forward, side flip right, and run/jump forward to land in the alcove. (Take care to briefly release Jump and Forward between the standing jumps so Lara doesn't do a running jump instead.)
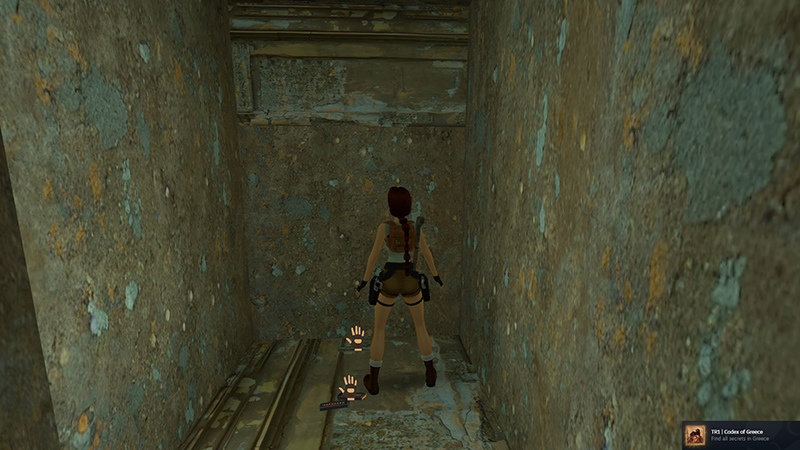
Pick up SECRET #2, magnum and Uzi ammo (19-20). (If you've found all of the previous secrets in Greece, you'll unlock the "Codex of Greece" achievement/trophy here.)
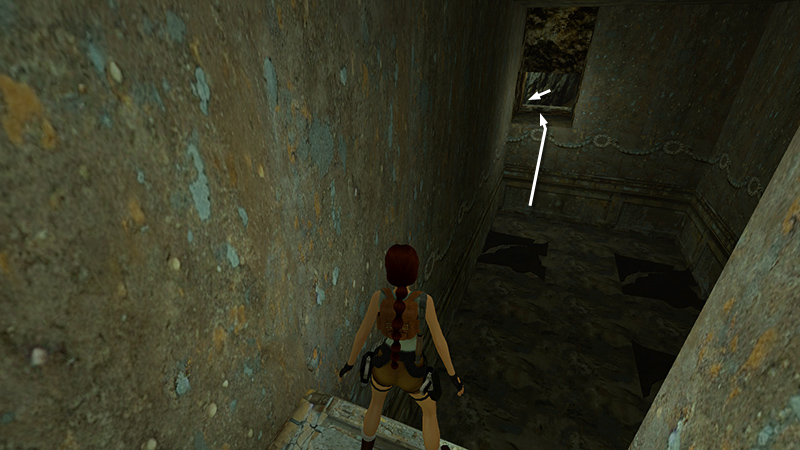
Drop down, cross the room, climb back into the doorway, and continue down the slide to the lake.
DARK MODE: I plan to add optional dark mode for these pages, but my current priority is updating the walkthroughs. Meanwhile, may I suggest a reputable dark mode browser extension, such as Dark Reader? (Download only from trusted sites, like darkreader.org or your browser's web store.)
Walkthrough text and diagrams copyright © Stellalune (email ). Feel free to copy or print this walkthrough for personal use. By all means, share it with friends, but please include this credit line so people can send me their feedback. No part of this walkthrough may be reproduced on another site without permission.