Tomb of Tihocan - Rooms with Movable Block and Locked Doors
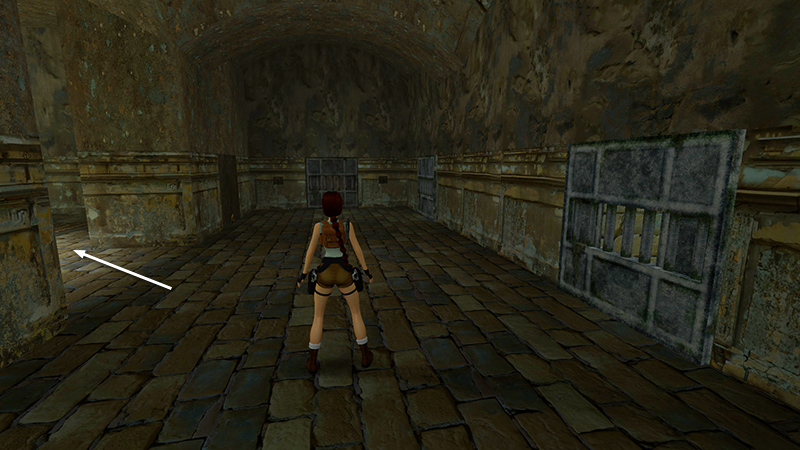
After obtaining the GOLD KEY, using it to raise the blocks, and crossing the pool, as shown in the previous section, you'll enter an area with a locked door and 2 keyholes straight ahead, as well as a pair of closed doors on the right. Head left into another small room with 2 more closed doors at floor level and an elevated door.
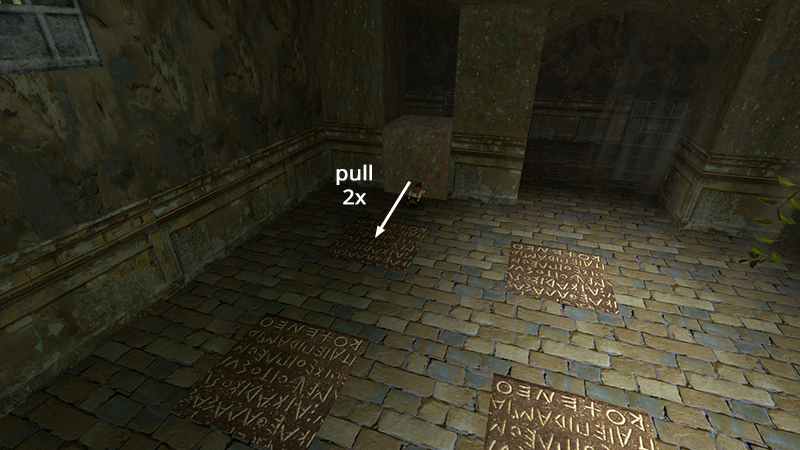
There are also 4 tiles with writing on the floor and a movable block between two of the pillars. Pull the block twice to position it on top of the nearest inscribed tile.
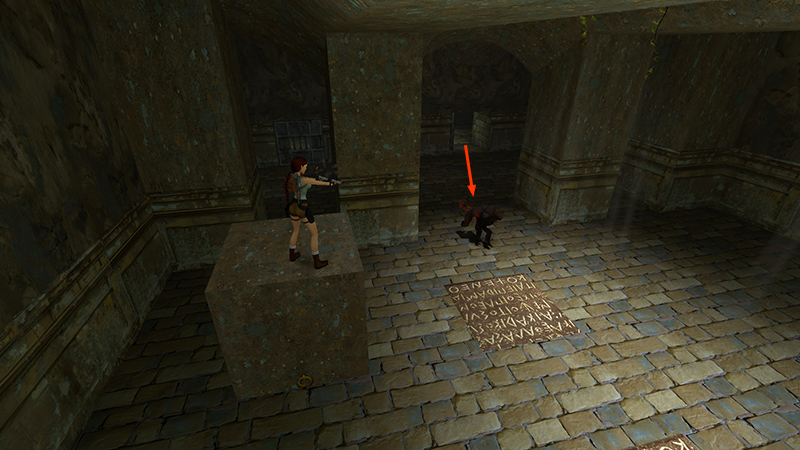
Hop back and jump onto the block. One of the doors in the other room opens, releasing a gorilla (8). Kill it from above.
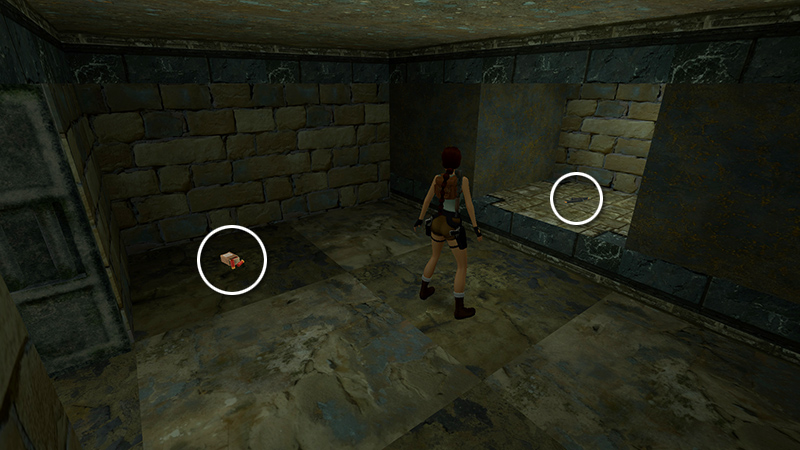
Then go into the room it came from to get some magnum clips and shotgun shells (11-12).
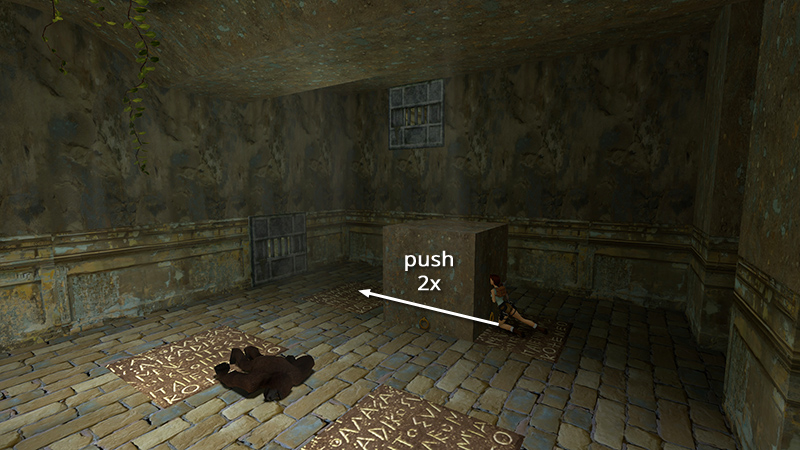
Push the movable block twice more until it is on the inscribed tile below the high door.
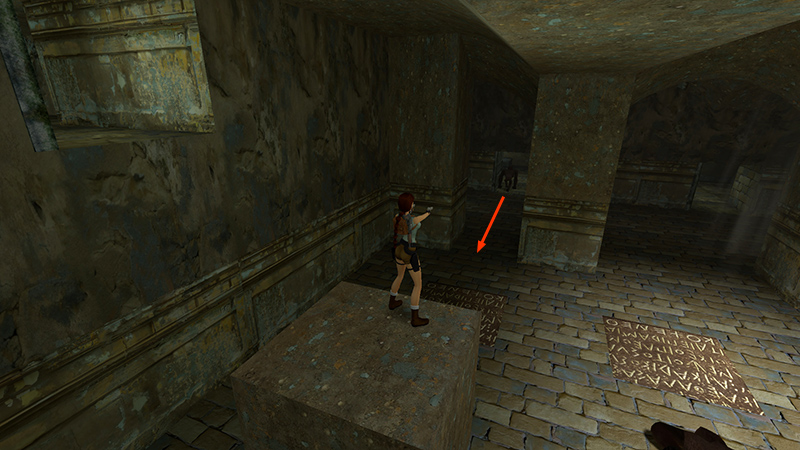
Again, jump on the block. The door high on the wall opens, along with the second door in the other room, which lets out another gorilla (9). Shoot it from the block.
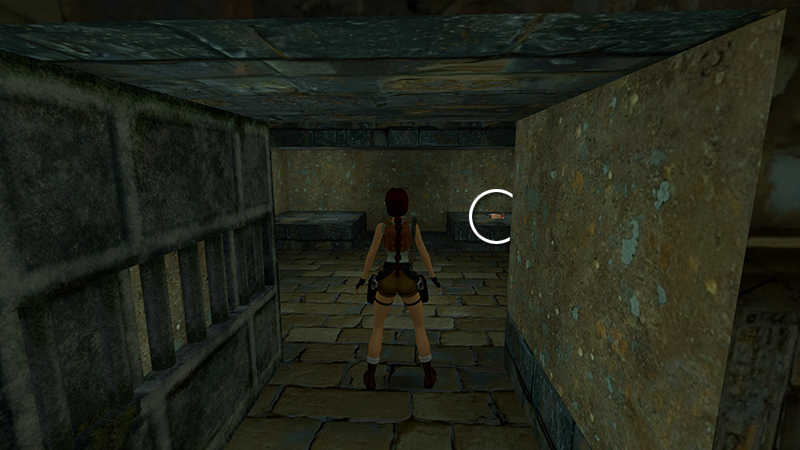
When it's dead, go into the room where it came from to retrieve more shotgun shells (13). (Or, wait to pick them up until you're on your way out of this area.)
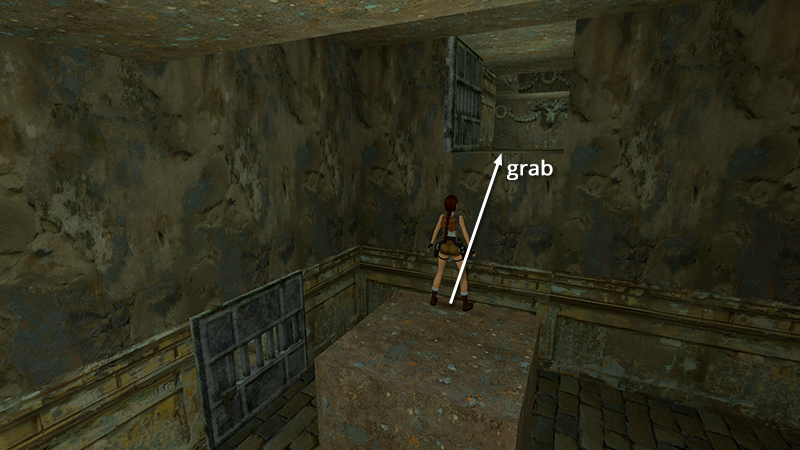
Return to the movable block and take a standing jump from the edge of the block to grab the high doorway. Pull up and enter cautiously. Another chomping blade trap is in the way.
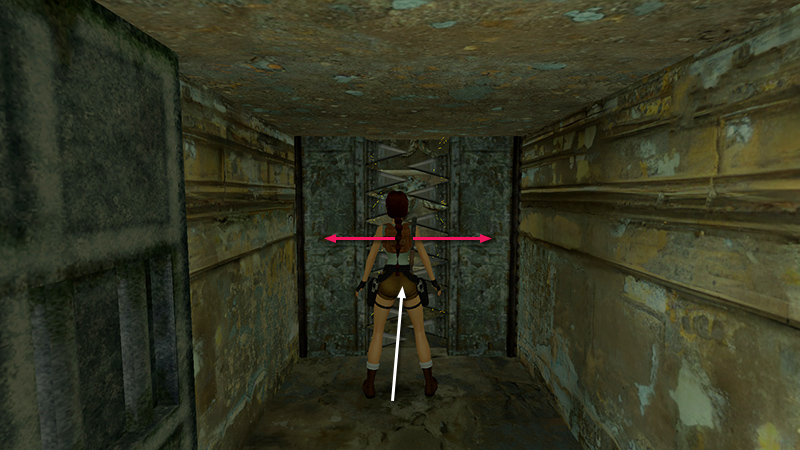
Run through as the blades begin to separate.
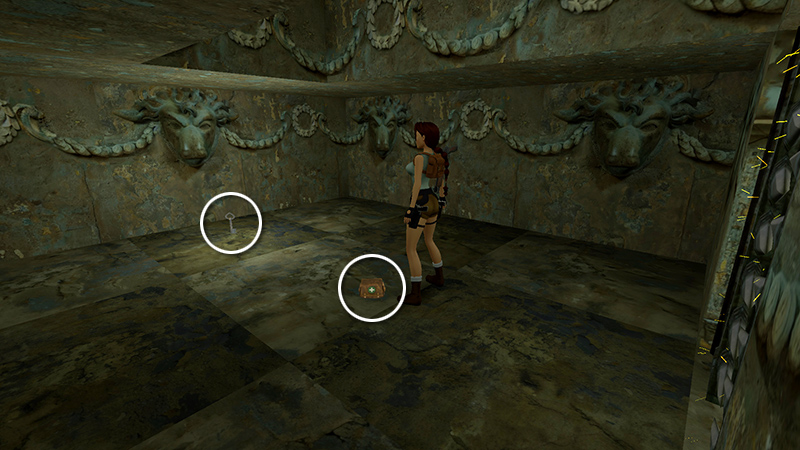
Collect the large medi pack (14) and RUSTY KEY (15). Then run carefully past the blades again to get out.
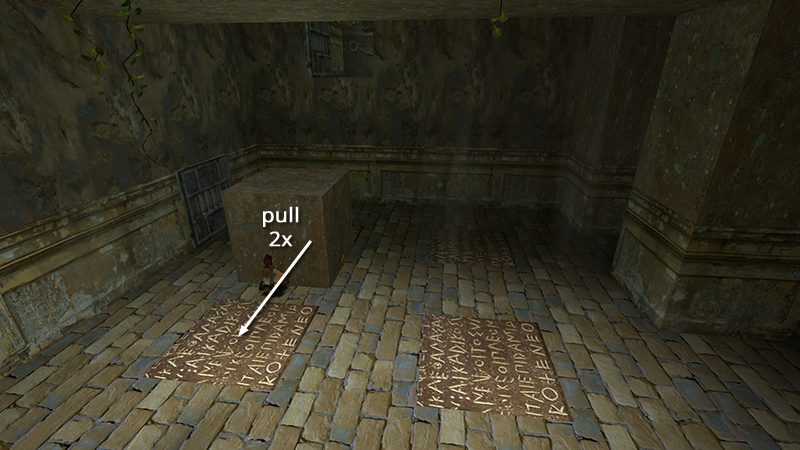
Drop down and go around the other side of the block. Pull it twice onto the next inscribed tile...
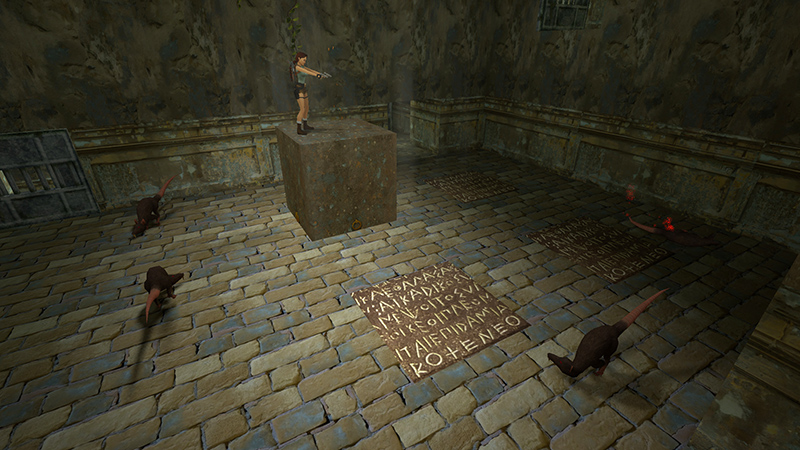
Quickly hop back and jump on top of the block to shoot the 4 rats (10-13) that come swarming out of the room on the left.
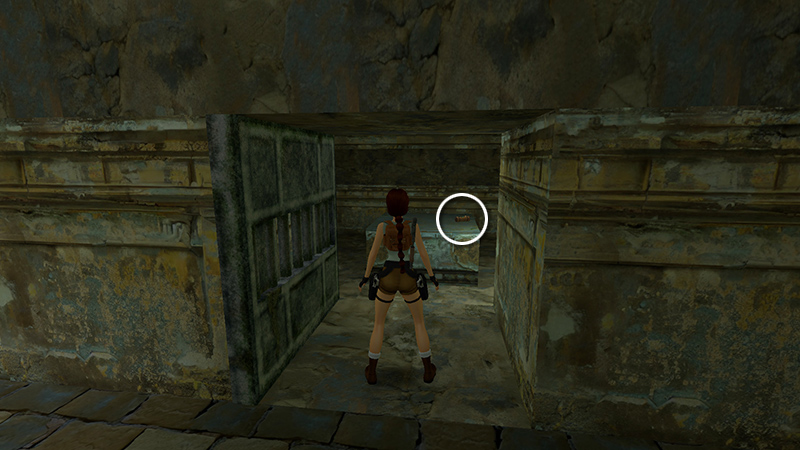
Hop down and enter to find a small medi pack (16).
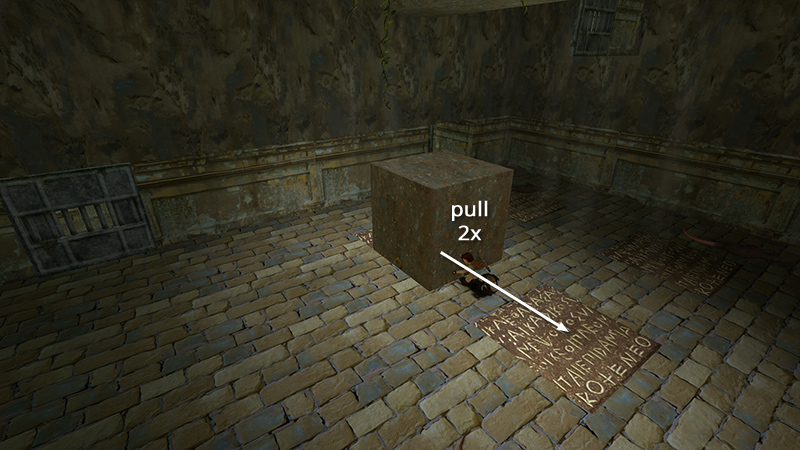
Go back to the block and move it onto the last inscribed tile. This opens the remaining door.
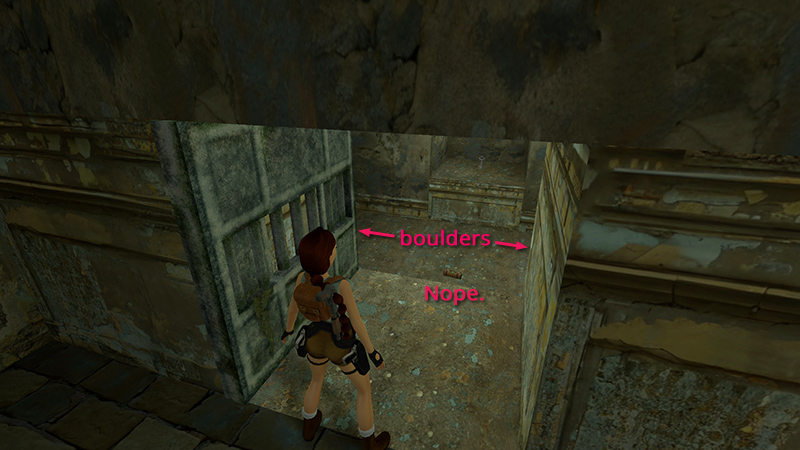
Enter cautiously. Do not be tempted by the small medi pack (17) on the floor. If you try to get it now, Lara will be squashed by a pair of rolling boulders.
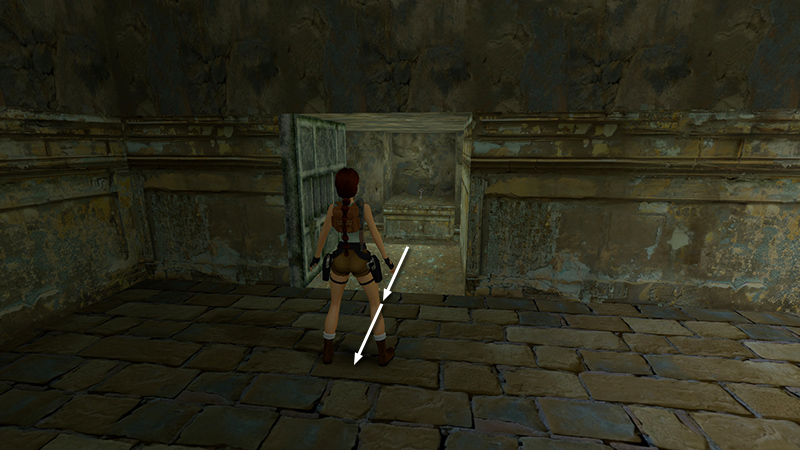
The low ceiling also hampers Lara's jumping. So walk forward to the edge of the doorsill, stopping just before the step down to the medi pack. Hop back twice...
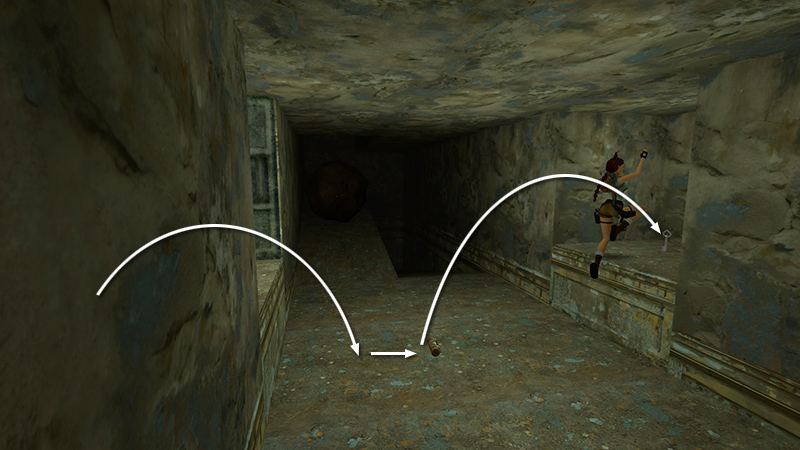
...then take two running jumps into the alcove with the key.
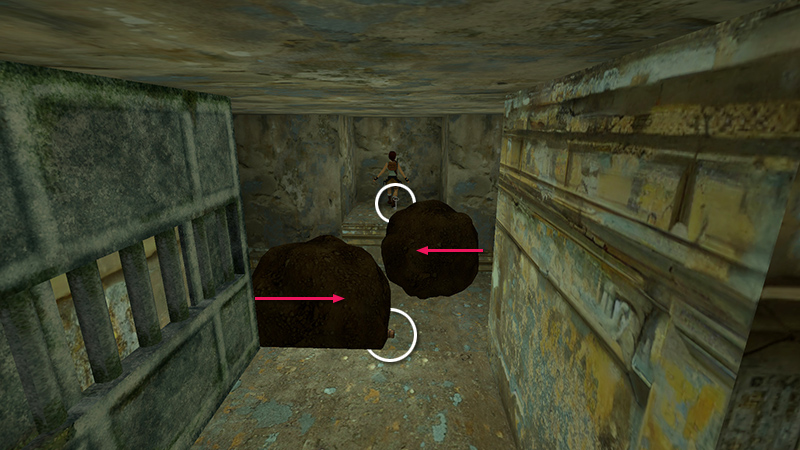
The boulders then roll past harmlessly. Pick up the second RUSTY KEY (18), then the medi pack, and return through the block room to the room with the locked door.
DARK MODE: I plan to add optional dark mode for these pages, but my current priority is updating the walkthroughs. Meanwhile, may I suggest a reputable dark mode browser extension, such as Dark Reader? (Download only from trusted sites, like darkreader.org or your browser's web store.)
Walkthrough text and diagrams copyright © Stellalune (email ). Feel free to copy or print this walkthrough for personal use. By all means, share it with friends, but please include this credit line so people can send me their feedback. No part of this walkthrough may be reproduced on another site without permission.