Obelisk of Khamoon - Secrets #2 and #3 and Seal of Anubis
After climbing out of the SLIDES-INTO-STEPS ROOM and using the switch to lower the SEAL OF ANUBIS BRIDGE, as shown in the previous section, we'll go after the remaining secrets.
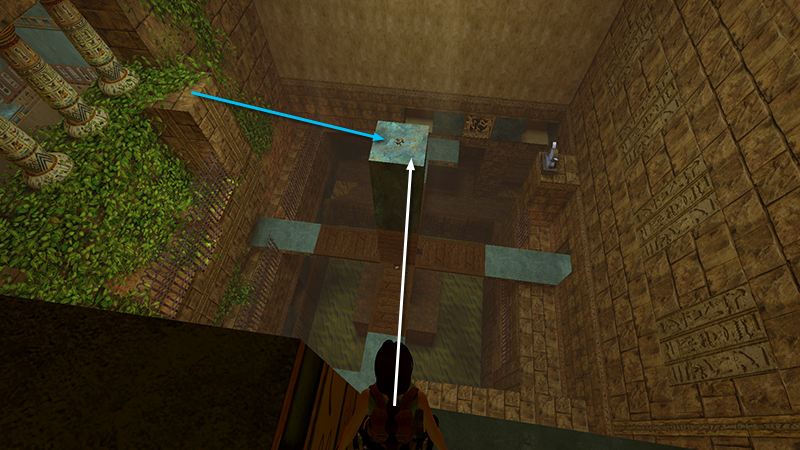
First, the SHORTCUT: This jump is a little tricky, and Lara will lose about half her health in the process, so top up your health and save the game first. The screenshot above shows where you're trying to land: on the near right corner of the OBELISK's flat top. (The blue arrow shows the other path to the secret, from the ivy-covered ledge near the ANKH bridge switch.)
Stand at the edge of the opening overlooking the OBELISK, with Lara's left foot close to the block on the left side of the opening.
Use Look to check then adjust Lara's position so she's squarely facing the right side of the OBELISK.

Hop back once.
Now take a running jump.
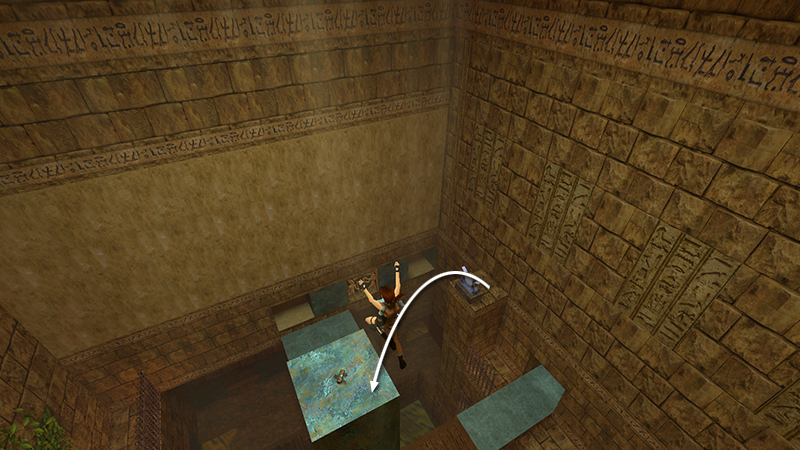
As Lara sails through the air, release Forward and press and hold Action to land on the obelisk. This is SECRET #2, a small medi pack and Uzi ammo (23-24). Now go for secret #3, below.
- OR -
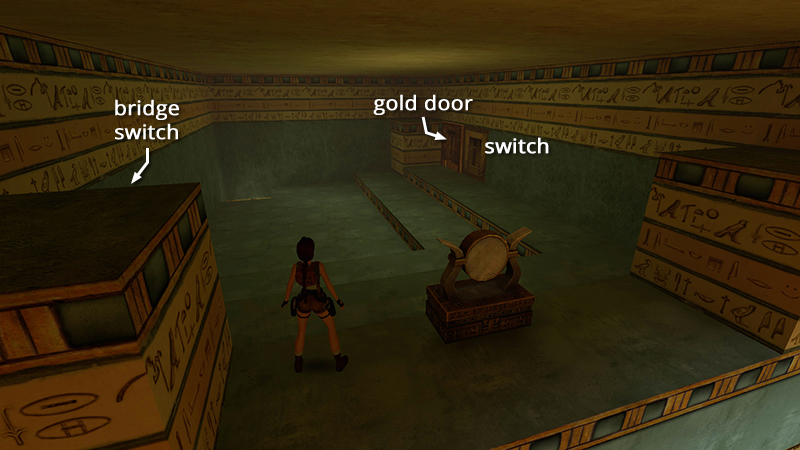
If you'd rather not lose all that health, the other path to the secret is not too time consuming. After using the 2 switches to lower the SEAL OF ANUBIS BRIDGE and open the gold door, go through that door.
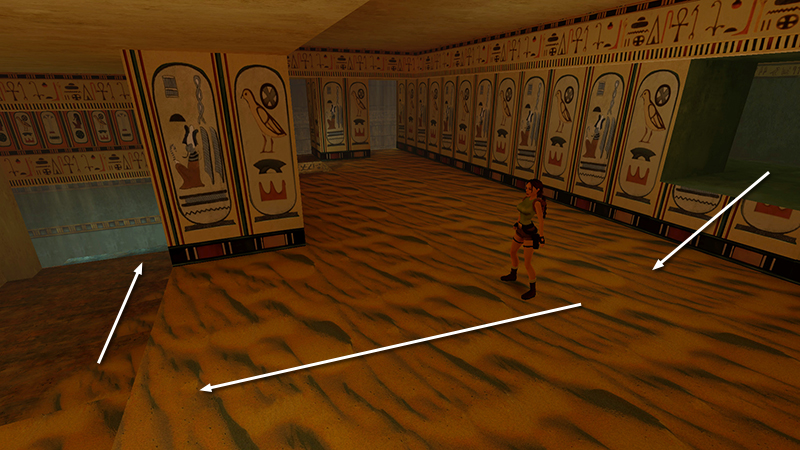
You'll emerge in the room at the top of the WIDE STAIRS, where you killed a mummy earlier. Descend the stairs.
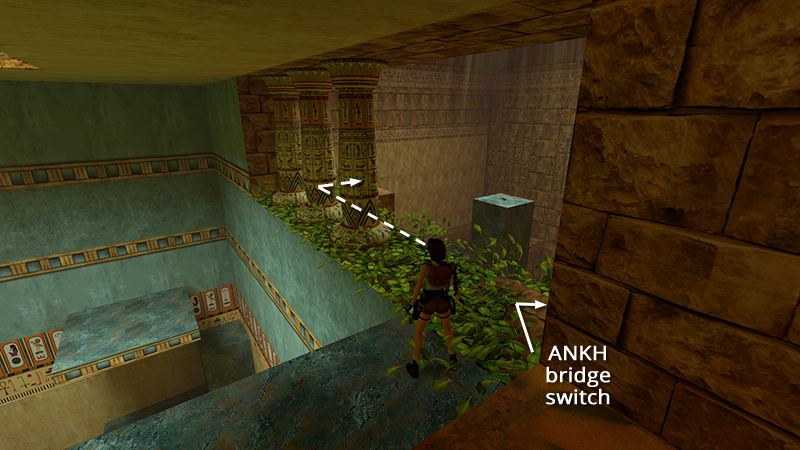
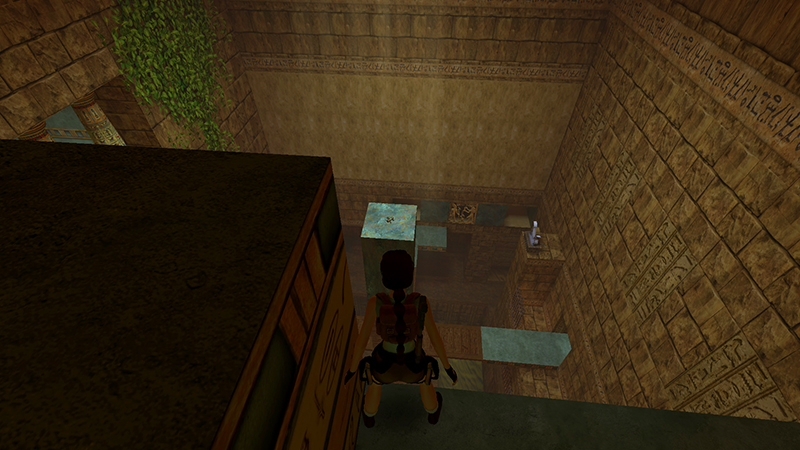
Turn right onto the greenery-covered ledge (near the ANKH BRIDGE SWITCH, which you should have used earlier). Walk forward past the three painted columns and onto the ledge that juts out toward the OBELISK.
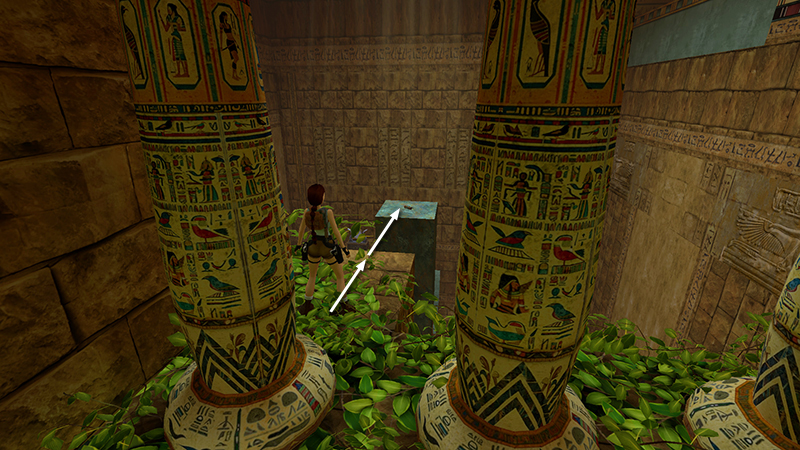
You'll need to take a running jump to reach the top of it. Walk to the edge and use Look to help set up the jump. When you hop back you won't be able to see where you're going because the camera will shift behind the pillar, but trust Lara to get it right. Take a running jump, with or without Action, and you should make it. This is SECRET #2, the prize a small medi pack and Uzi ammo (23-24).
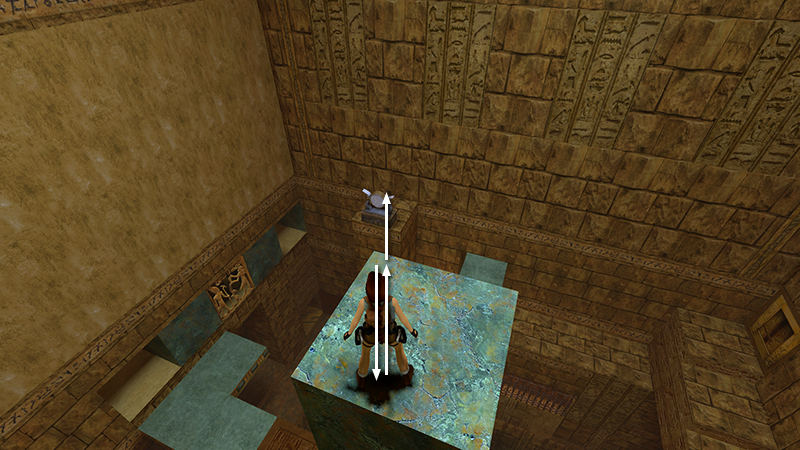
Now walk to the corner of the OBELISK and angle Lara so she's squarely facing the pillar with the silver )O( ornament below on the north wall. Hop back. Then take a running jump...
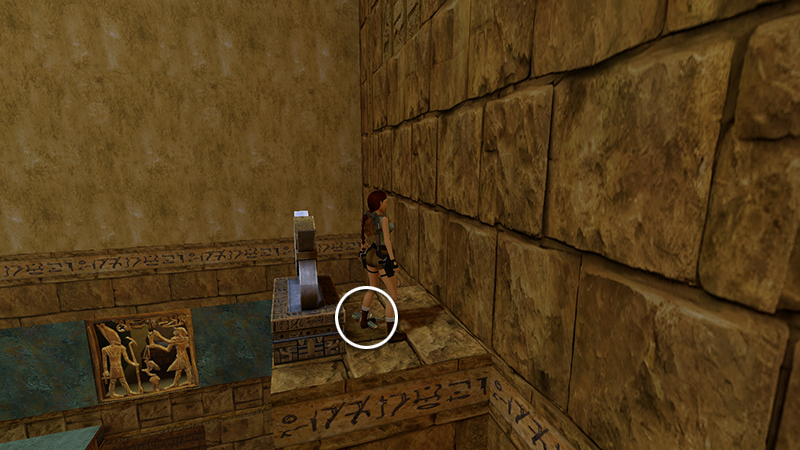
...to land behind the Hathor ornament. Lara will take a little damage, but it's worth it for the reward—a large medi pack and 2 sets of Uzi clips (25-27). This is SECRET #3.
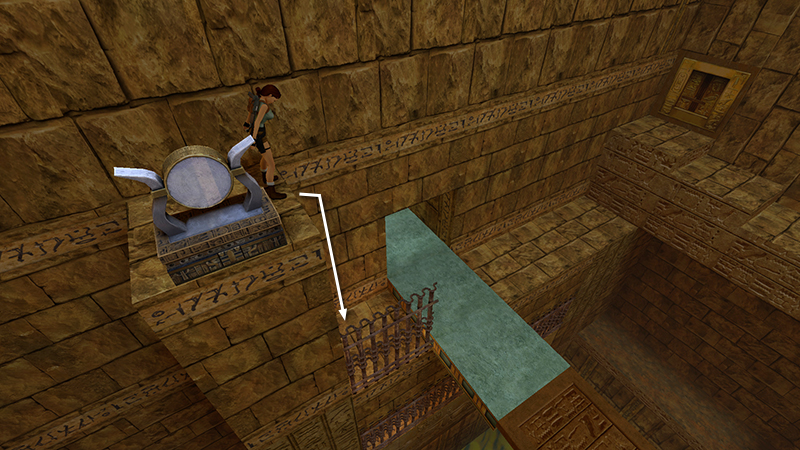
Drop down on the right...
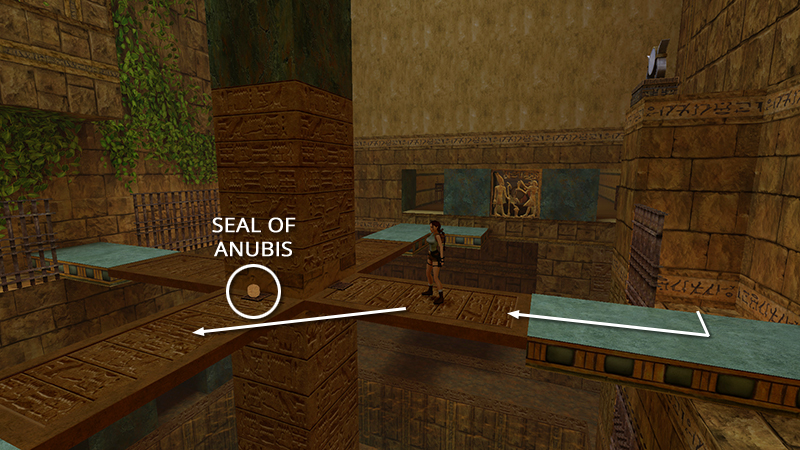
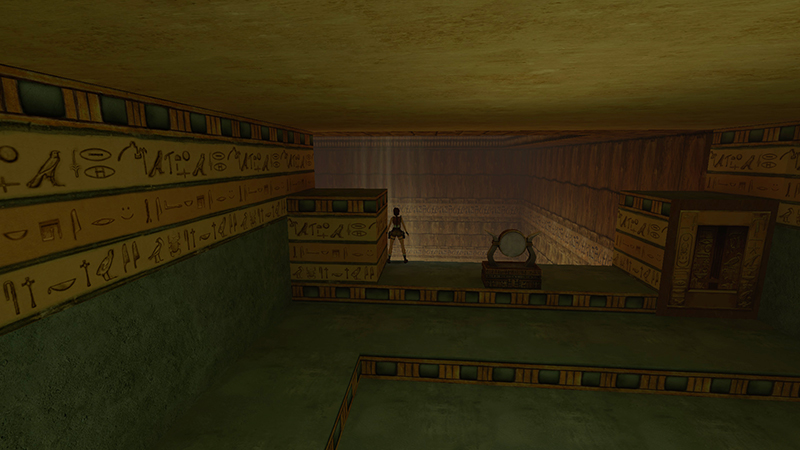
...and follow the walkway out to the OBELISK. Jump over to the next bridge on the left to get the final artifact, the SEAL OF ANUBIS (29)...
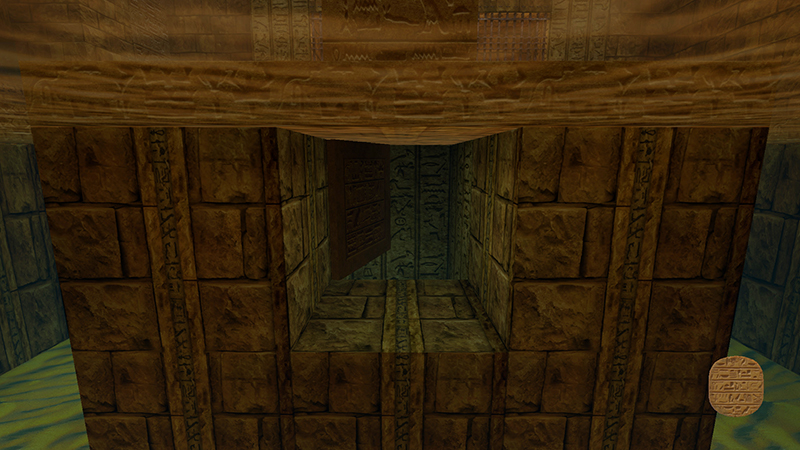
...and observe the underwater door below the obelisk opening.
DARK MODE: I plan to add optional dark mode for these pages, but my current priority is updating the walkthroughs. Meanwhile, may I suggest a reputable dark mode browser extension, such as Dark Reader? (Download only from trusted sites, like darkreader.org or your browser's web store.)
Walkthrough text and diagrams copyright © Stellalune (email ). Feel free to copy or print this walkthrough for personal use. By all means, share it with friends, but please include this credit line so people can send me their feedback. No part of this walkthrough may be reproduced on another site without permission.