City of Khamoon - Shortcut to Level Exit
This shortcut enables you to skip most of the level. It's great for speed runs, but you do miss most of the kills and pickups, including all three secrets. So use it at your discretion.
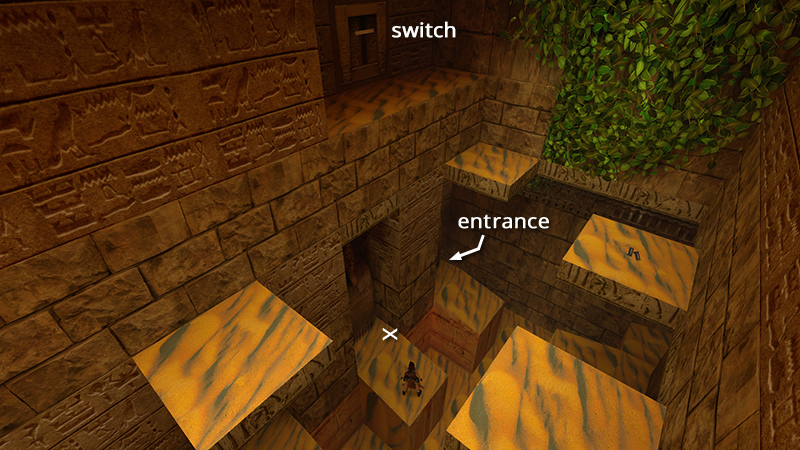
The AREA BEHIND THE SPHINX (accessed by shifting the movable block between the sphinx's paws and using the first SAPPHIRE KEY) is also the location of the final switch in the level—the one that dumps sand into the room with the SECOND SAPPHIRE KEY. This switch is high above the statues and ledges and can't be reached from below...unless you cheat. Climb onto the second ledge from the tunnel entrance and position Lara in the spot marked with an X in the screenshot above.
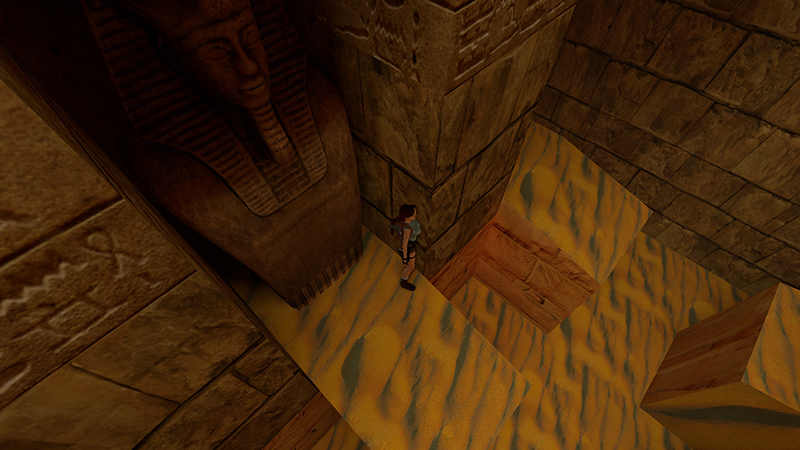
Use the corner bug here...
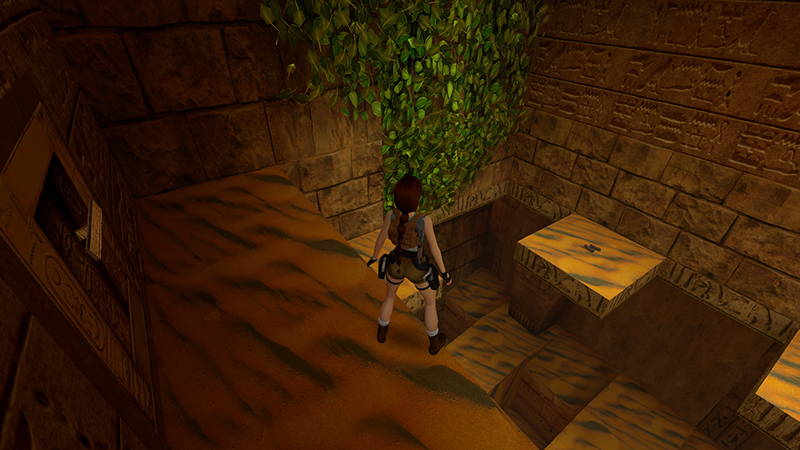
...to pop up onto the ledge with the switch.
NOTE: If you need help using the corner bug, check out the page about it in the Palace Midas walkthrough and/or my useful bugs page. Both include instructions with screenshots and video.
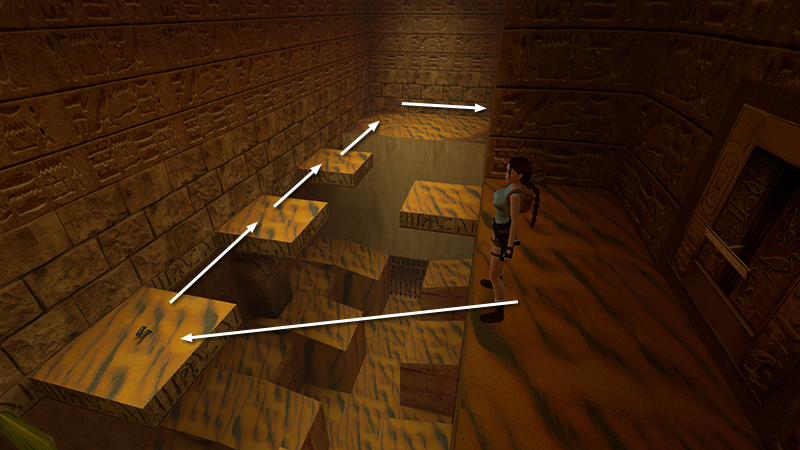
Throw the switch to dump sand into the next room. Then jump over to the ledge with the magnum clips. From there, make your way across the small, high ledges to the other end of the room.
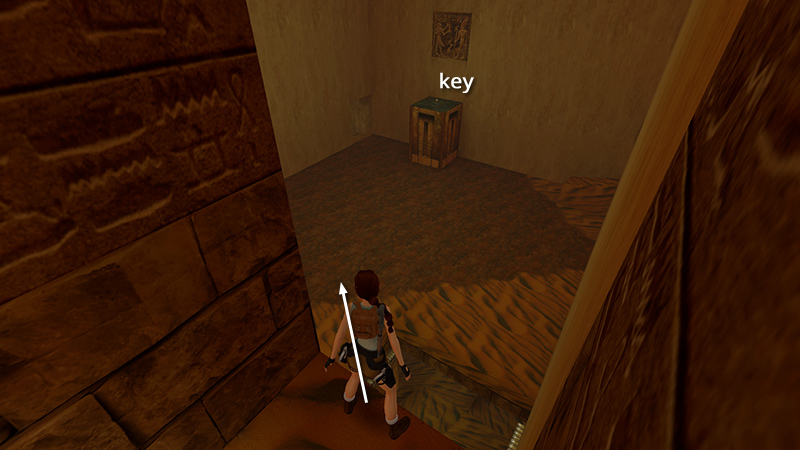
Approach the opening above the SAPPHIRE KEY ROOM cautiously. It's a long way down. Jump down on the left side of the opening. (Lara will lose a little health, but it will be restored momentarily when you finish the level.) Get the key off the pedestal.
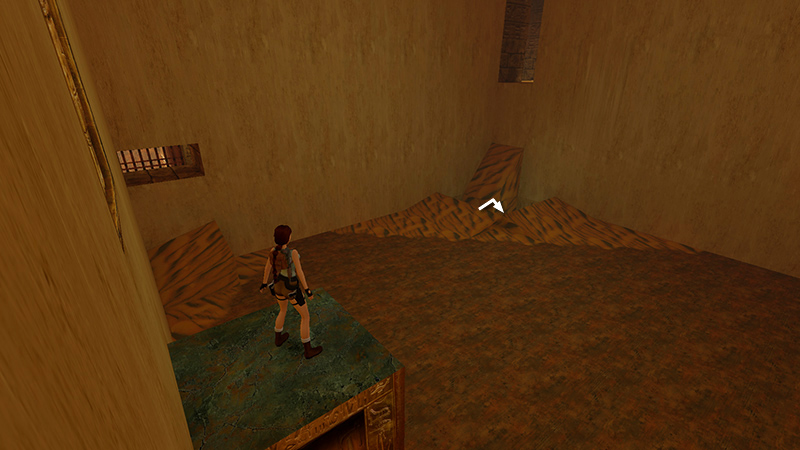
Then return to the opening below the doorway. Step off the edge to land in the room below.
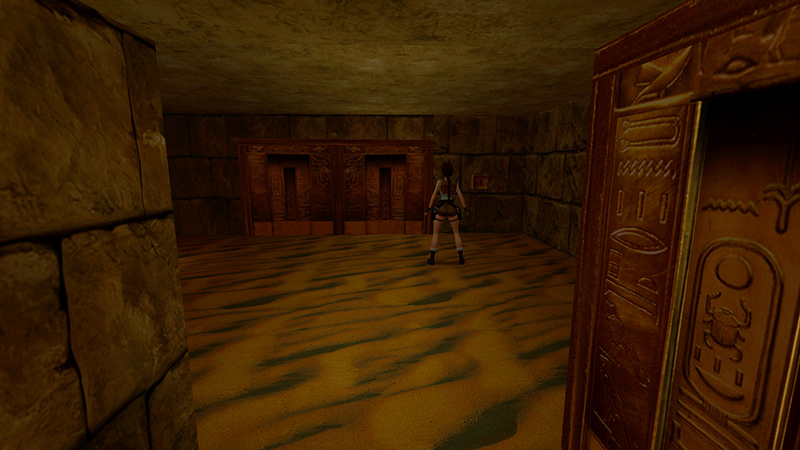
Enter the room ahead and use the SAPPHIRE KEY to open the level exit.
DARK MODE: I plan to add optional dark mode for these pages, but my current priority is updating the walkthroughs. Meanwhile, may I suggest a reputable dark mode browser extension, such as Dark Reader? (Download only from trusted sites, like darkreader.org or your browser's web store.)
Walkthrough text and diagrams copyright © Stellalune (email ). Feel free to copy or print this walkthrough for personal use. By all means, share it with friends, but please include this credit line so people can send me their feedback. No part of this walkthrough may be reproduced on another site without permission.