Atlantis - Meat Hallway Before Drawbridge
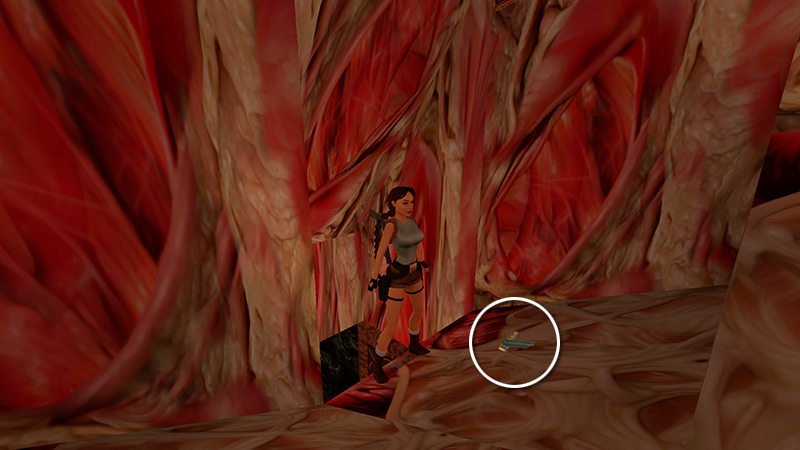
Climb up into another sloping, flesh-textured hallway. Pick up the Uzi clips (47).
NOTE: The upcoming centaur is the last one you'll meet, so if you haven't already let one kill you for the "Deadline" achievement/trophy, now's your chance.
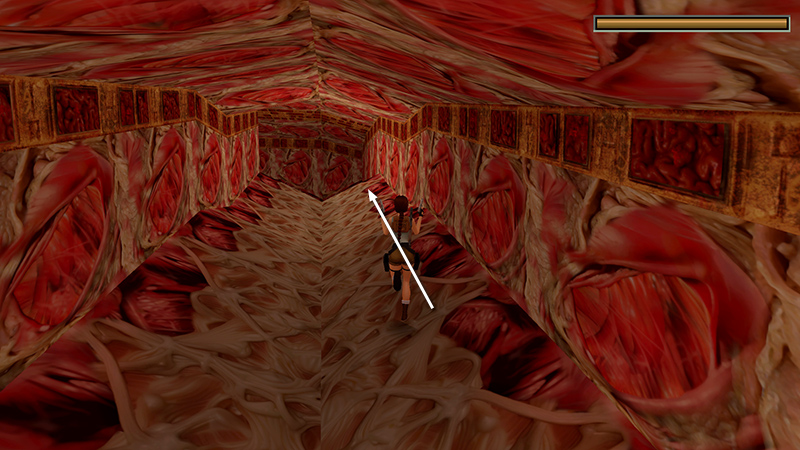
At the top of this sloping passageway, to the left, is a room with a lava pool below and two mutants: a centaur (32) on the left and a catlike mutant (32) on the right. You can run forward, trigger both, and blast your way out of danger. Or, if you prefer a more strategic approach, try this: Draw weapons and advance up the slope, staying close to the right wall.
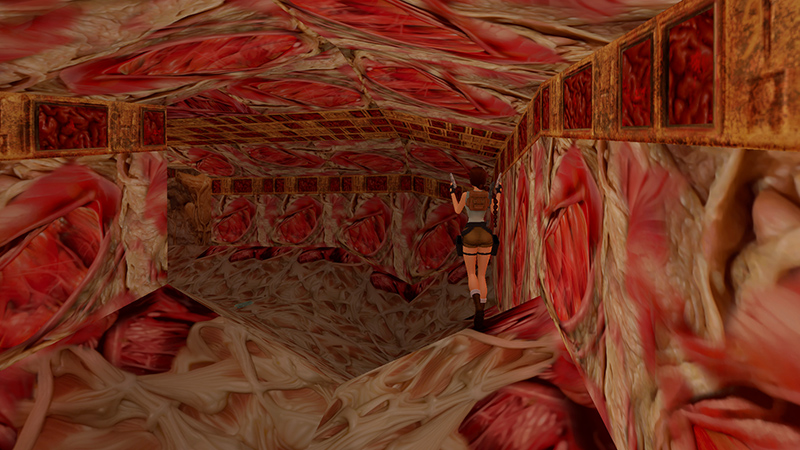
Just before the bend in the passageway, slow down to a walk. Take one step past the jagged hump, where the floor slopes up then sharply downward.
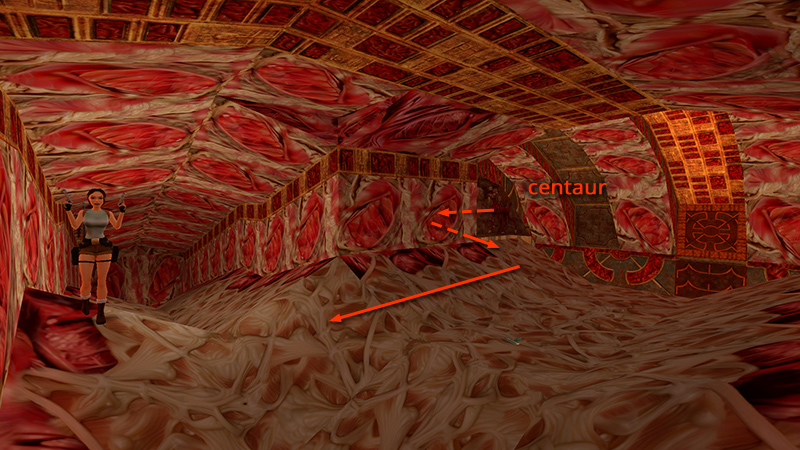
This animates the centaur (31) around the corner.
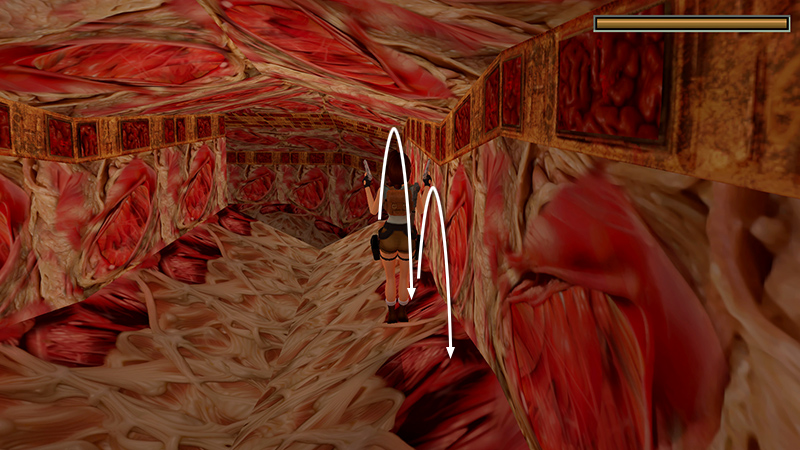
Immediately backflip 3 or 4 times.
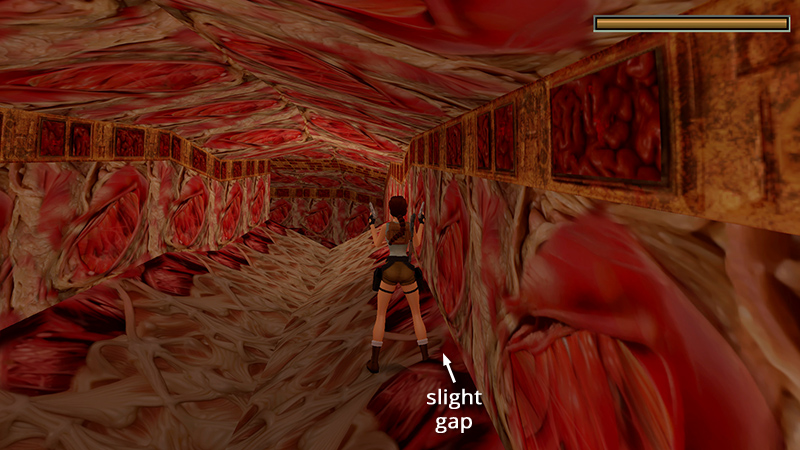
Then take a precious second or two to make sure Lara is standing near but not touching the right wall.
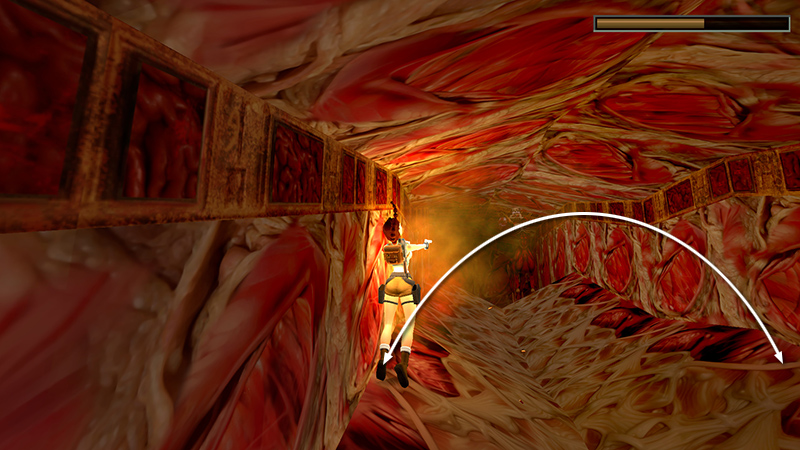
If she's too close, or too far away, she'll hit the wall when you attempt to side flip, making her vulnerable to the centaur's fireballs.
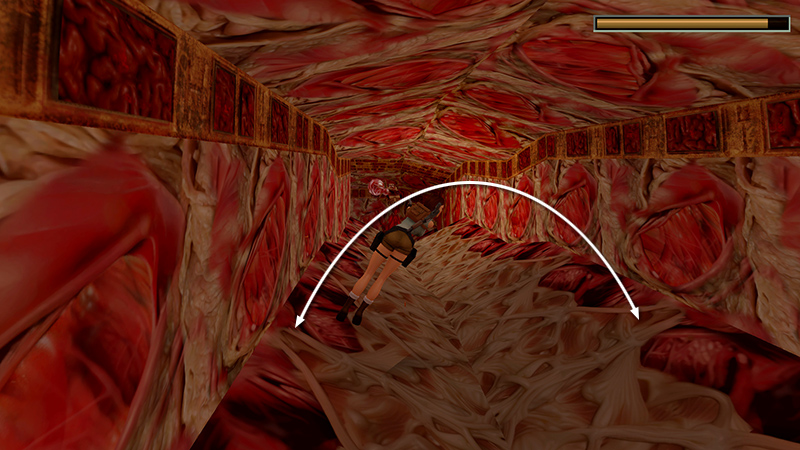
If you set it up correctly, you can then side flip left to right while firing, and all or most of the centaur's attacks should miss her.
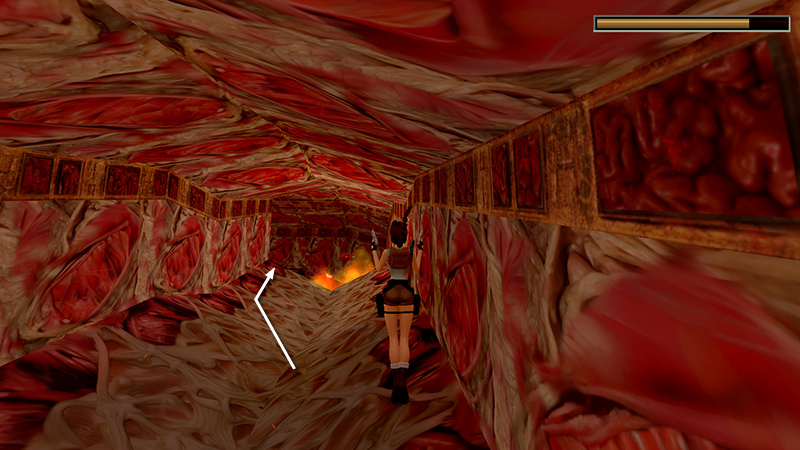
When it explodes, return to the top of the slope, this time along the left side.
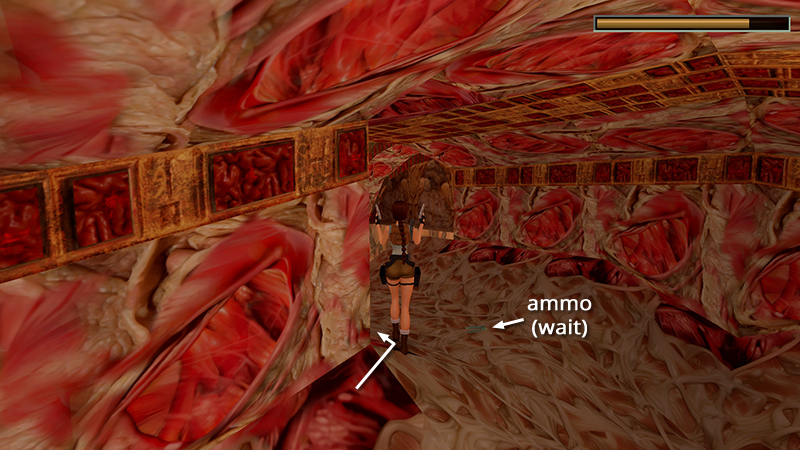
But don't advance too far. Round the corner to the left, then back up against the wall, so Lara is facing the Uzi ammo lying on the floor. (Don't pick it up yet.)
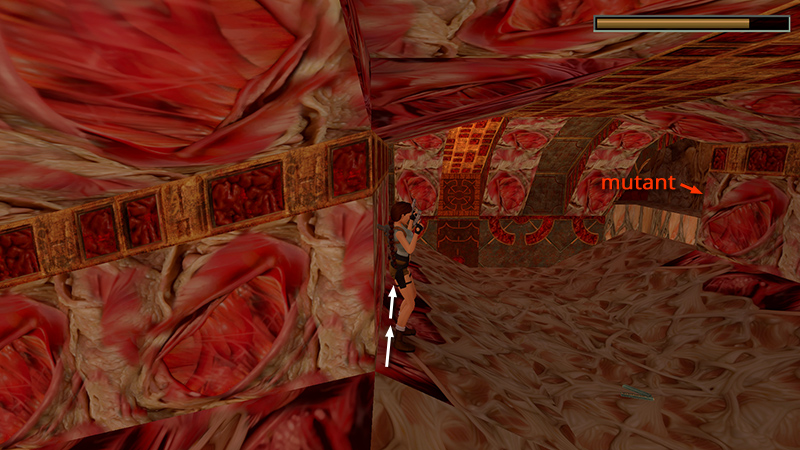
Draw pistols. Then, keeping Lara's back to the wall, sidestep to the left...
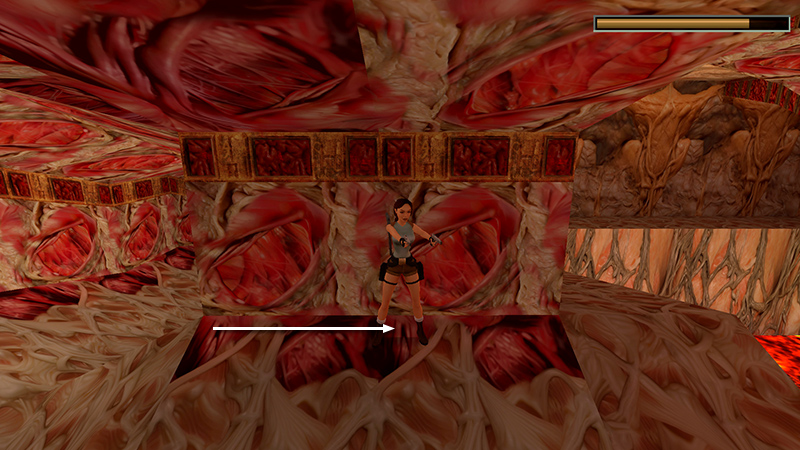
...just far enough to animate and target the other mutant, lurking around the opposite corner.
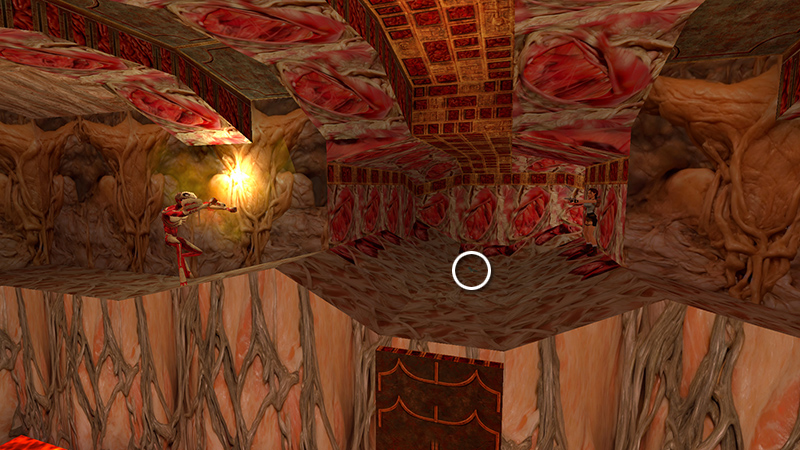
As long as you don't go too far to the left, Lara should be able to shoot the mutant, and its projectiles will smash harmlessly into the wall. When it explodes, pick up the Uzi ammo (48) and take a deep breath.
[Previous | Next | Atlantis Walkthrough]
DARK MODE: I plan to add optional dark mode for these pages, but my current priority is updating the walkthroughs. Meanwhile, may I suggest a reputable dark mode browser extension, such as Dark Reader? (Download only from trusted sites, like darkreader.org or your browser's web store.)
Walkthrough text and diagrams copyright © Stellalune (email ). Feel free to copy or print this walkthrough for personal use. By all means, share it with friends, but please include this credit line so people can send me their feedback. No part of this walkthrough may be reproduced on another site without permission.