Mission of San Juan – Thirsty Gods Challenge Tomb (part 4)
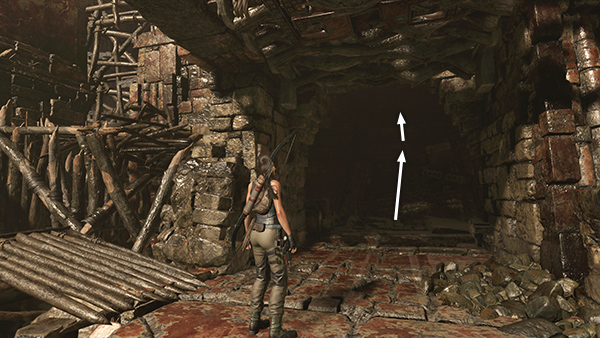
In the room beyond the gate, climb the broken stairs, jump across the gap, and pull up onto the ledge at the back of the room. (If you didn't lower the water level, just swim through and climb out on the left.)
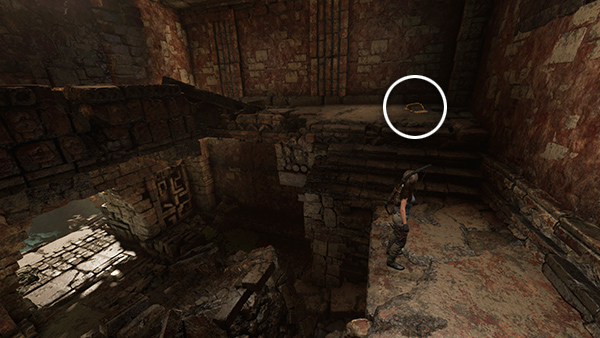
In the corner is another document (19/27), Alux (Mam/Legends of the Maya).
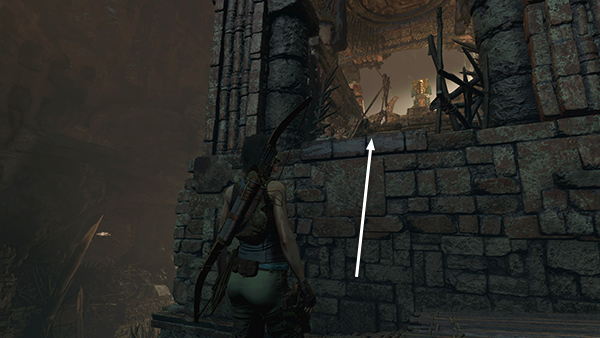
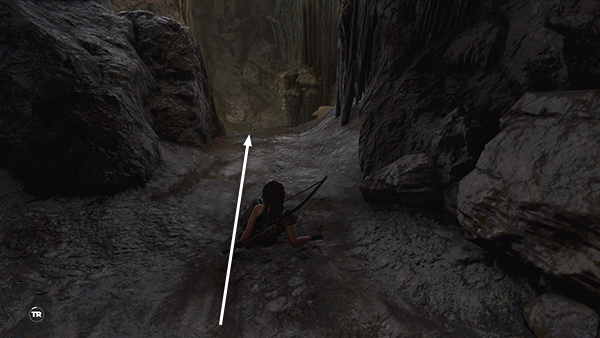
Follow the ledge around to the opening above the entrance. Loot the resource container in the other corner. Then scramble up into the the opening.
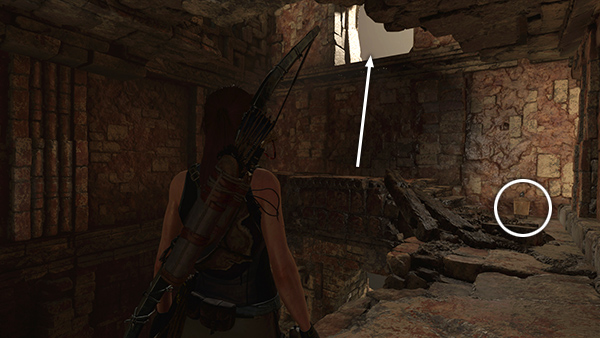
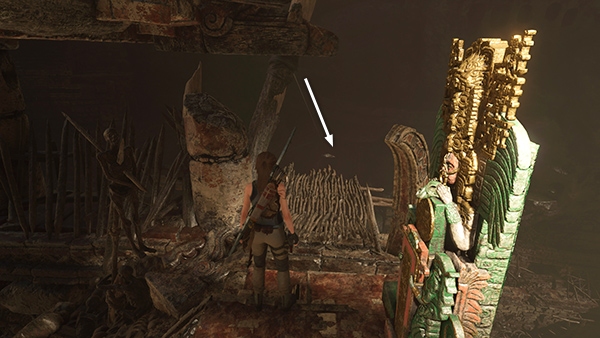
Outside, follow the wooden ledge around to the back of the tower...
...looting another resource container...
...and collecting some black powder (not shown but just behind Lara in this screenshot). Then climb into the doorway and continue up the stairs.
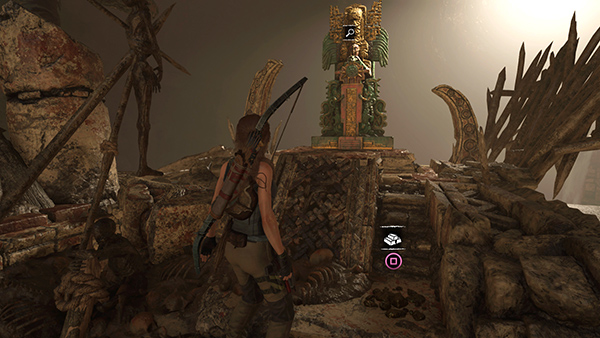
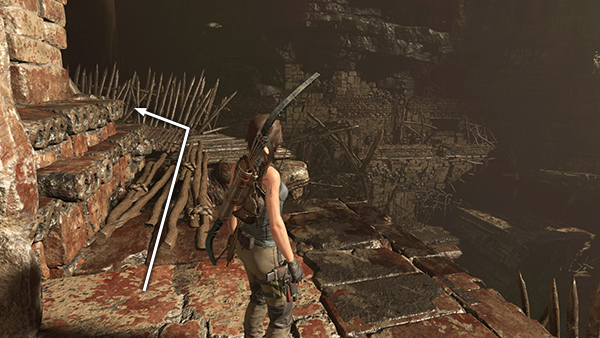
Pick up some gold ore next to the ramp. Then examine the tomb stele to unlock the Warrior Skill Sip's Strike, which gives your charged bow shots more power against armored enemies. If you're playing the Side Mission, you'll also receive a new goal: Return to Manu.
There are two ways out of the tomb. If you lowered the water level after opening the gate, start by sliding down the zip line to the left of the stele. If you didn't lower the water level after opening the gate, you can ride the zip line or head back to the Flood Basin Base Camp. This alternate route is covered below.
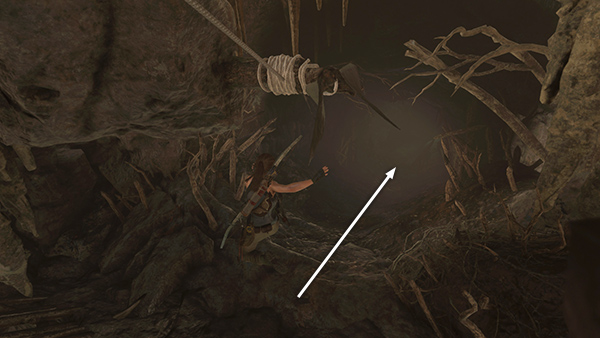
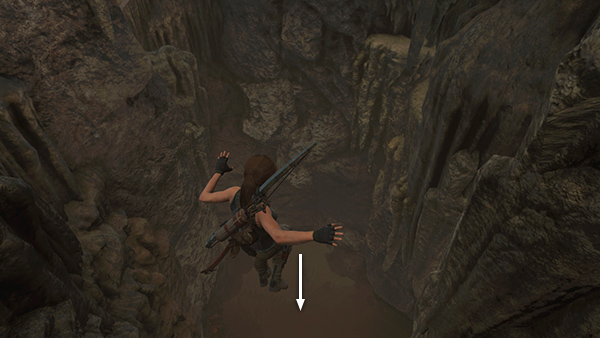
If you ride the zip line, Lara lands in a bat-infested tunnel and slides...
...down into a cave. Climb onto the stone ledge ahead on the left.
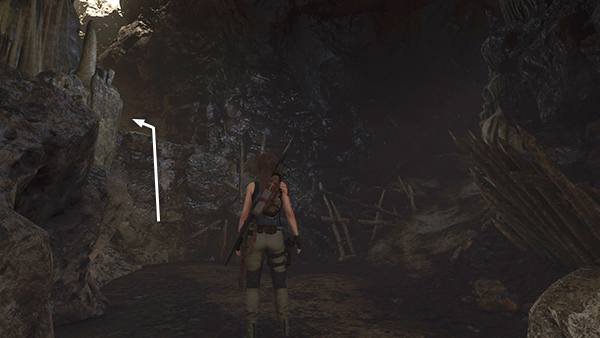
Continue to a wooden ledge above a spike pit. Jump across the gap...
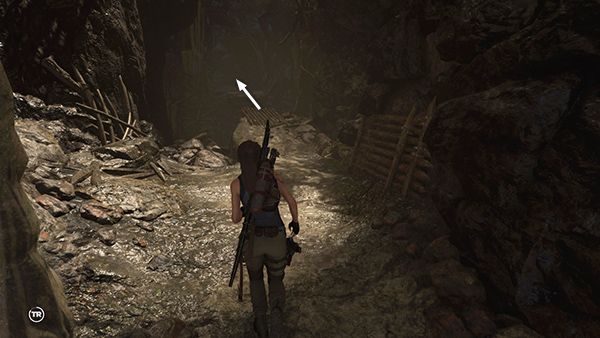
...and continue up the slope to another ledge. Climb up...
...then slide down another slope...
...into a pool.
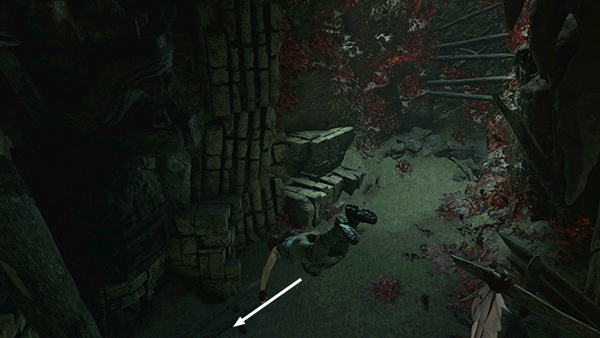
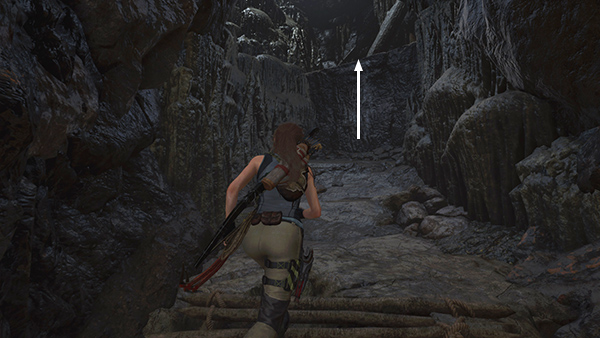
The area with the red vegetation off
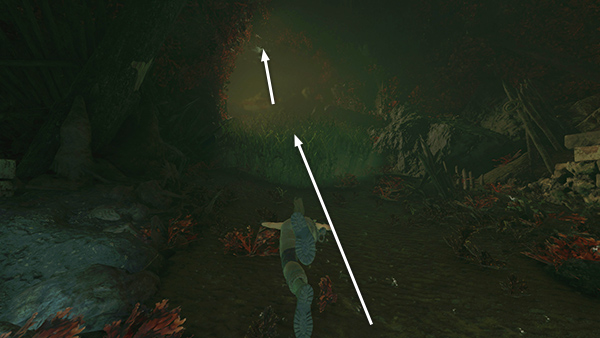
to the right (southeast) is the way back to the room with the huge stone head. To get out, instead head to the northwest...
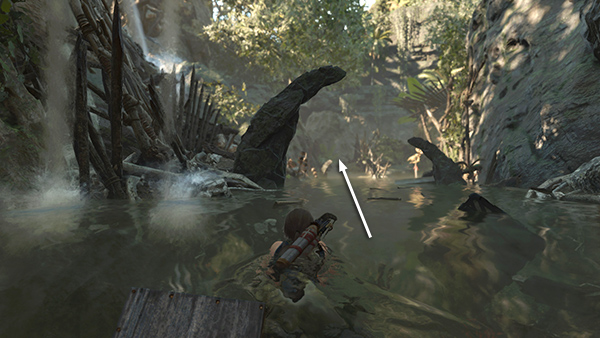
...through the flooded passageway to the cave with the moray eel.
Even if you killed it earlier, the eel may respawn. You can avoid it by swimming forward along the bottom. After you pass the grass on the tunnel floor, swim upward...
...to surface in the shallow pool filled with debris. Now follow the path back to the big pool southeast of the Mission.
- OR -
Alternatively, if you didn't lower the water level after opening the gate, once you've examined the stele, jump into the pool. If you aim for the water just in front of the wooden raft nearest the gate...
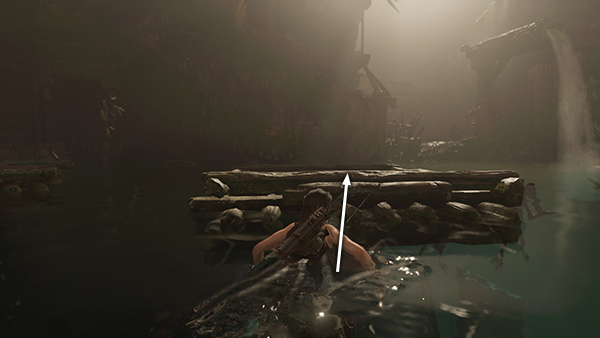
...you should have time to surface and climb out onto the raft before the piranhas notice.
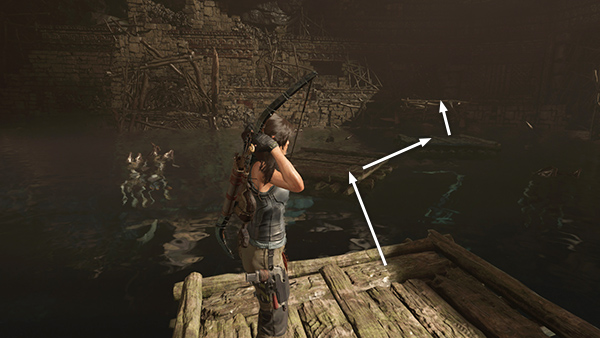
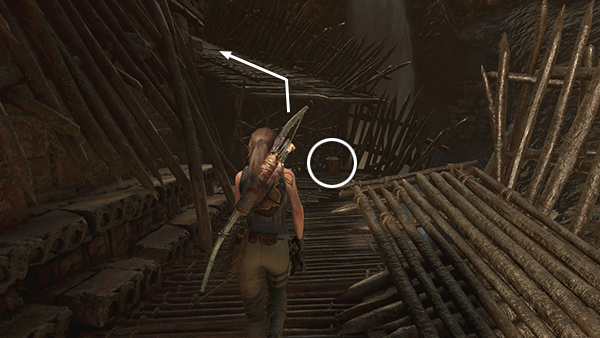
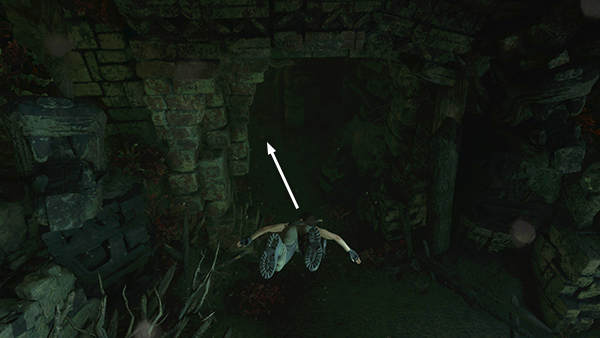
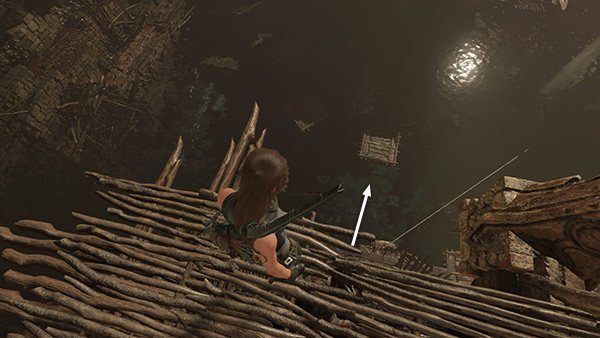
Jump across the rafts to the jutting wooden ledge in the far left corner.
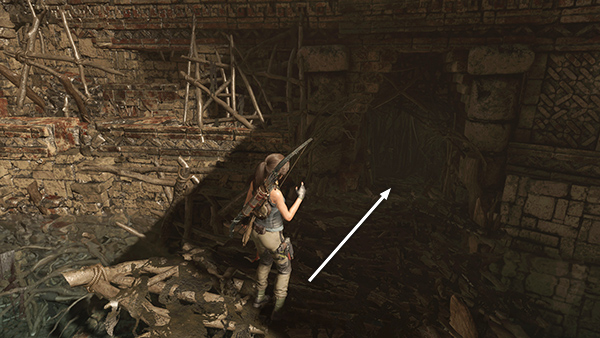
Go through the archway into a dirt-floored room.
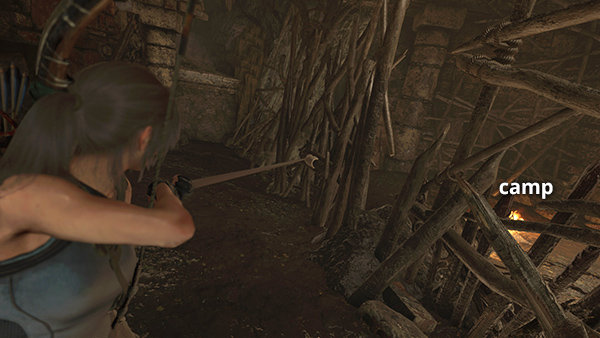
Use a rope arrow to pull down the wooden barrier on the right. Beyond the barrier is the Flood Basin Base Camp, which you can then use to Fast Travel back to the Mission or wherever you may have left off in the game. (The ledge shown near the top left of the screenshot above leads to the other exit route described above.)
[Previous | Tomb Walkthrough | Main Walkthrough]
Copyright © - Stellalune ( ). All rights reserved. Feel free to copy or print this walkthrough for personal use. By all means, share it with friends, but please include this credit line so people can send me their feedback. No part of this walkthrough may be reproduced on another site without permission. Follow this link for details about this site's advertising and privacy policy.