Mission of San Juan – Large Pool Southeast of the Mission
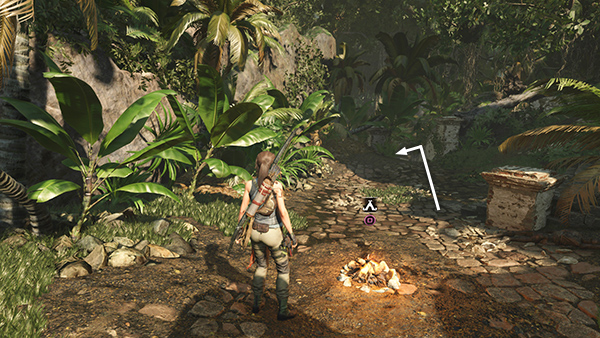
After completing the TREE OF LIFE CHALLENGE TOMB, you emerge near the Deserted Cloister Base Camp. If your inventory is getting full, you can return to the Mission (or Fast Travel to Kuwaq Yaku or Paititi) to sell off some resources. Then return here and head back down the steps to the east into the EMPRESS JAGUAR'S HUNTING GROUND.
NOTE: If you'd rather avoid the jaguar area, you can fast travel out to buy and sell resources. Then fast travel to the Ruined Tower Base Camp and follow the path to the northeast to get to the pool.
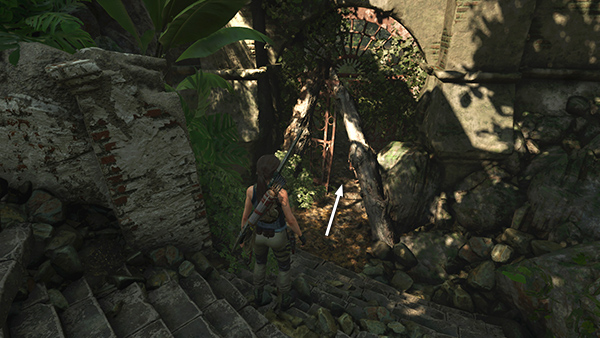
After you pass through the rusted iron gate, Lara will probably crouch as though there's danger, but if you just defeated the leopard before entering the tomb, it should be safe to pass through this area.
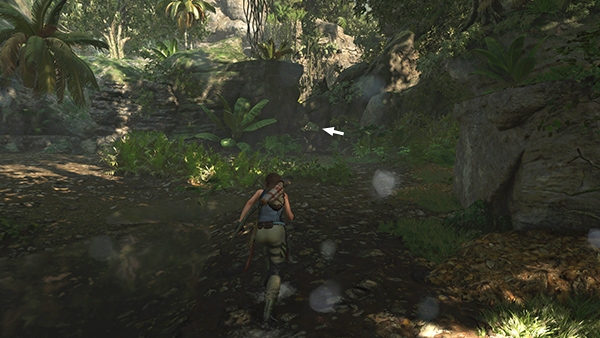
Exit through the small opening in the rocks at the east side of the arena.
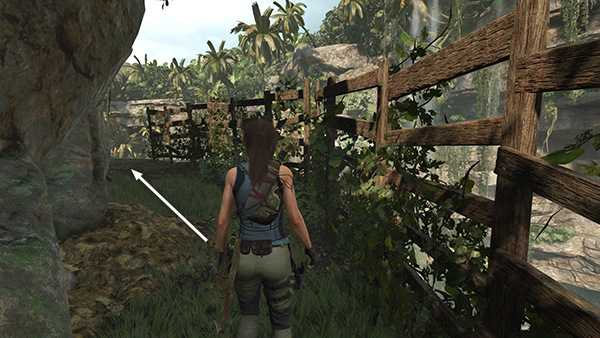
Move out onto the ledge overlooking the pool.
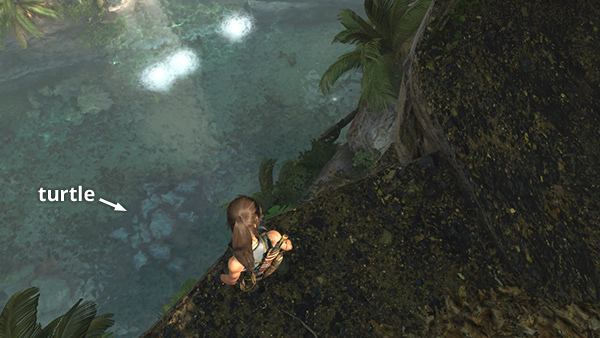
Beneath the water is a rock formation resembling a turtle. That's the clue from the monolith (which you hopefully found earlier).
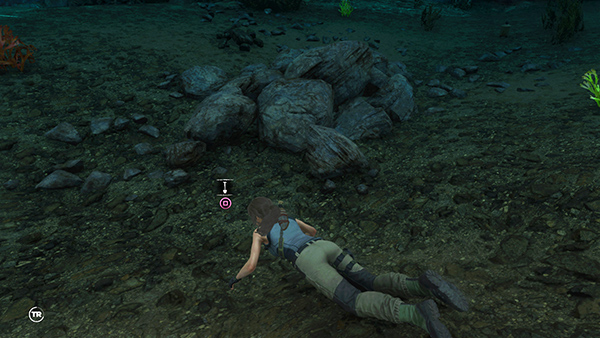
Dive in and search the bottom near the west side of the turtle to find the monolith riches, survival cache (4/8).
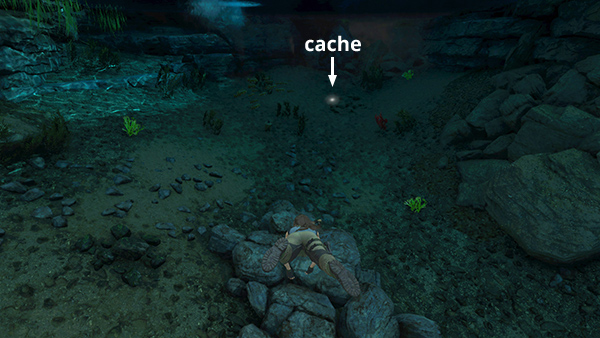
There's another survival cache (5/8) buried on the bottom of the pool a short distance to the south of the turtle. Dig that one up while you're at it.
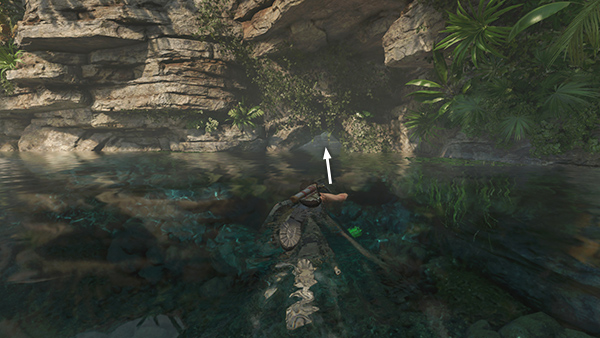
If you like, you can proceed into the next Challenge Tomb (next section), or collect the items from around the pool first. In addition to the various resources scattered along the bottom, you can swim through the inverted V-shaped opening about halfway along the east wall of the pool.
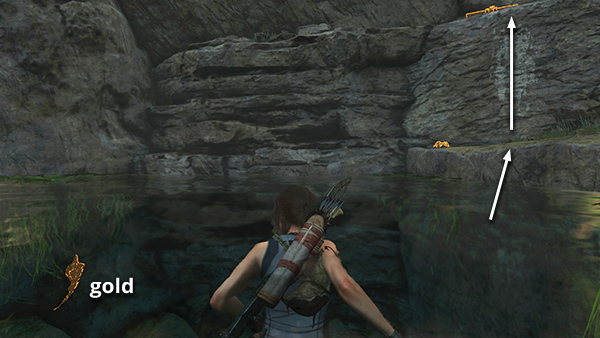
Pry some gold out of the left wall below the surface. Then climb the ledges...
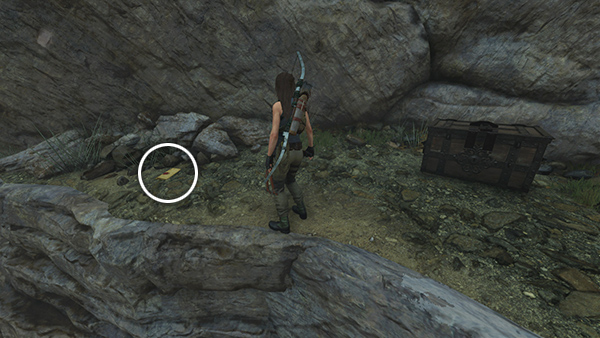
...to find a document (16/27), Missionary Work (Conquerors), and a treasure chest (1/1) containing an Artifact, a Warrior Pendant (Quechua/Cult of Kukulkan).
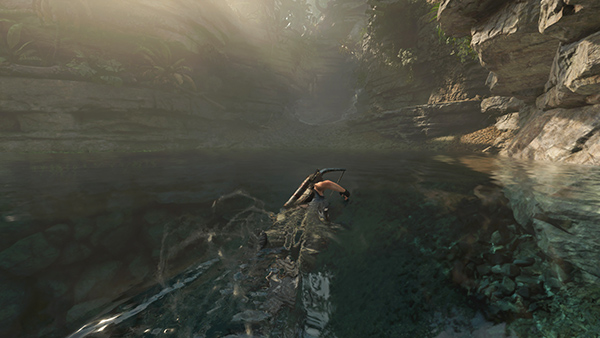
Then swim back out to the main pool and head for the beach in the northwest corner...
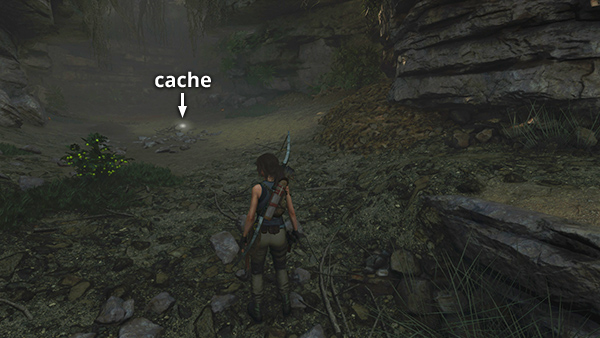
...to find more resources, another survival cache (6/8)...
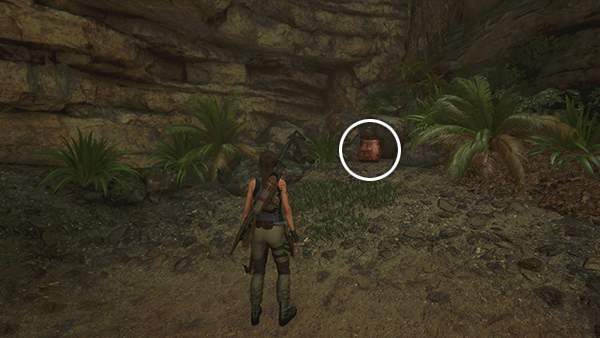
...and an explorer backpack (3/3). This probably won't be of much use at this point since the walkthrough has already pointed out the caches it reveals.
[Mission of San Juan Walkthrough]
Copyright © - Stellalune ( ). All rights reserved. Feel free to copy or print this walkthrough for personal use. By all means, share it with friends, but please include this credit line so people can send me their feedback. No part of this walkthrough may be reproduced on another site without permission. Follow this link for details about this site's advertising and privacy policy.