Riverbed - First Enemy Encounter
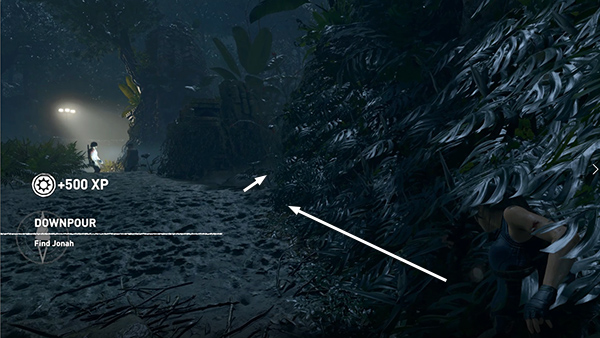
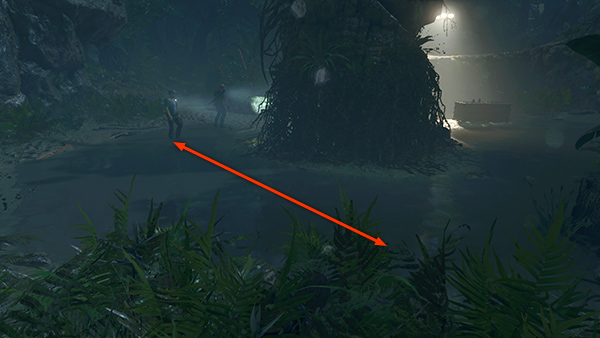
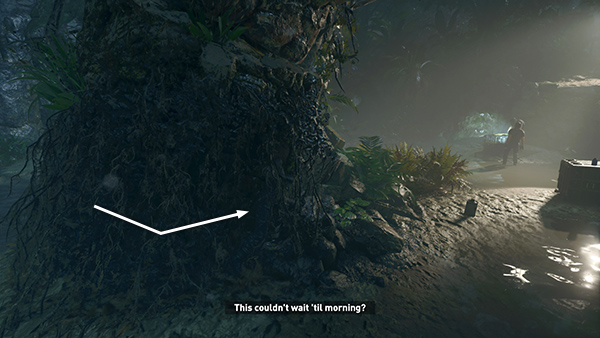
From the starting position against the vine-covered wall on the right side of the path, move forward and around the corner to the right.
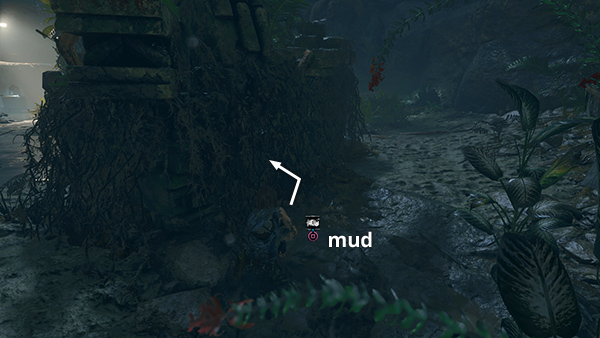
Use the mud patch to apply some camouflage. Then conceal yourself against the nearby mud-covered wall. There are 4 enemies in this area: 3 just beyond the wall where you're hiding and another on the far (northeast) side of the clearing. (They're not all shown in the screenshot above, but you can peer around each side of the wall to get the lay of the land.)
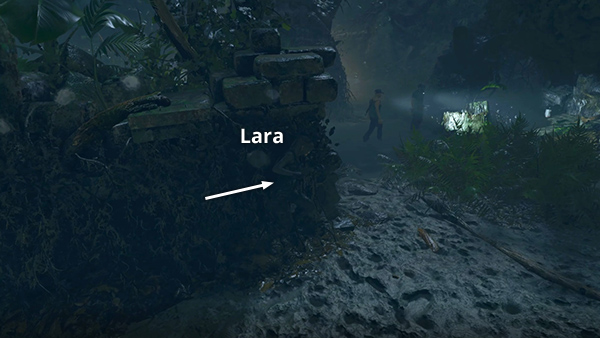
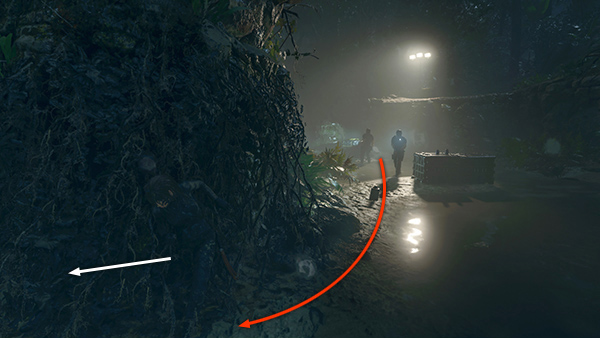
Sidle along the wall to the right so you have a good view of the 2 of the men while staying hidden.
When one of them walks away, wait until he's out of sight. Then move stealthily into the bushes near the second man.
If you wait too long, he'll wander off to the left, but just be patient. He'll soon return this way.
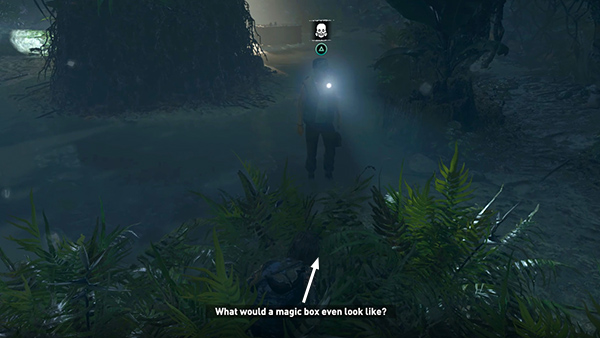
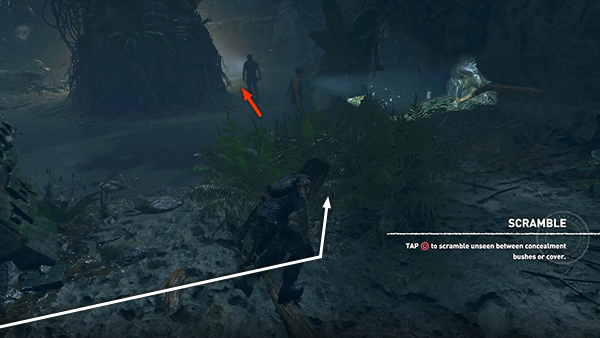
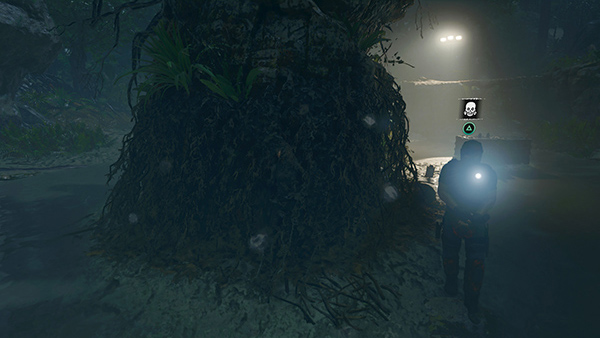
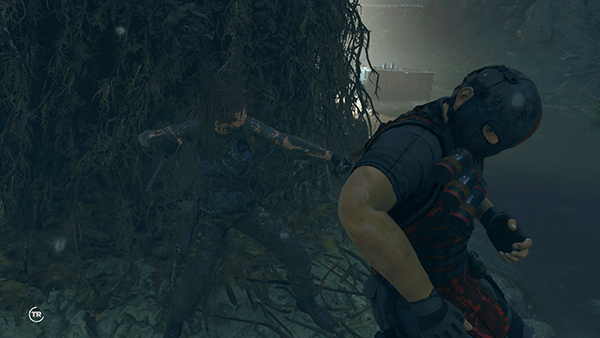
When he stops near the bush where you're hiding, inch forward a little at a time just until you see the Melee icon above his head but not so far that he sees Lara. Press the button...
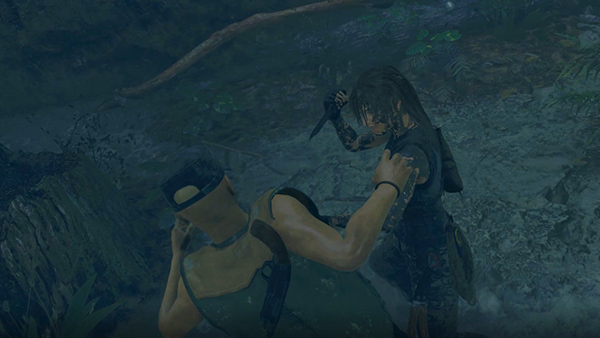
...to stab him and drag him into the bushes.
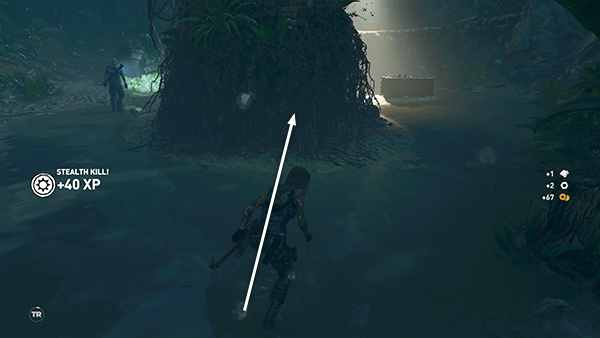
Move forward to the next vine-covered rock outcrop.
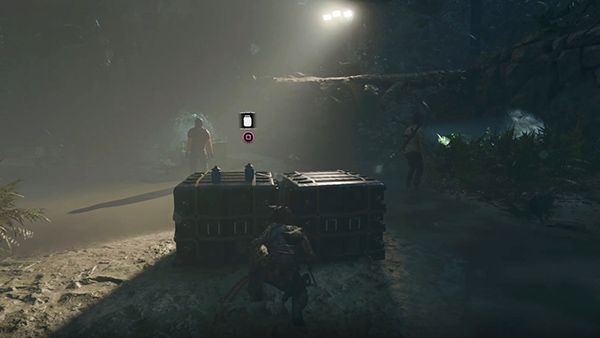
Once Lara is hidden among the vines, move around to right. From here you can see the 2 men standing around a supply crate they're using as a table.
Soon, one of these 2 men will approach along the right side of the rock outcrop. Move back around to the left...
...just far enough so the other men can't see you. Wait for the searcher to pass by your hiding place. Press Melee when you see the prompt...
...for another stealth takedown.
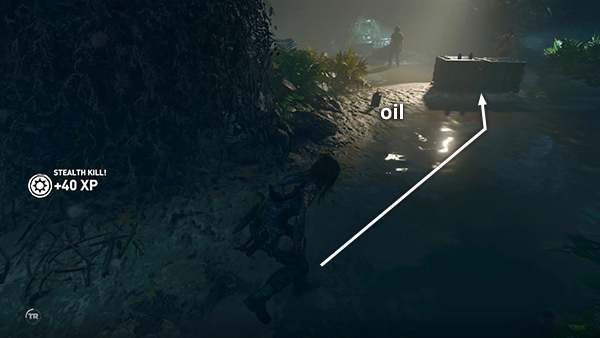
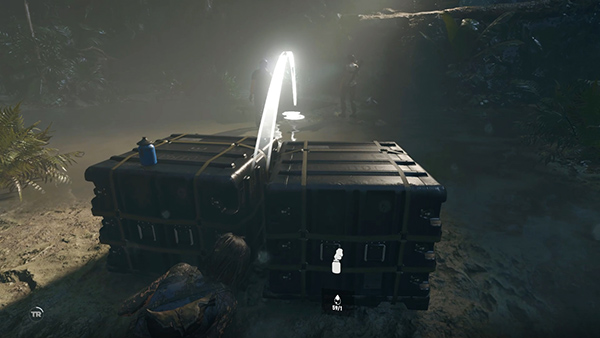
Now, before too much time elapses and the others start to get curious, move forward to hide behind the storage boxes on the right.
Grab one of the empty jars sitting on top and hold Alt Fire (Middle Mouse/R1/RB) to craft a smoke bomb. (There's also a jar of oil just to the left if you need it. It's shown in the previous screenshot.)
Then, when the third man moves in close to the fourth, toss the smoke bomb so it lands between them.
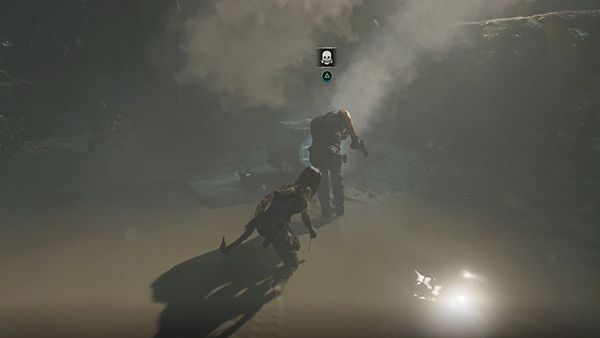
Then run forward and Melee kill them both while they're still choking and sputtering.
NOTE: Sometimes, the roving man who started out on the left (west) side of the clearing will be the one to come up the slope toward Lara while she's hiding near the rock outcrop. If that happens, you can still use the same basic strategy. Just wait for him to approach, make sure Lara is screened from the others' view, and melee kill him. Then use the smoke bomb tactic on the other two men. Or, if you prefer, throw an empty jar for distraction to draw one of the men away so you can stealth kill them one at a time. Even if the last man notices Lara, she should still be able to aggressively melee attack him without giving him time to do too much damage.
[Porvenir Oil Fields Walkthrough]
Copyright © - Stellalune ( ). All rights reserved. Feel free to copy or print this walkthrough for personal use. By all means, share it with friends, but please include this credit line so people can send me their feedback. No part of this walkthrough may be reproduced on another site without permission. Follow this link for details about this site's advertising and privacy policy.