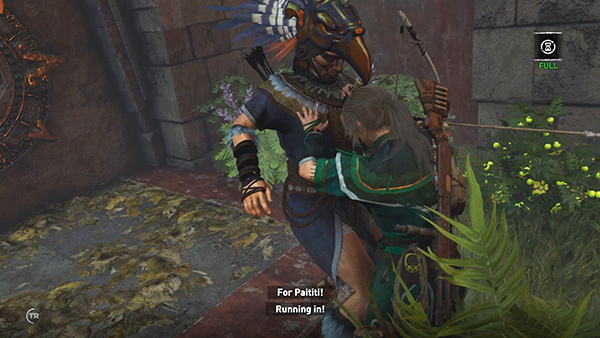
The Hidden City – Combat at the Emperor's Tomb (part 2)
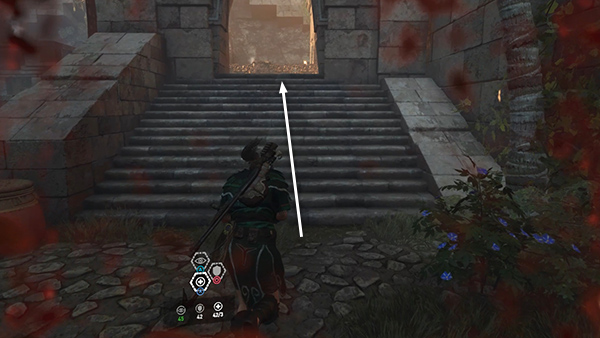
Don't be afraid to run away if things get too intense. Use another Endurance mixture whenever the effects start to wear off, and of course top up Lara's health if it gets low. If necessary, you can always run back the way you came...
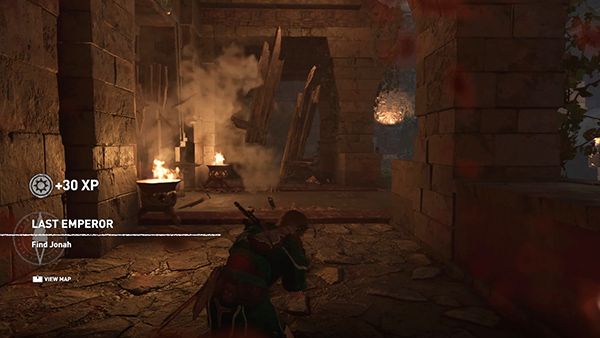
...and try to find cover on the north side of the courtyard.
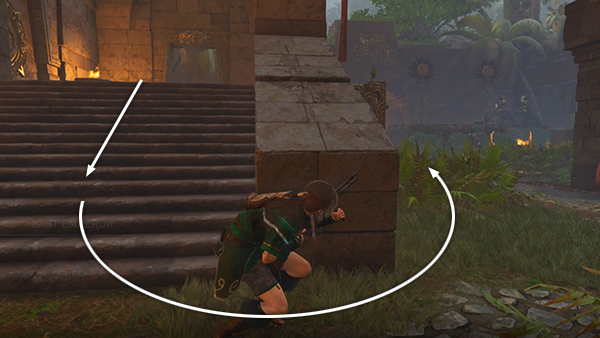
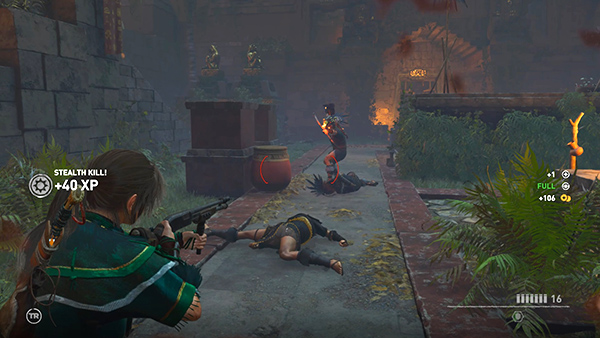
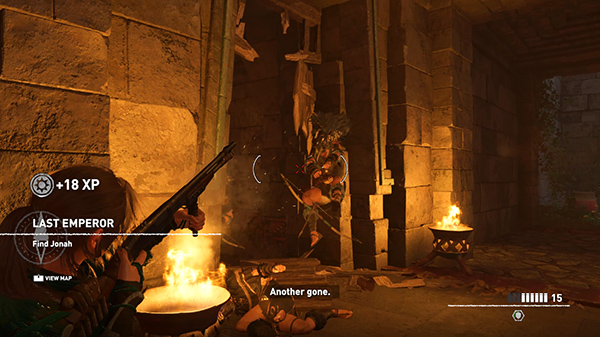
If Lara is able to hide again, you can wait for more enemies to come to you and stealth kill them...
...when they get close enough.
So stabby!
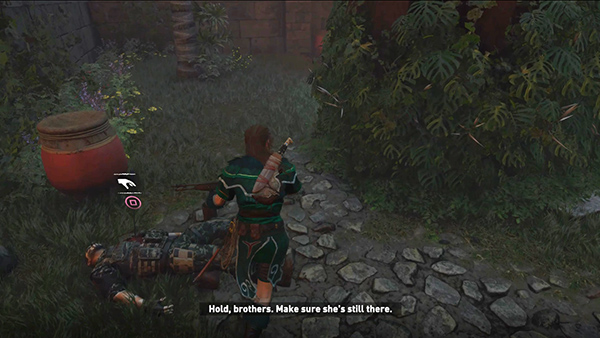
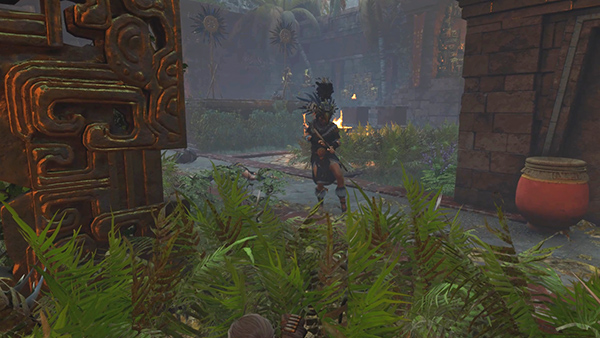
As you move around the courtyard, keep an eye out for the Trinity soldiers Unuratu killed. Their bodies don't glow in Survival Instinct for some reason, but they carry rifle or shotgun ammo and other items, which can be handy if you run low.
There are also a number of red explosive jars scattered around the area, which you can shoot...
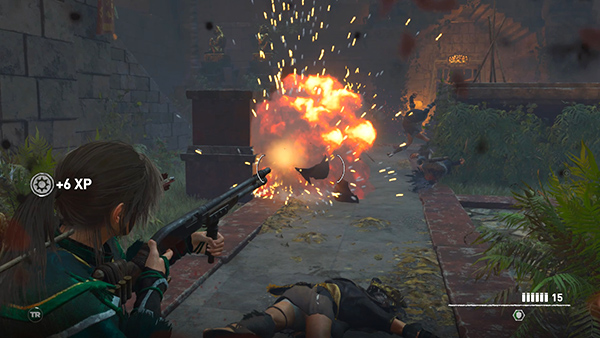
...to kill or injure nearby enemies. (You'll also find a few small ceramic jars that can be used to make smoke bombs, in order to screen Lara from enemies. I found this to be more trouble than it's worth, so I didn't bother screencapping it, but if it helps you, by all means go for it.)
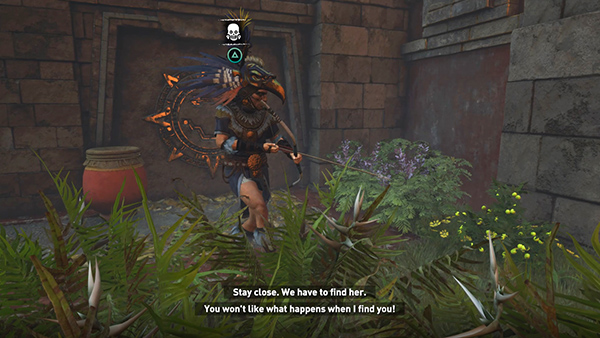
Midway through the battle, 5 more enemies, mostly archers, smash through the door at the south end of the courtyard.
If you've already made your way around to the southeast or southwest corner, you can run in closer and shoot them from the side as they come through the door. Or head back to the north side of the room, find a defensible position, and wait for them to come to you.
[Previous | Hidden City Walkthrough]
Copyright © - Stellalune ( ). All rights reserved. Feel free to copy or print this walkthrough for personal use. By all means, share it with friends, but please include this credit line so people can send me their feedback. No part of this walkthrough may be reproduced on another site without permission. Follow this link for details about this site's advertising and privacy policy.