The Hidden City – Returning from Unuratu's Cell
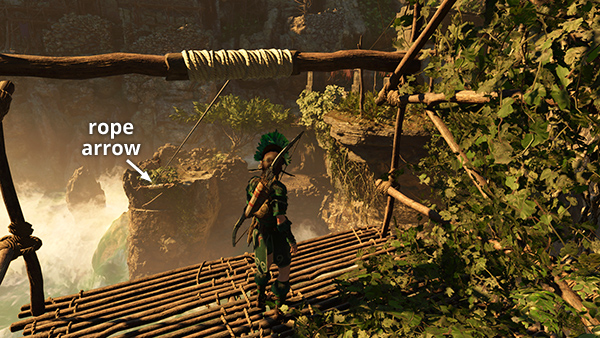
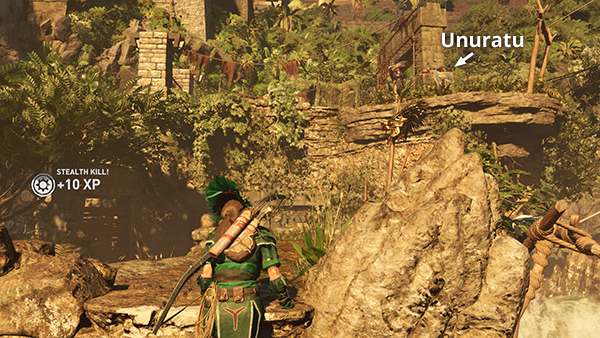
After breaking Unuratu out of prison, Lara ends up on this wooden ledge below the cell. Stand under the rope-wrapped beam and shoot a rope arrow into the beam on the island in the middle of the river.
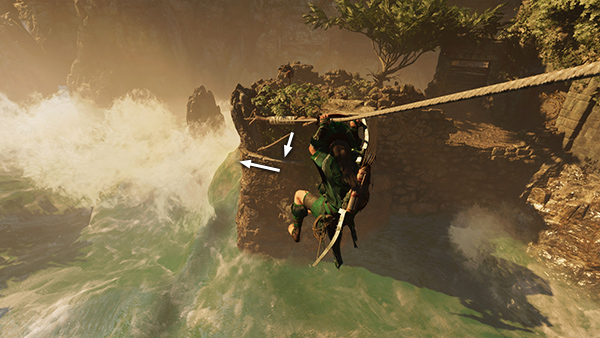
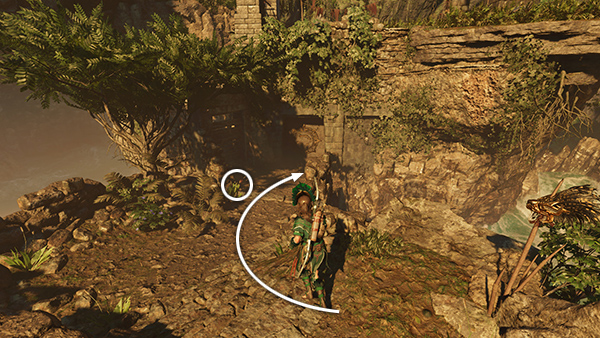
Slide down and grab a handhold on the rock wall. Climb around to the left...
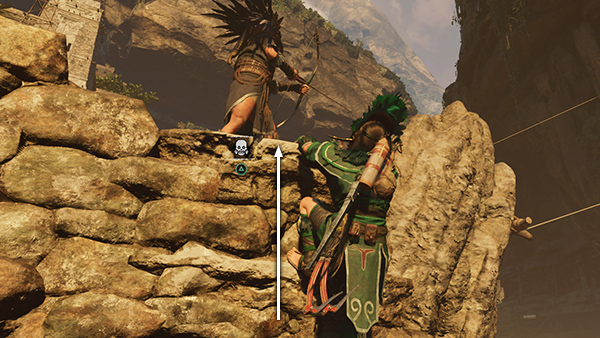
...then upward until Lara is hanging just below the archer. When you see the Melee icon...
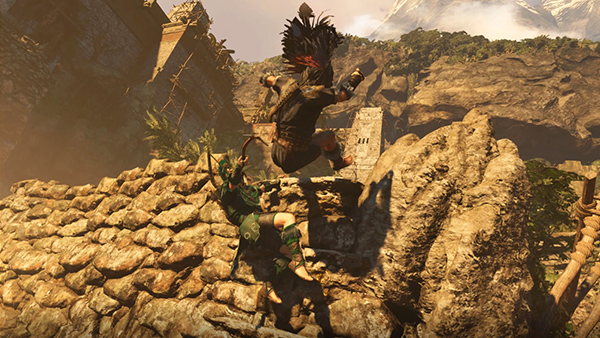
...press the button to drag him off the edge.
Then climb onto the ledge where he was standing. Meanwhile, Unuratu takes care of another guard on the upper part of the island.
Head down and around to the right, grabbing some supplies from a ceramic jar on the way down. (The wooden barrier on the left doesn't open from this side.)
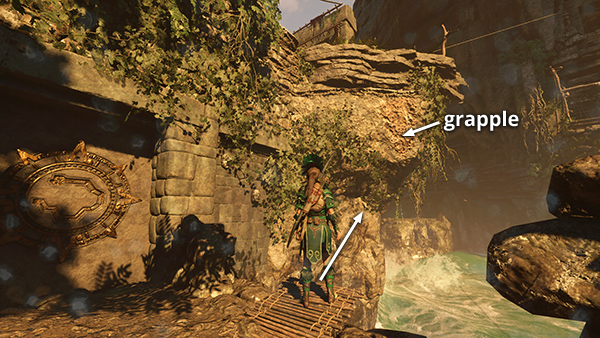
Jump off the end of the wooden ramp and grapple the climbing wall above.
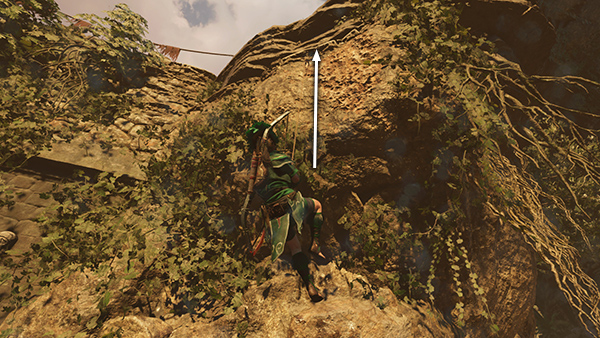
Climb up the rope, then the rough wall, until you can grab onto the narrow rock ledge above.

Climb to the left then upward...
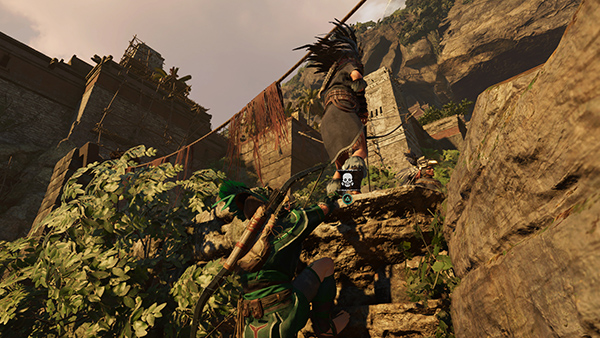
...until Lara is hanging just below 2 more Eagle Archers. Again, when you're close enough to see the Melee icon, press the button to drag him off the ledge.
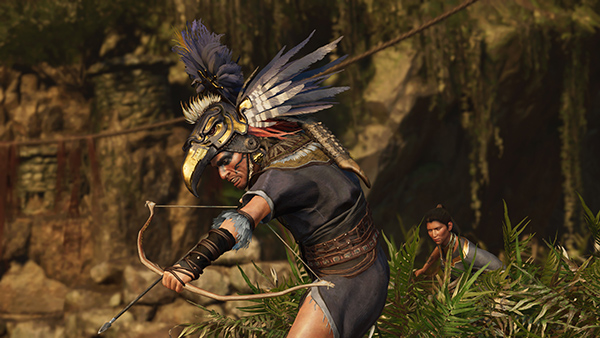
This time, the second archer spots Lara, but Unuratu makes quick work of him. She then uses the archer's weapon to shoot down another guard and continues across the long wooden bridge.
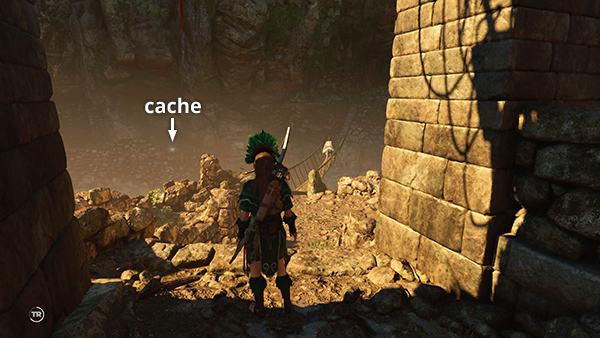
The goal is to follow her, but you can also take a few minutes to go after the rest of the collectibles in this area. You may spot the flashing light of a survival cache on the west bank of the river. We'll get that shortly.
First, turn around and head back to the east. Cross the other rope bridge, beyond where the archer fell.
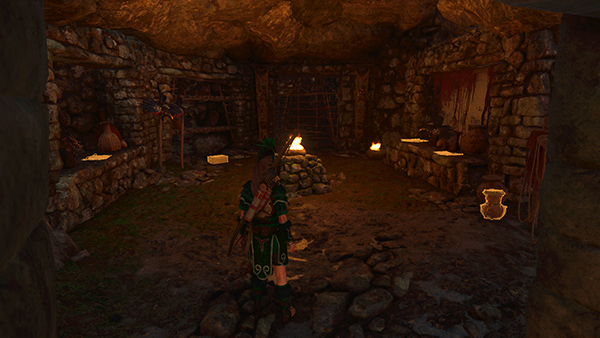
In the Eagle Archers' squad room at the far end of the bridge, you'll find a resource container, an archivist map (6/7), 2 documents (35/42 and 36/42), Cult of Kukulkan (from the Cult of Kukulkan Story) and The Cult's Promise (Subjugating Paititi), as well as a relic (26/28), Map of Search Areas (Trinity).
Return across the bridge to the island.
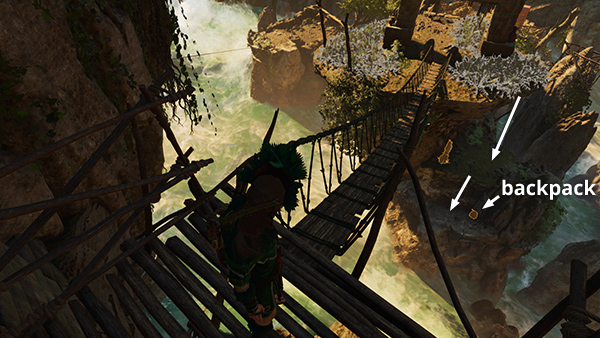
NOTE: If you didn't get the explorer backpack (5/6) on the ledge below and to the right (north) side of the island earlier, you'll be able to spot it from here easily. To get it, go around behind the right side of the square archway and jump down onto the ledge with the rope-wrapped post. Then drop down to the ledge below to get the backpack. There's no easy way back up to the top of the island, so either take the long route, up to Unuratu's cell the way you went the first time, then down the zip line to the island. Or, just jump into the river, die, and reload, and the game should place you at the last checkpoint with all the collectibles.
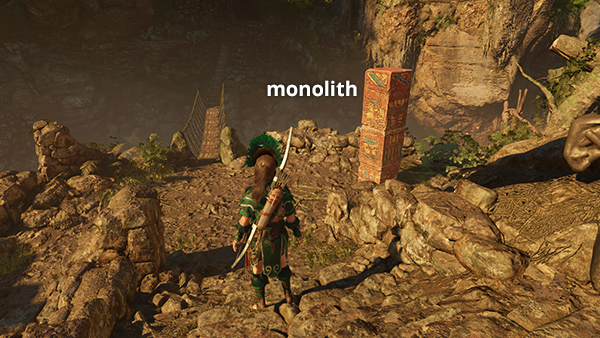
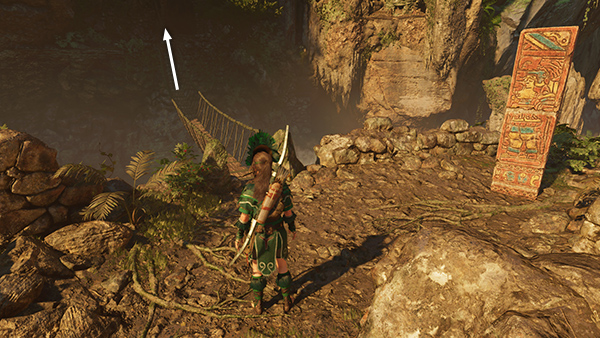
Back on the island, head down the stairs to where the western rope bridge is anchored. Before crossing the bridge, examine the Yucatec monolith (7/7) to the right. I'm not sure what proficiency level is required, but if you haven't unlocked it yet, the monolith should tell you what you need. If you've been following this walkthrough, you'll have no trouble deciphering it. The clue reads, "A once ferocious warrior, raised as a warning. I fell from his mouth and now lie beneath him."
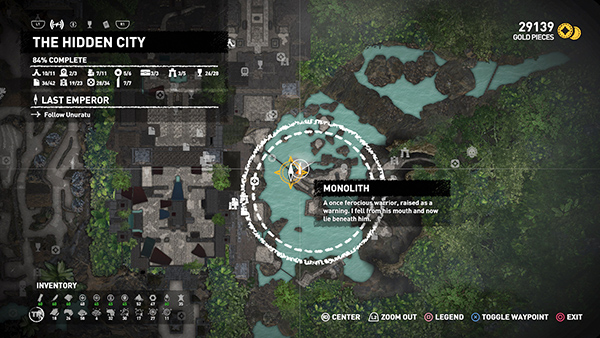
If you select the monolith on the map, a circle marks the area in which the treasure can be found.
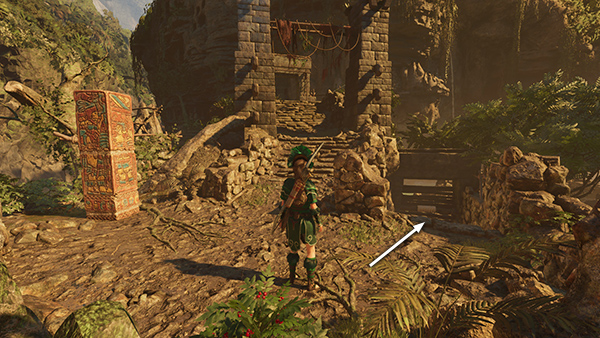
Head down the steps toward the south side of the island.
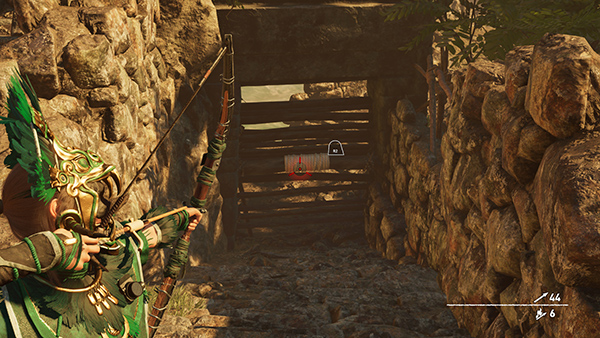
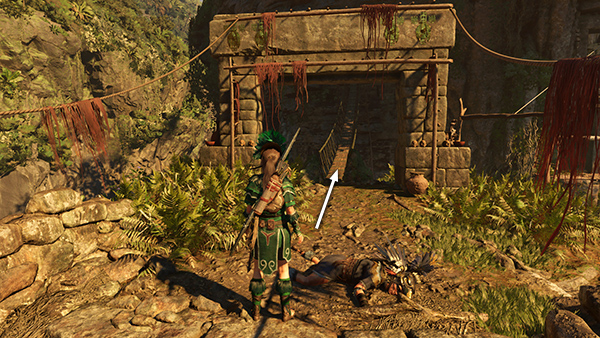
Use a rope arrow to pull down the wooden barrier. (This is the same one you passed earlier on the other side.)
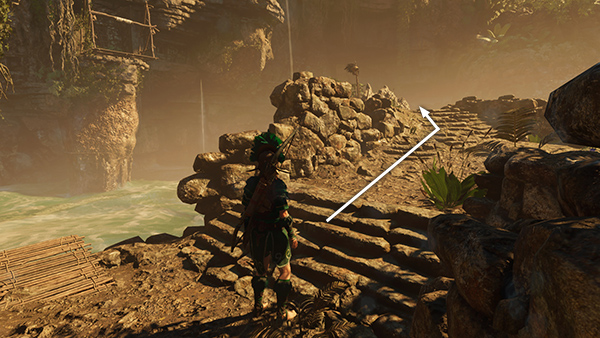
Move up the steps on the right...
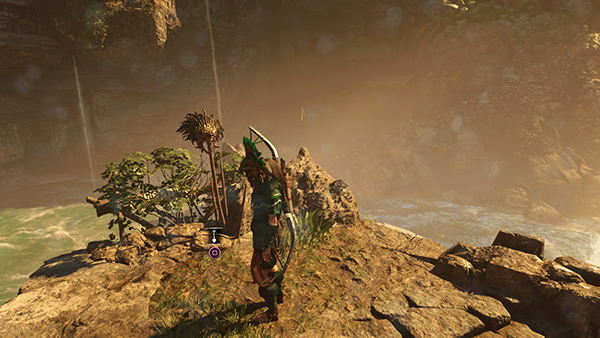
...to find the monolith riches, survival cache (29/34), buried beneath a ferocious-looking warrior's helmet balanced on a post. Dig up the treasure.
Then proceed across the bridge to the west, to the temple entrance where Unuratu is waiting.
Copyright © - Stellalune ( ). All rights reserved. Feel free to copy or print this walkthrough for personal use. By all means, share it with friends, but please include this credit line so people can send me their feedback. No part of this walkthrough may be reproduced on another site without permission. Follow this link for details about this site's advertising and privacy policy.