The Hidden City – Mission: Ancient Studies
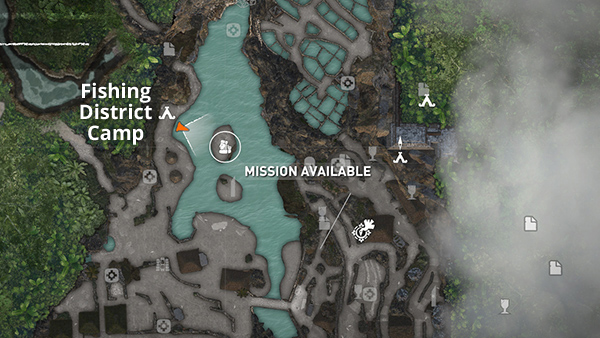
After returning from the CENOTE, Lara has the Serpent Guard disguise. If you then go to the Fishing District Base Camp, either on foot or via Fast Travel, you'll receive a notification that a Mission is available nearby.
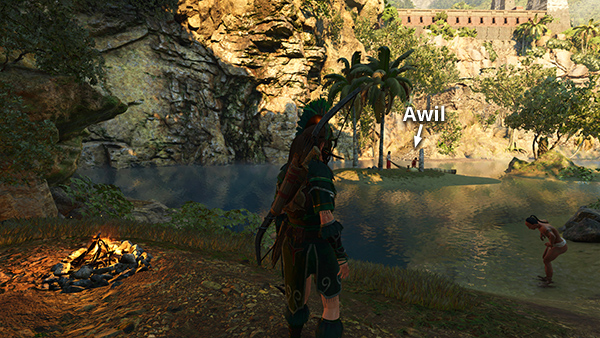
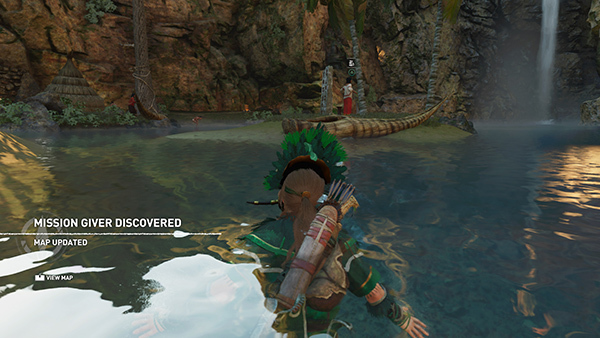
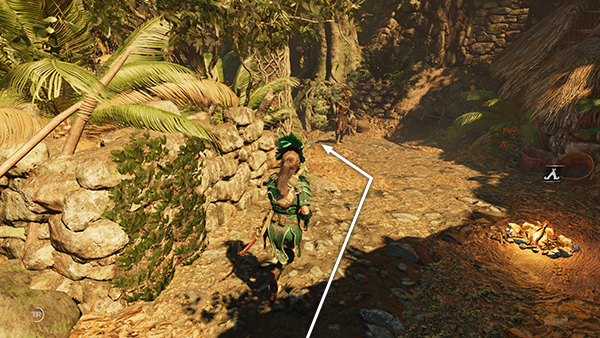
Swim over to the little island just east of the camp and talk to the Mission Giver...
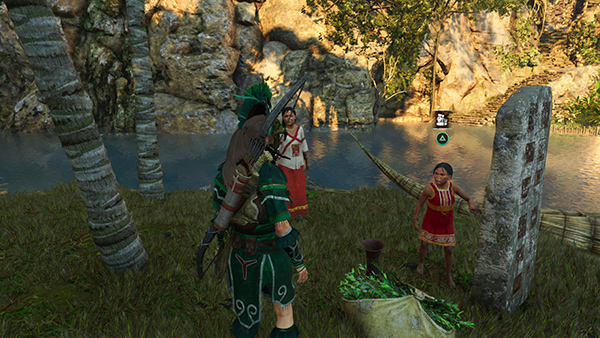
...a little girl named Awil, who's trying to read a series of murals in order to impress her father, an actual Serpent Guard. Lara offers to help the girl Decipher the Murals, and you receive the first objective: Decipher 3 Cultist Murals.

The mural locations are then marked on your map.
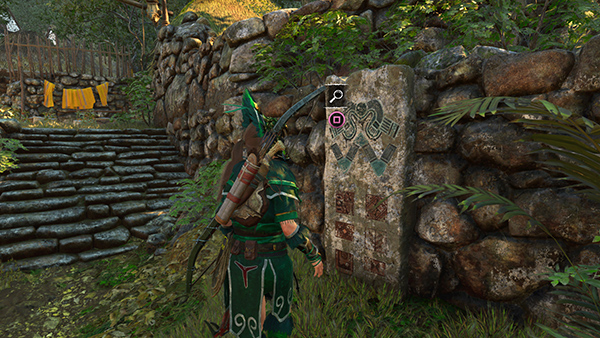
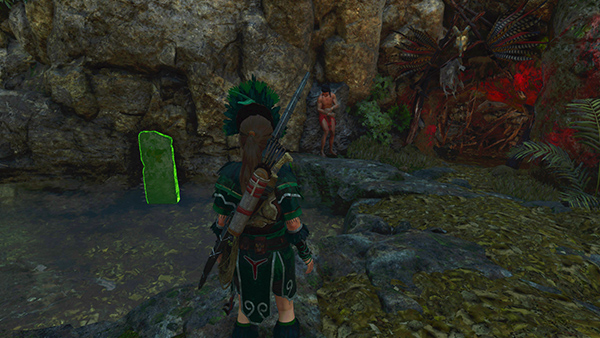
The first mural is on the northwest side of the city, just above the terraced planting beds and just to the left (south) of the spot where you found survival cache #9. The mural glows green in survival instinct. Examine it for some information about Ah Mun, the corn god.
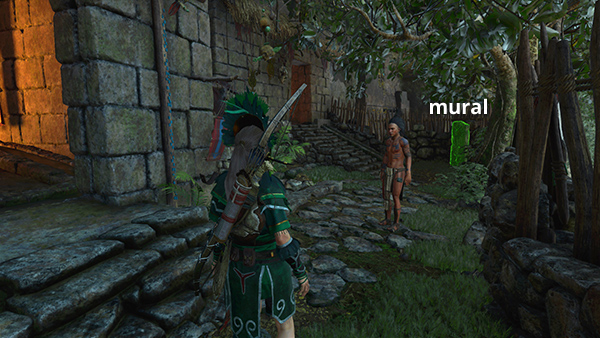
The second mural is a little way southwest of the first, near the little pool and the entrance to the side area where the Path of Battle Challenge Tomb is located. Examine it to learn more about Chaac, the god of rain.
The third mural is farther south, near the house where the Widow's Tears Mission took place. It references Kinich Ahau, the sun god. When you've deciphered all 3 murals, which Lara says teach about the duality of life and death, you'll be prompted to Return to Awil.
NOTE: If you haven't already done that mission, when you enter this area, the next mission giver will be revealed. You can do that mission while you're in the area, then continue with the Ancient Studies mission, or finish this one before starting the next.
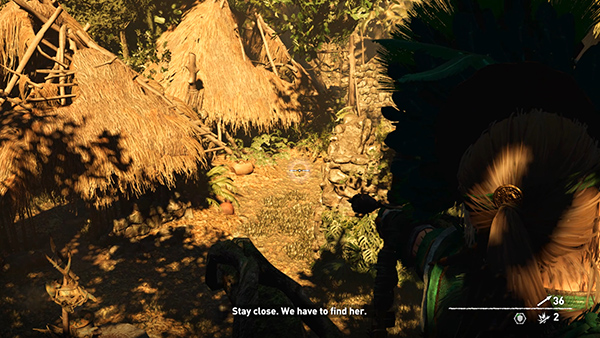
When you get back to the island near the Fishing District Base Camp, Lara finds Awil gone. Her nanny, Mayu, is marked as a new Mission Giver. Speak to her to learn that Awil's father has taken her to be sacrificed as part of the Ritual of Awakening.
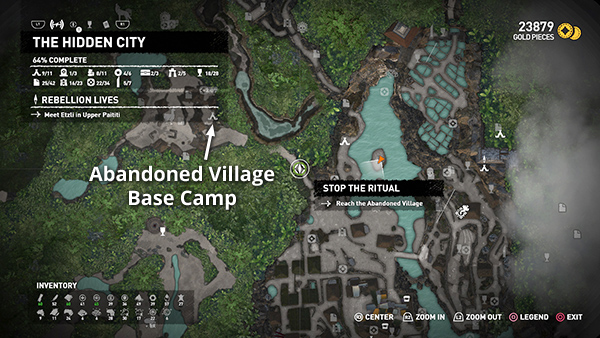
After the conversation, you receive a new sub-mission, STOP THE RITUAL, with the first objective being Reach the Abandoned Village. The entrance to this area is marked on your map.
Before heading out, make sure you have enough herbs and arrow-making supplies in your inventory, since you will soon have to fight a group of cultists.

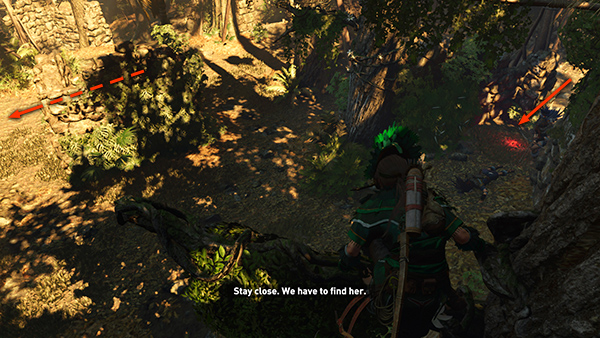
If you've already explored the Abandoned Village side area, you can fast travel to the Abandoned Village
Base Camp, which is marked on the map screenshot above. Otherwise, head for the spot marked on the map, which is just southwest of the Fishing District Base Camp, and follow the muddy path to the village.
When you reach the village, your goal is updated: Enter the Ritual Site, which is then marked on your map. Approach the cultists, who are not hostile yet, and follow them down to the site to Begin the Ritual.
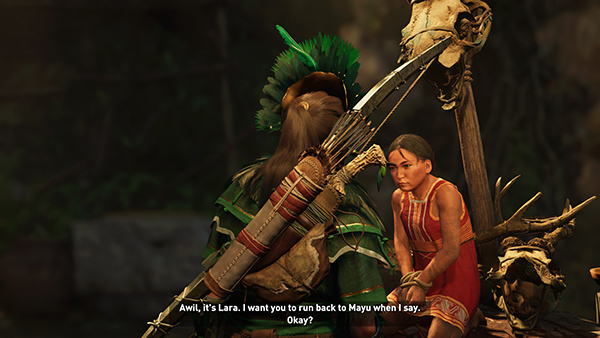
Lara speaks to Awil's father, who mistakes her for a real Serpent Guard. Then she tells Awil to run back to Mayu on her signal.
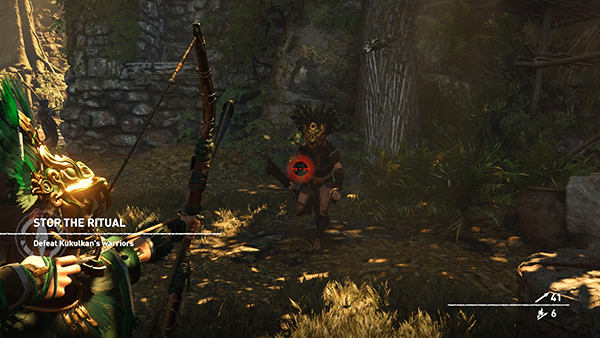
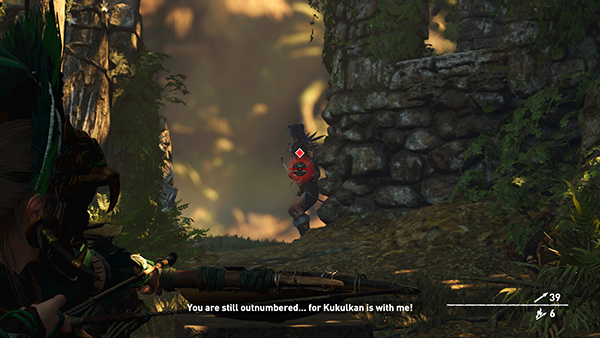
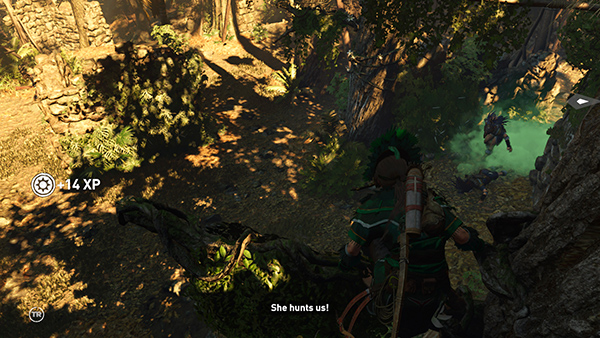
When Lara yells, "Awil, run!" the girl's father and the other cultists turn hostile, and you must Defeat Kukulkan's Warriors. Start with Awil's father. Two headshots (one to destroy his helmet and one to kill him) or several shots to the body will take him down as he charges. Or, use the Puma's Feint/Dodge Kill maneuver to evade and counterattack as he lunges toward you.
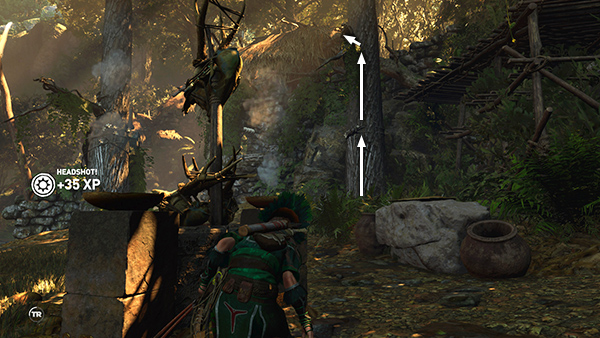
Then take cover behind the altar...
...and headshot the Eagle Archer that had been standing behind Awil's father.
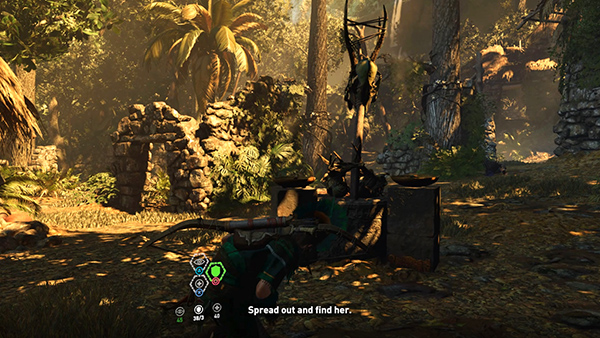
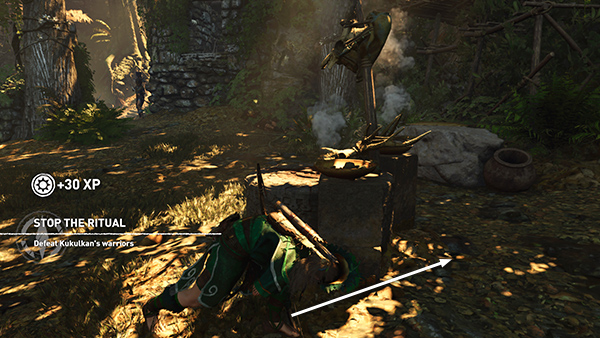
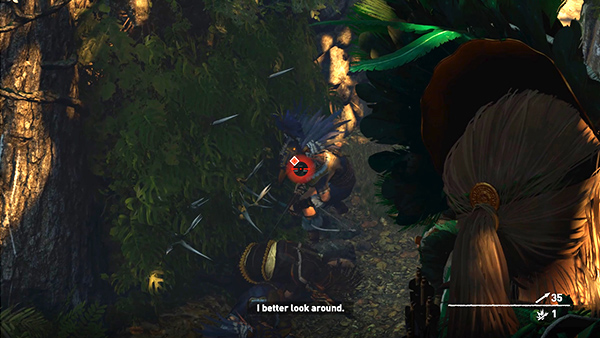
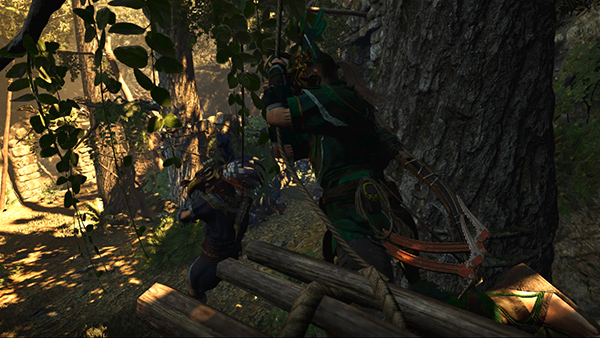
There's a brief interval before the rest of the cultists—2 more warriors and 4 archers—notice something is wrong and come looking for Lara. Take a moment to use health and endurance herbs and/or craft special arrows, depending on the tactics you plan to use.
If you haven't unlocked the Viper's Lure skill yet, just keep moving and pick off attackers as you go. This is a large area with lots of places to hide. Use fire arrows if things get rough, and don't forget that Lara can run away and re-enter stealth once she's out of her enemies' line of sight.
If you have unlocked the Viper's Lure skill, it can serve you well here. Scramble up the tree ahead and a little to the right of Lara's position following the cutscene.
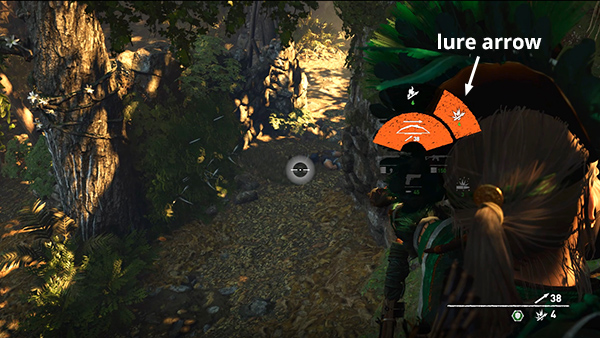
Quickly craft some lure arrows if you haven't already done so. (Select the bow by pressing 1 or D-Pad Up. Press the same button again if necessary to switch from fire arrows to lure arrows. Then without aiming, hold Middle Mouse or Right Bumper to craft lure arrows using arrows, cloth, and venom from your inventory.) Shoot one into the ground near where the eagle archer fell by aiming there and pressing Alt Fire (Middle Mouse or Right Bumper).
Shoot another into the ground off to the left, near the thatched huts, where the path comes in behind the altar.
Stay hidden in the tree as the cultists approach one at a time. The red flashing light where each lure arrow landed lets you know it's still active. When an enemy approaches to investigate...
...the arrow detonates, releasing a toxic cloud, that kills the curious cat and anyone else standing nearby. The lure arrow on the left should have the same effect. You can then shoot two more lure arrows into those same spots to take out two more enemies when they come to investigate their fallen comrades.
If you run out of lure arrows, you can also headshot the remaining enemies as they approach. Just remember that the archers with the blue feathered helmets only take one headshot, but the warriors, wearing brown-and-gold jaguar helmets and wielding obsidian-spiked blades, require two headshots and will yell out for reinforcements if there are any other enemies left alive.
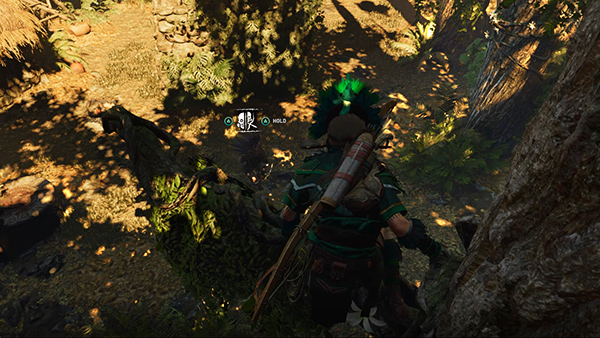
When you're down to one or two remaining enemies, you can also wait for them to come near the tree where Lara is perching. Then, when you see the Melee icon above an enemy's head, tap the button once to leap down and knife him or hold the button briefly to use the Eagle's Talon maneuver you learned back in Kuwaq Yaku.
Lara shoots a rope arrow into the enemy and drags him up the tree, landing on the ground below. Obviously, you don't want to do this early on, when other enemies are nearby, since they will notice and attack.
[Mission Walkthrough| Main Walkthrough]
Copyright © - Stellalune ( ). All rights reserved. Feel free to copy or print this walkthrough for personal use. By all means, share it with friends, but please include this credit line so people can send me their feedback. No part of this walkthrough may be reproduced on another site without permission. Follow this link for details about this site's advertising and privacy policy.