The Hidden City – Side Mission: Hearts and Minds
Retrieve the Savior's Amulet (part 2)
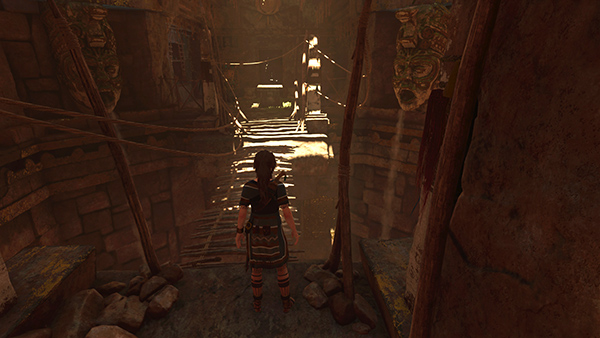
Ahead is a wooden footbridge leading to Manko's sarcophagus. Lara expresses suspicion, and sure enough, when you step onto it, the bridge collapses, dropping Lara into the pool below.
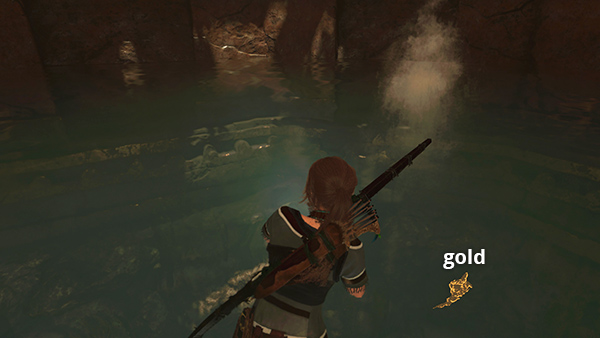
You must now find another way to Reach Manko's Remains. First, collect a few aquatic plants and pry some gold ore out of the south wall of the pool.

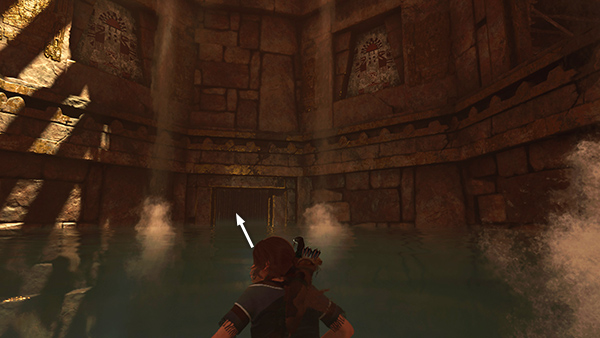
Then swim through the tunnel to the north.

Surface and climb out of the water...
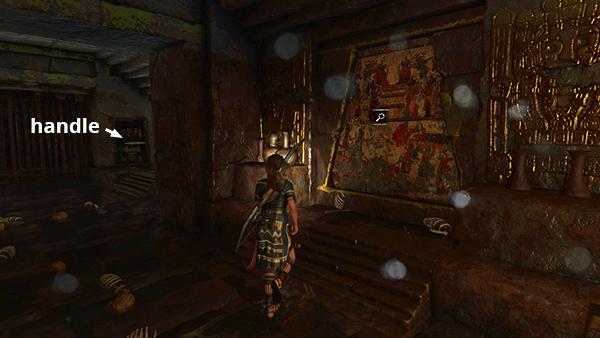
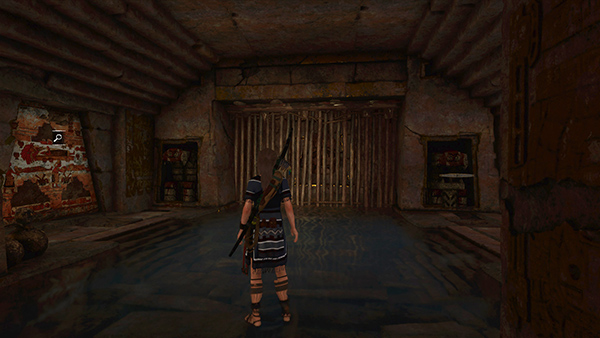
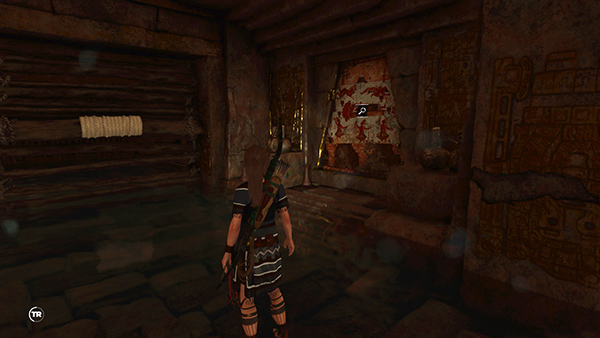
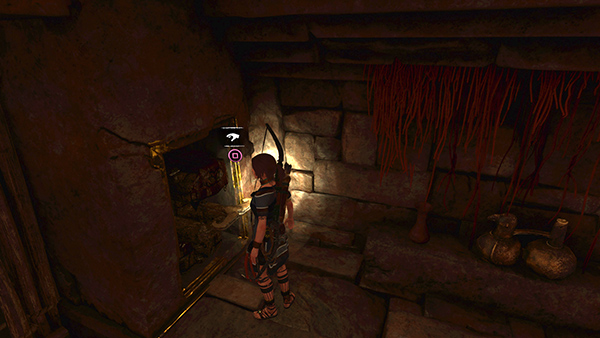
...into a room with a minor mural you can examine for information about Manko and the Cult of Kukulkan. In the next room is a jaguar-head handle.

Use it to close the nearby sluice gate, raising the water level.
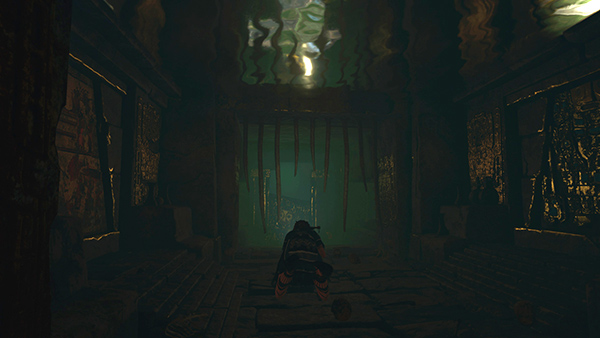
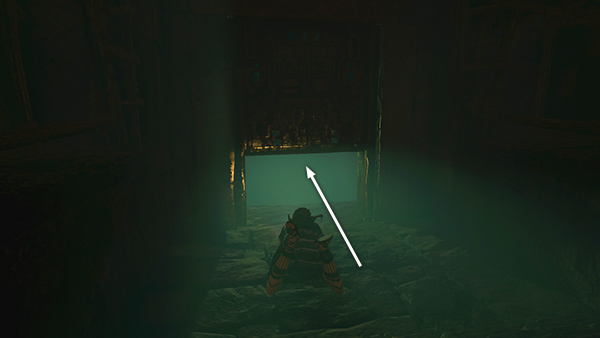
Before Lara drowns, turn around and swim through the passageway to the south. Beyond the broken bars and the angled gold door, you can surface in the pool below the sarcophagus.
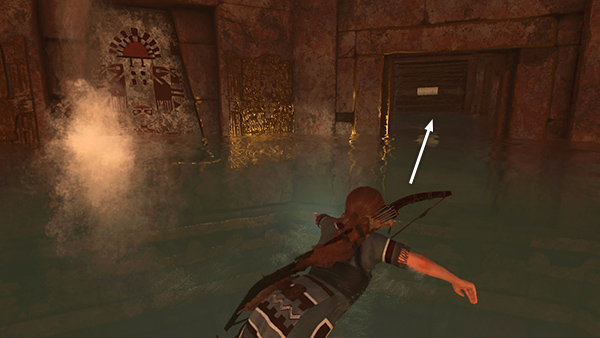
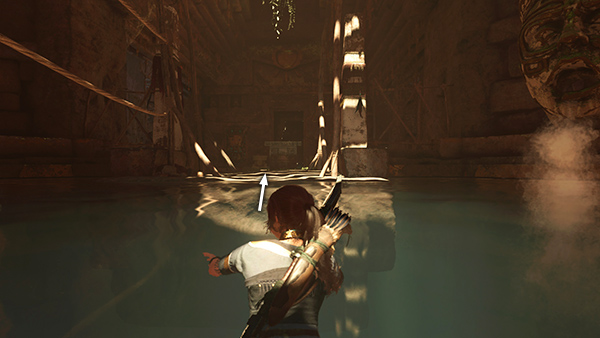
Swim to the opposite (south) side and enter another side area.
Examine the minor mural then use the jaguar-head handle to raise the water level further.
As you swim back out to the north, the door starts to close, but it remains open just wide enough for Lara to swim through and up to the surface.
Head for the doorway on the left (west) side of the pool.
Examine another minor mural.
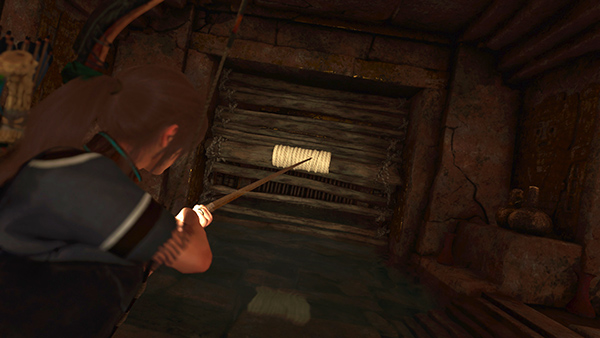
Use a rope arrow to pull down the wooden barrier...
...so you can reach the next jaguar-head handle and use it to raise the water level again.
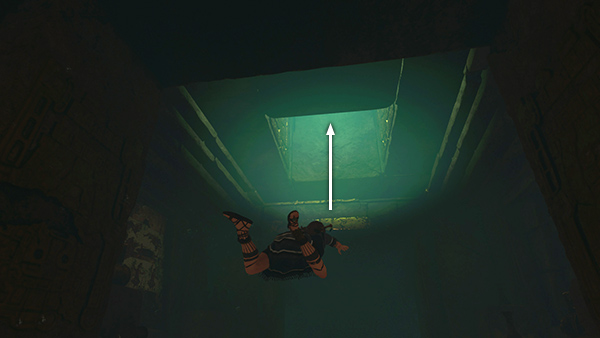
This time, as you swim back toward the main room, the door where you entered closes all the way, and you'll need to swim up through the opening in the ceiling.
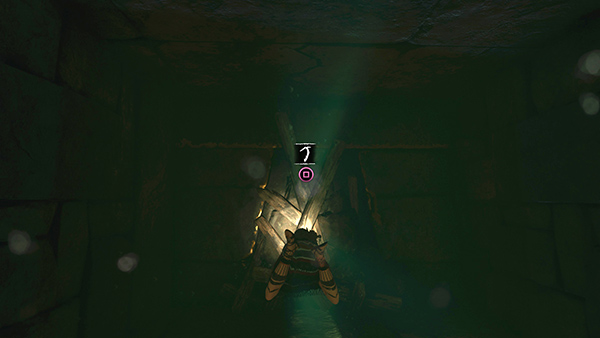
In the small room above, swim forward and use a climbing axe to smash through the wooden barrier...
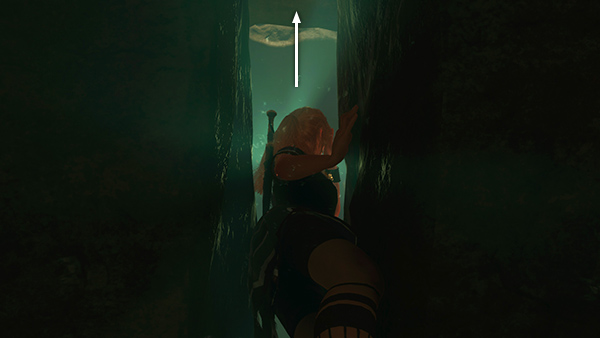
...so you can then squeeze through the narrow opening and head straight up to the surface.
Manko's tomb is now directly ahead. Climb out of the water.

Open the sarcophagus to retrieve the The Savior's Amulet and 750 gold pieces. The amulet doesn't count as an official relic, but it is added to your Artifacts collection under the Subjugating Paititi Story, and your mastery of the Quechua dialect increases a little. There are also 2 piles of jade in the corners.
NOTE: Completing this crypt, does not count toward the Speak of the Dead Challenge.

Finally, Return to Unuratu's Hideout with the Amulet. You could return the way you came, following the passageway west then south. Or take a shortcut: break through the doorway behind the sarcophagus.
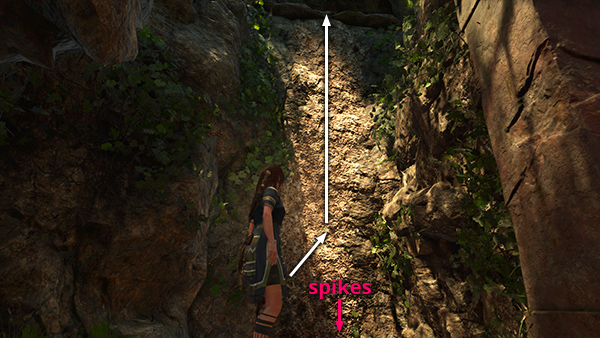
Jump across a spike pit and scale the climbing wall to the top.
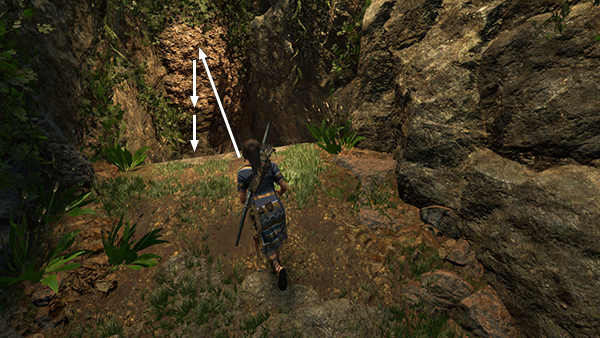
Proceed through a low tunnel to another climbable wall. Jump across the gap to latch on, then rappel down to the ground.
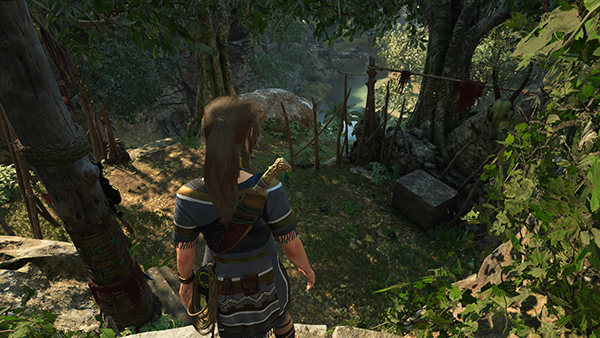
Follow the passageway back to the south, past an already triggered spear trap, a spike pit, and another spear trap to the ledge above the river where you first came in. Return to Uchu to give him the amulet. Depending on where you are in the main story when you complete this mission, he will either be in Unuratu's Home or, later in the game, SKULL CAVE. Both have base camps, and Uchu's location should be indicated on the in-game map.
[Previous| Mission Walkthrough | Main Walkthrough]
Copyright © - Stellalune ( ). All rights reserved. Feel free to copy or print this walkthrough for personal use. By all means, share it with friends, but please include this credit line so people can send me their feedback. No part of this walkthrough may be reproduced on another site without permission. Follow this link for details about this site's advertising and privacy policy.