Cozumel – Temple of the Moon (part 2)
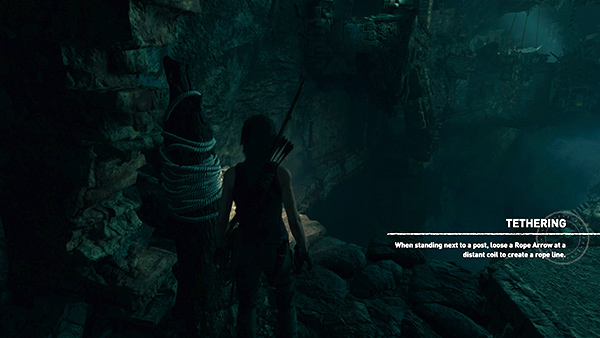
After reading the document, continue to the far end of the ledge.
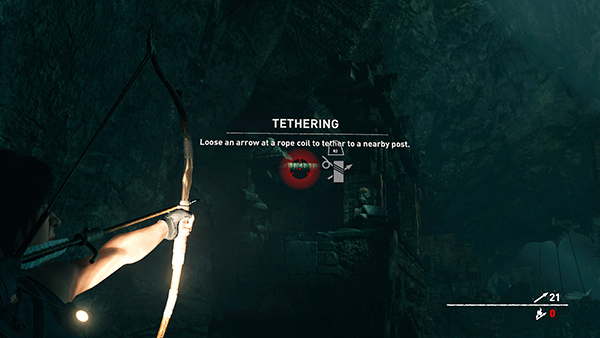
Stand near the rope-wrapped post for a tutorial on Tethering.
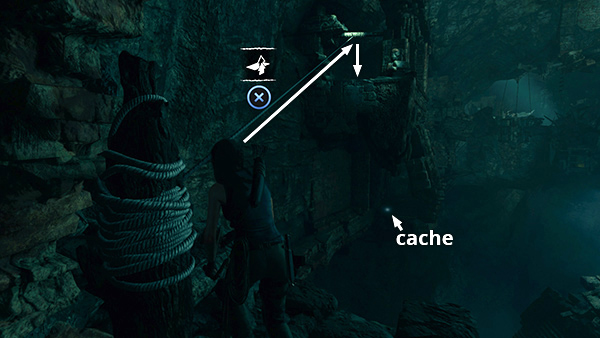
Aim for the rope-wrapped beam on the far side of the gap and shoot a rope arrow into it. As long as Lara is standing close enough to the post, she'll anchor the other end of the line there. You can then jump to grab the rope and use it to climb across. Keep climbing until you reach the far end. Then drop onto the ledge (C/Circle/B). As you climb, you'll catch another glimpse of the Survival Cache flashing below.
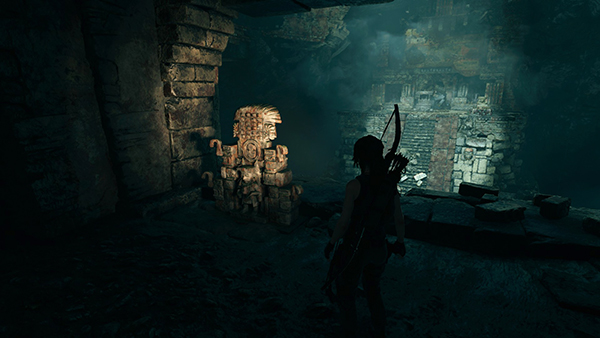
Before going after the cache, examine another mural (2/2) just ahead on the right. This one is also part of the Exodus Story. It tells about the Temple of the Moon and gives XP and additional proficiency in the Mam dialect.
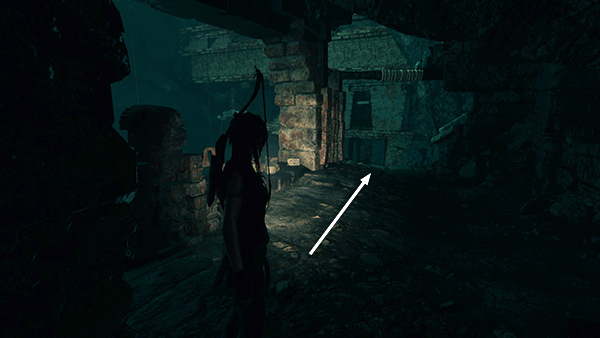
Now move back to the end of the ledge below the rope-wrapped beam.
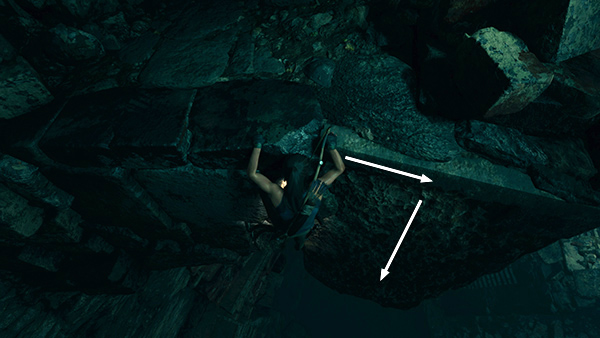
Instead of sliding down the rope, step (don't jump) off the edge and Lara will drop and hang. Traverse to the right and climb down the rough wall as far as you can.
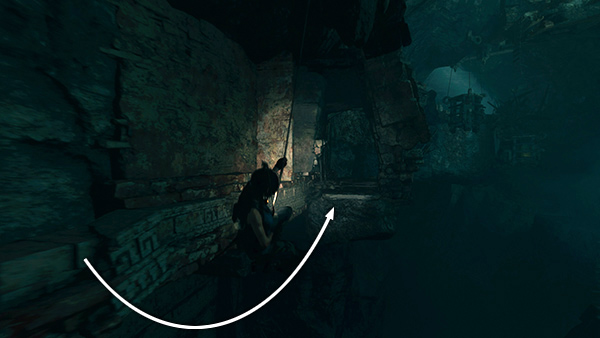
Then rappel down as far as Lara will go, swing back and forth, and jump to grab the ledge near the cache.
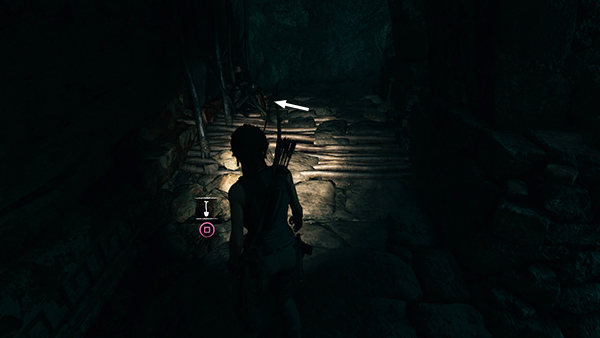
Dig up the survival cache (3/3). Then approach the skeleton leaning against the wall ahead on the left.
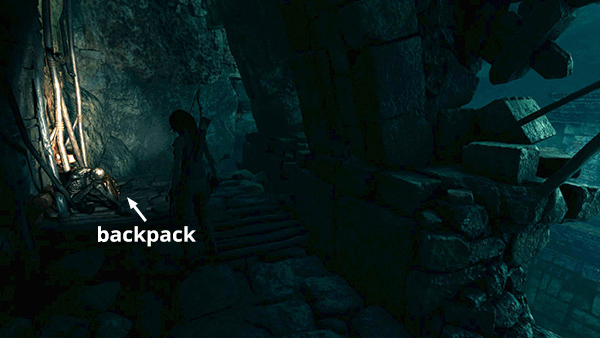
Examine the explorer backpack (1/1) the skeleton is clutching. This special item is similar to the Archivist Map you found earlier, but it shows any survival caches, treasure chests, and crypts nearby.
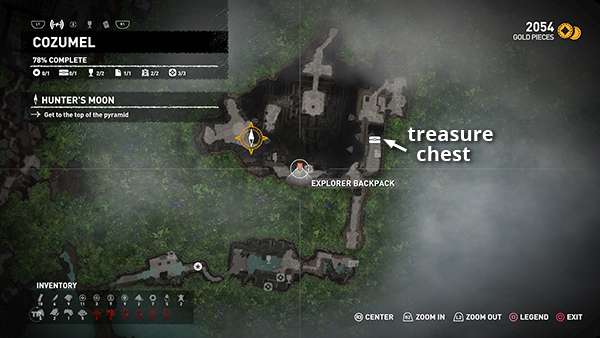
If you have been following this walkthrough, you've already found the 3 survival caches, but if you hadn't they would now be marked on your map. The location of the Treasure Chest, on a ledge off to the east, is revealed.
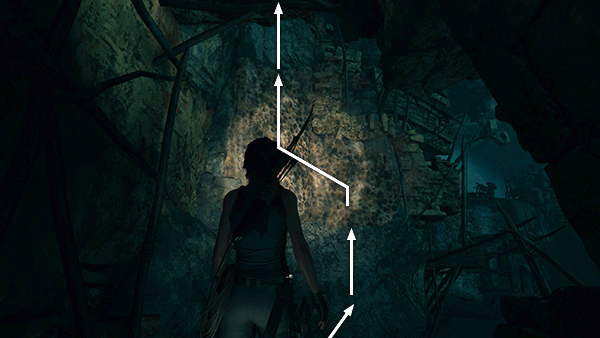
To get back to where you left off, continue to the end of this ledge, jump toward the right side of the wall ahead, scramble up, and press Interact to latch onto the rough wall with your axes. Climb up to the left then scramble up onto the ledge above.
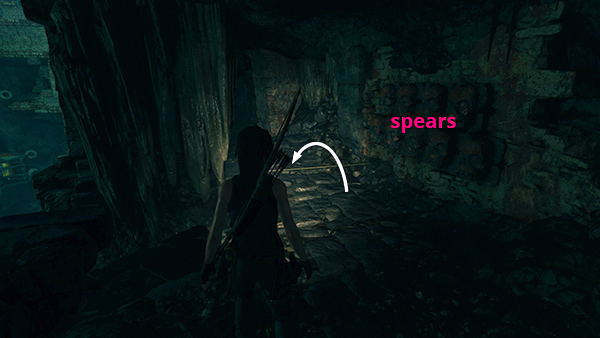
This is the same ledge where you found the mural earlier. Just ahead is a spear trap. Do not try to disarm it from this side, or Lara will get skewered. Instead, hop over the tripwire...
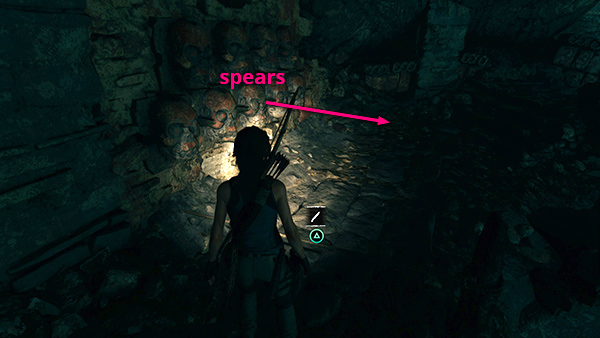
...turn around and cut the wire to spring the trap.
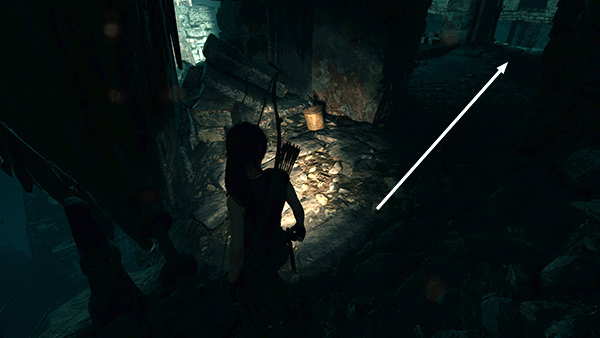
Loot the supply canister on this side of the spears. Then, if you like, you can move back to the east end of the ledge, where you climbed the rope line earlier.
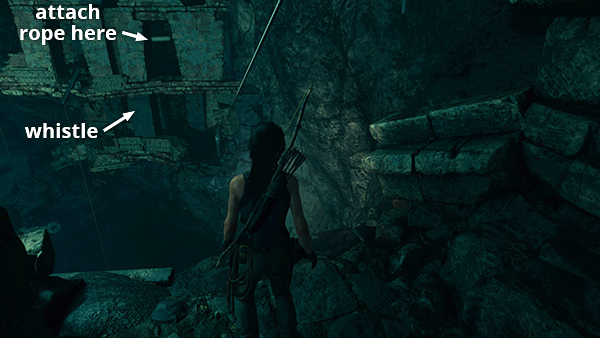
If you missed the 4th whistle for the challenge, you can spot it from here. You won't be able to open the Treasure Chest yet, but if you want to check it out, shoot a rope arrow into the rope-wrapped beam above the post you used to anchor the first rope line.
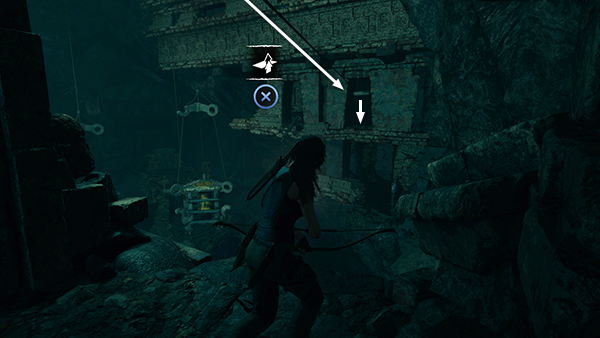
Jump up to grab the new rope line, climb across, and drop down in the doorway.
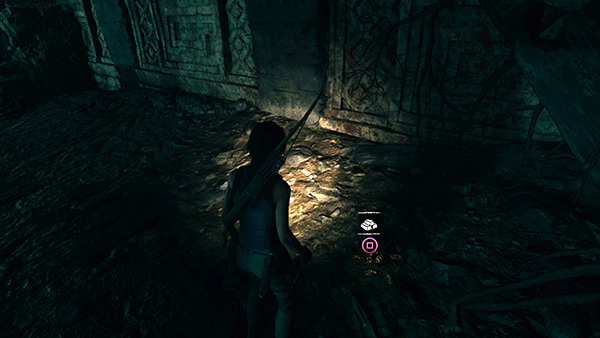
Pick up some gold ore lying on the ground.
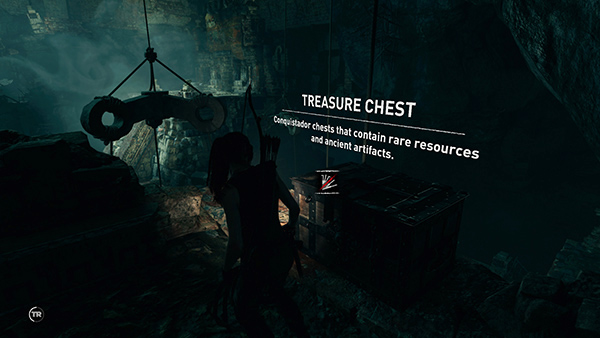
Then examine the treasure chest. You'll learn about this new type of collectible, but you will not be able to open it until you find the LOCKPICK.
Return to the rope line and climb back to the previous ledge. Move past the mural and scramble under the spears to reach the far end of this ledge so you can proceed.
[Previous | Next | Cozumel Walkthrough]
Copyright © - Stellalune ( ). All rights reserved. Feel free to copy or print this walkthrough for personal use. By all means, share it with friends, but please include this credit line so people can send me their feedback. No part of this walkthrough may be reproduced on another site without permission. Follow this link for details about this site's advertising and privacy policy.