Cozumel – Temple of the Moon (part 1)
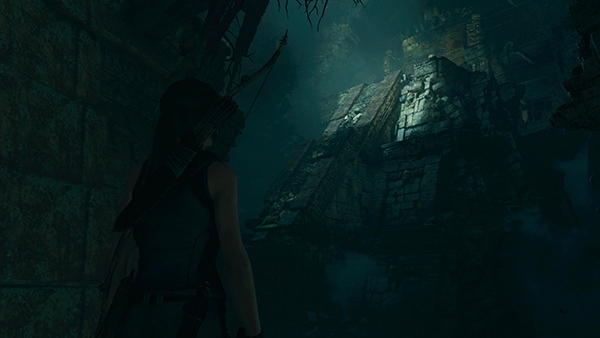
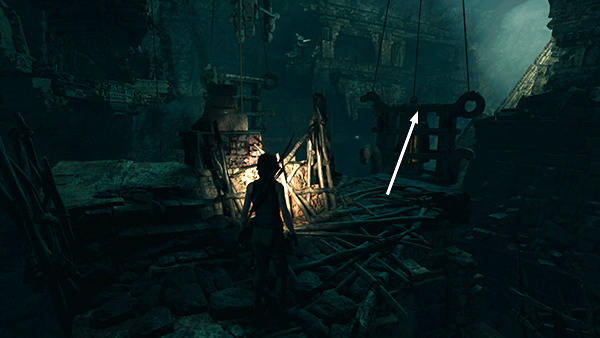
Now for our first big platforming puzzle: reaching the top of the pyramid.
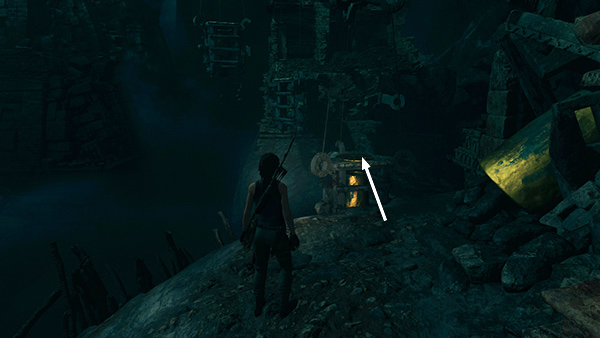
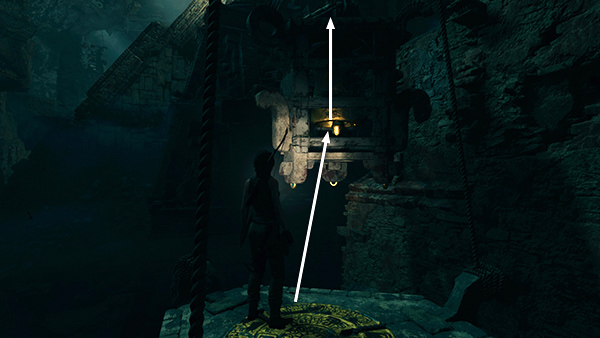
Move to the edge of the chasm and jump onto the nearest of several dangling platforms with gilded bells inside.
Lara's weight carries the bell downward, simultaneously raising the second bell.
Wait for the bells to settle. Then jump and grab onto the second bell and climb on top of it.
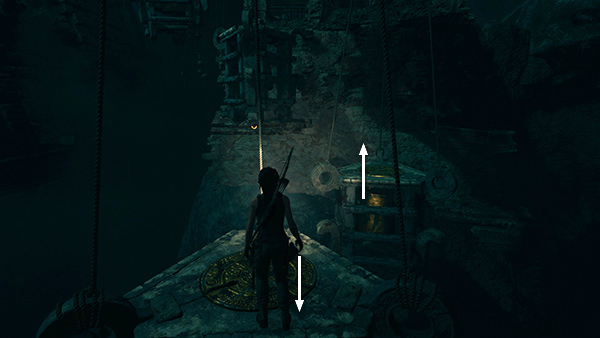
Jump to grab the third bell, just to the left, and climb on top of it.
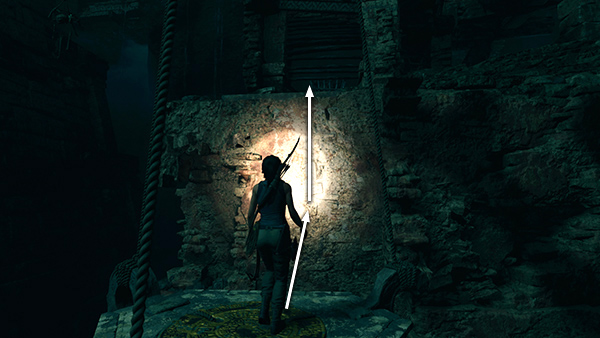
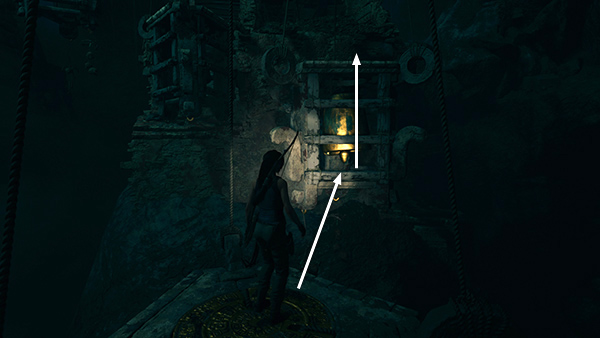
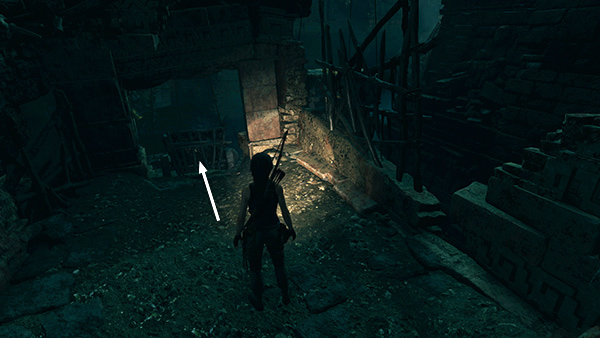
From there, jump toward the light-colored wall and scramble up onto the ledge.
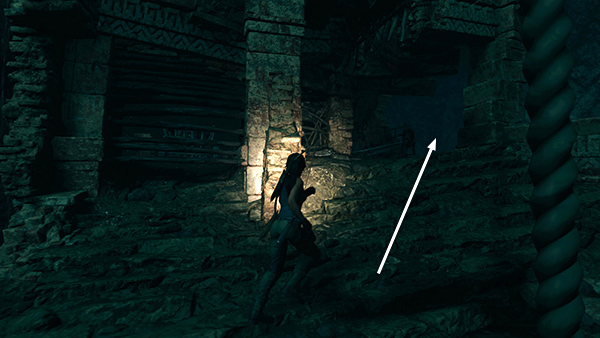
Climb the steps on the right.
Then move around to the left, behind the raised structure, picking up some hardwood (for making arrows), supplies, and salvage on the way. (Again, items are distributed somewhat randomly, so if you don't see these exact things, just look around and you'll find something.)
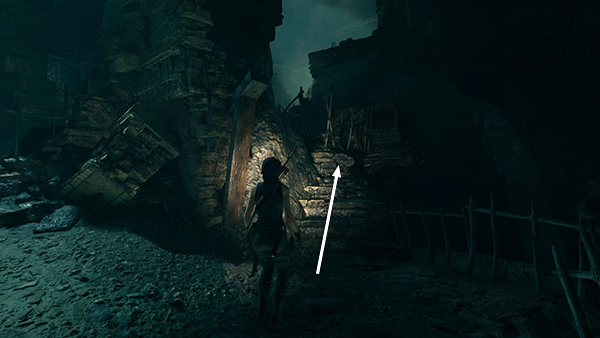
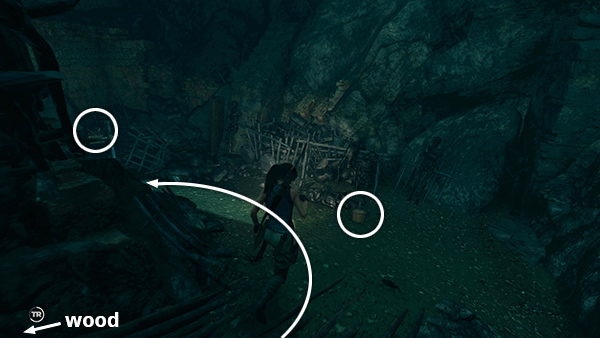
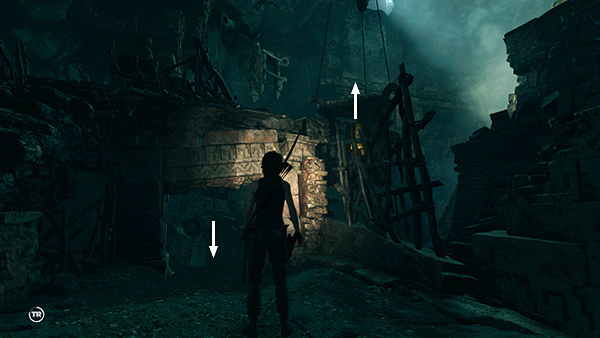
Climb the stairs at the back of the raised structure.
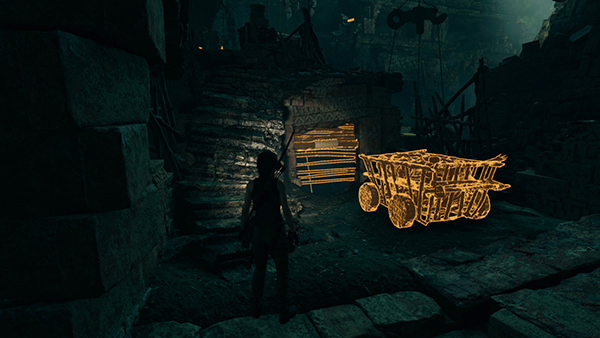
Here we have a wooden barrier and a wooden cart. Even on the Medium Puzzle difficulty setting, you can tell it's possible to interact with these objects since they glow in Survival Instinct.
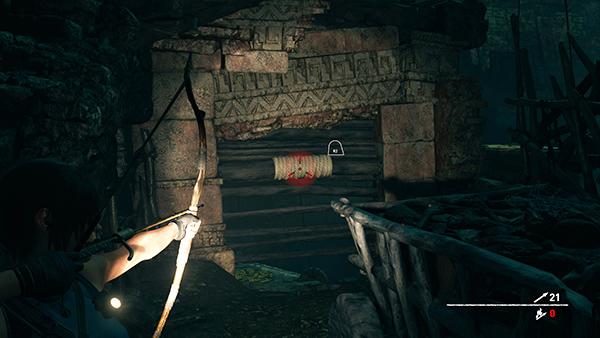
Shoot a rope arrow at the rope-wrapped section of the barrier to pull it down.
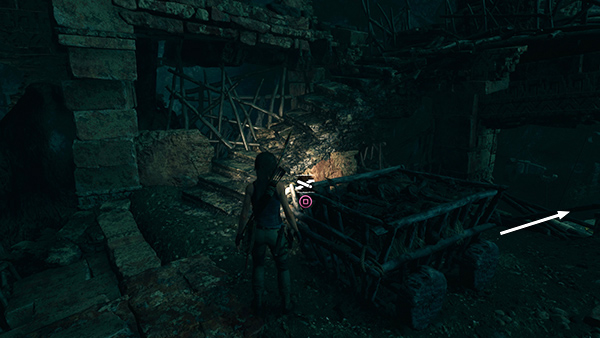
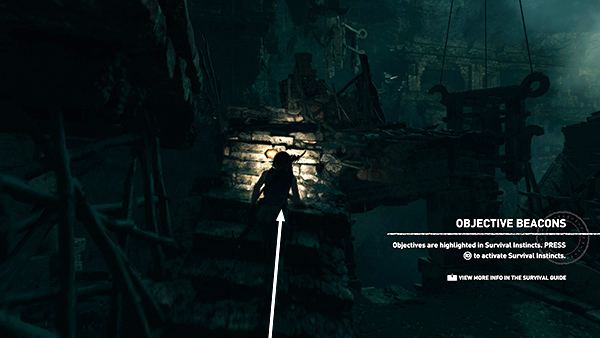
Then stand near the back of the cart and hold Interact + Forward to push it down the slope.
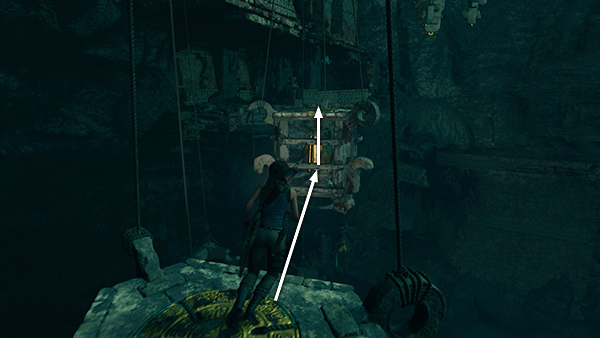
It rolls down onto the third bell...
...lowering it and simultaneously raising the fourth bell, ahead on the right. You get a checkpoint here and XP for solving this first stage of the puzzle.
Climb the stairs to the ledge above, but before you jump over to the bell...
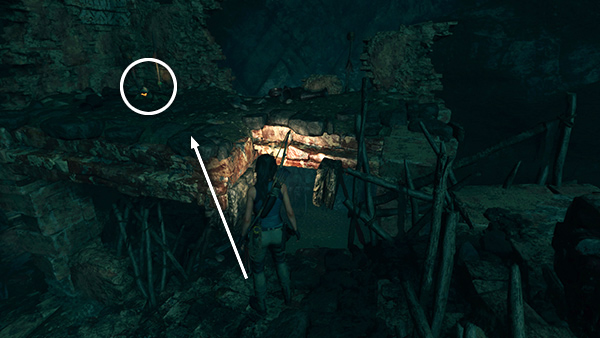
...hop over to the ledge on the left to find some gold ore sitting in the corner near the shovel. Later, when you get back to civilization, you'll be able to sell it to merchants and use the proceeds to purchase useful items.
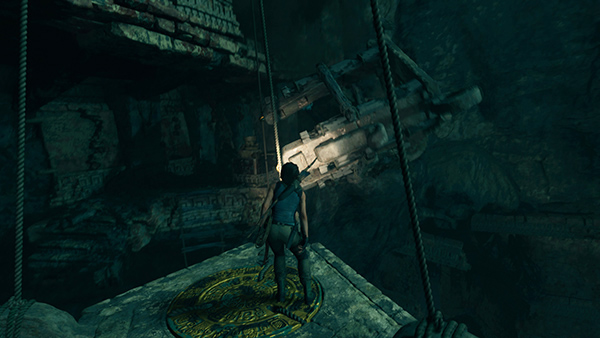
Return to the previous ledge and jump from there onto the fourth bell (i.e., the one you just raised). You might notice a flashing light on the far side of the cavern. Yes, that's another Survival Cache. We'll reach it soon.
Now jump from the top of the fourth bell to grab the fifth bell, ahead on the left. It's a long way so hold the Jump button for a bit of extra air time and be ready to press Interact if you see the prompt in order to hang on.
When you climb on top of the fifth bell, another one crashes down from above and tumbles into the chasm, prompting Lara to say a bad word.
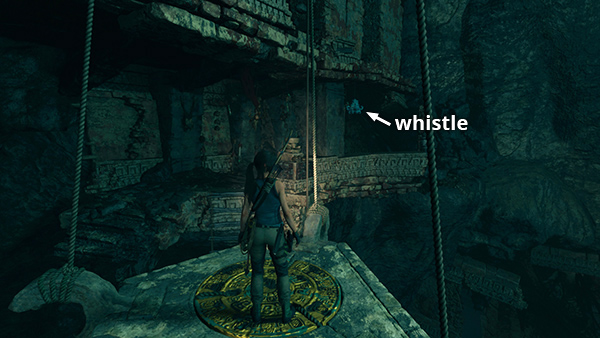
When you both calm down, take a moment to shoot the Challenge whistle (4/5) hanging near where the bell just dropped.
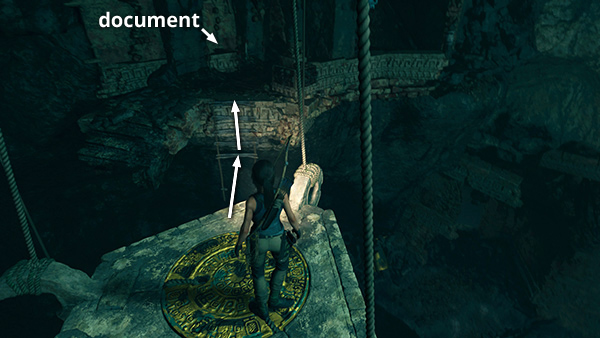
Jump to grab the ladder dangling off the ledge ahead and climb up. The document (1/1) you've had your eye on is sitting on a shelf to the left. It is an account written in the Mam dialect called Rearguard Report, part of the Metamorphosis Story. Examine it and continue to the end of the ledge.
Copyright © - Stellalune ( ). All rights reserved. Feel free to copy or print this walkthrough for personal use. By all means, share it with friends, but please include this credit line so people can send me their feedback. No part of this walkthrough may be reproduced on another site without permission. Follow this link for details about this site's advertising and privacy policy.