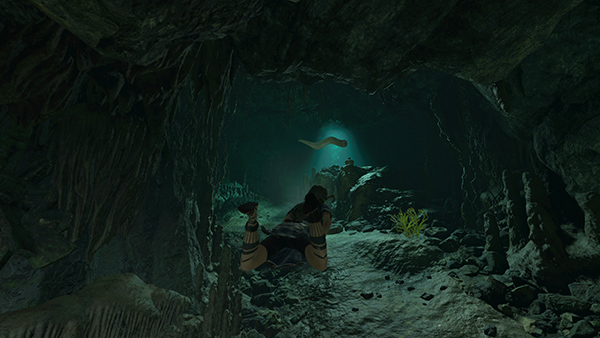
Cenote – San Cordoba Challenge Tomb Entrance

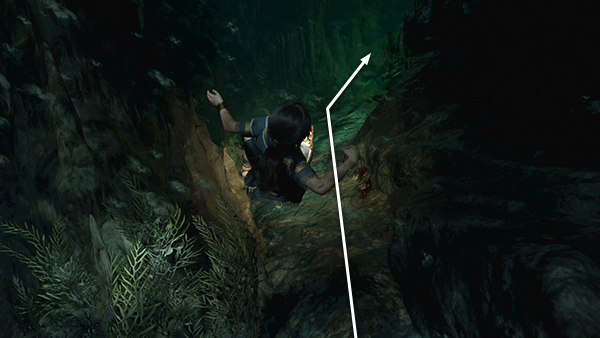
When you first receive the on-screen notification of a nearby challenge tomb, instead of turning left (west) toward the main objective, head to the right (east) up the path between the golden totems.
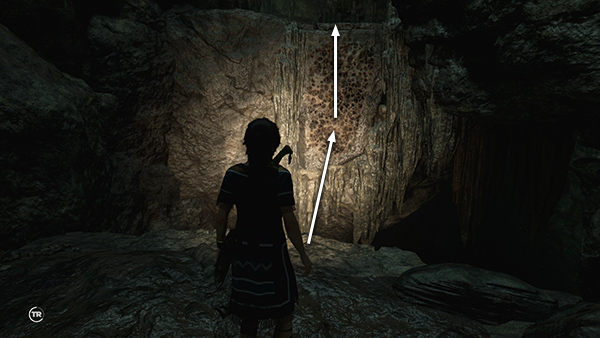
At the top of the hill, jump across the gap, latch onto the climbing wall, and climb to the ledge above. Follow the path forward into the next cave.
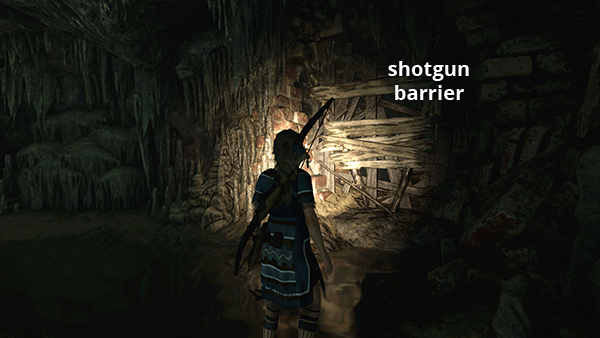
Here you'll find a wooden barrier that can only be taken down with a shotgun, which you probably don't have yet. The jade you saw earlier is behind it. (There's a reminder in the section on REVISITING THIS LEVEL to return here once you've obtained a SHOTGUN.)
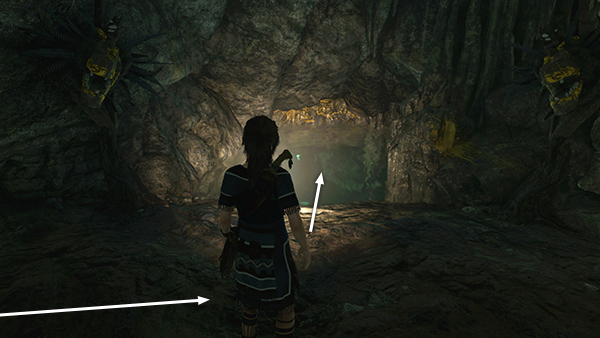
For now, jump into the pool on the other side of the cave and follow the flooded passageway.
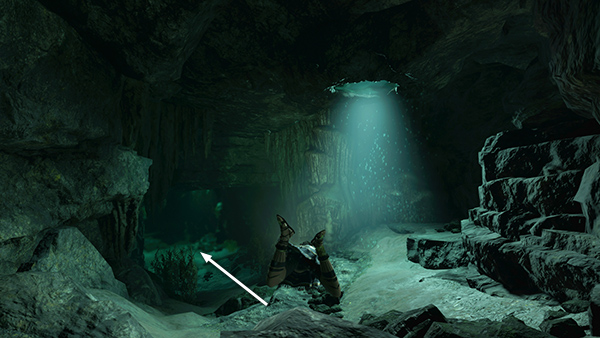
There's an air pocket just ahead on the right, which you probably won't need right away.
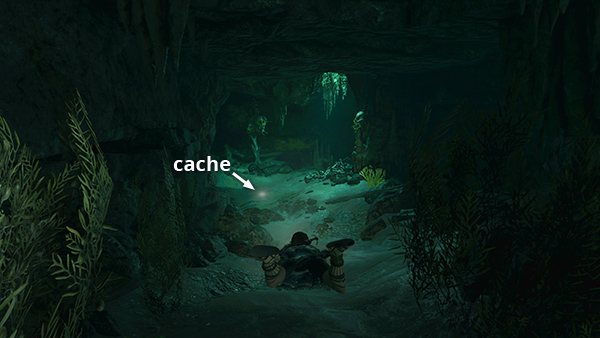
Swim past it and dig up a survival cache (4/8) just ahead.
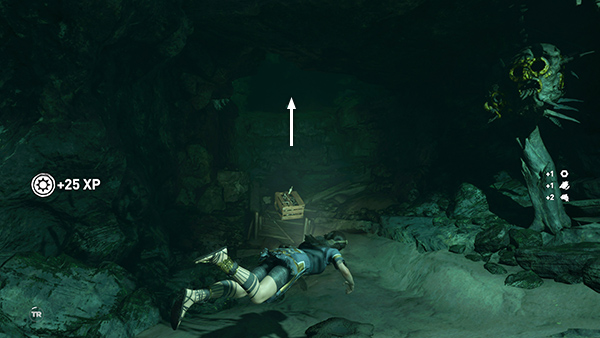
Pick up some salvage off to the left. Then surface for air just beyond the salvage crate.
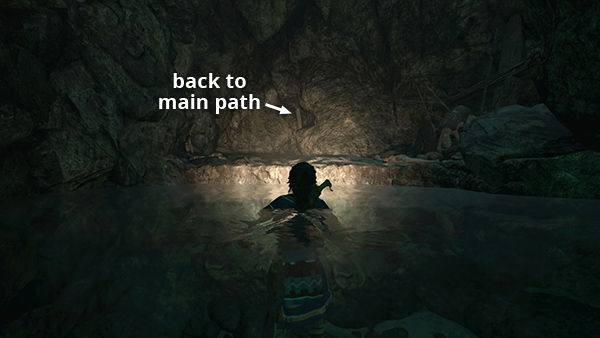 There's no need to climb out here. This passage leads back to the main path. We'll return this way later.
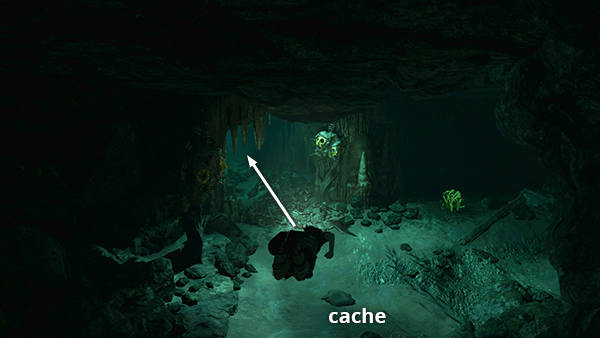
Swim past where you dug up the cache and continue northward along the tunnel between the golden totems.
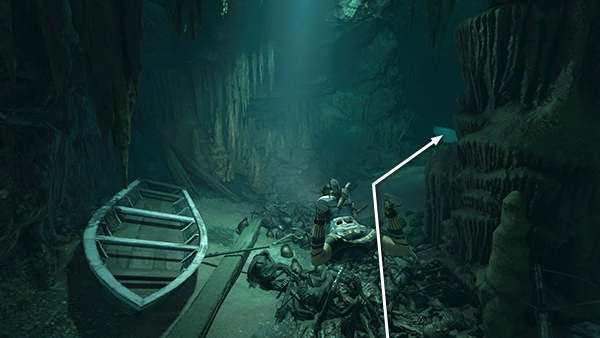
Follow the tunnel past a sunken rowboat, through a narrow passage...
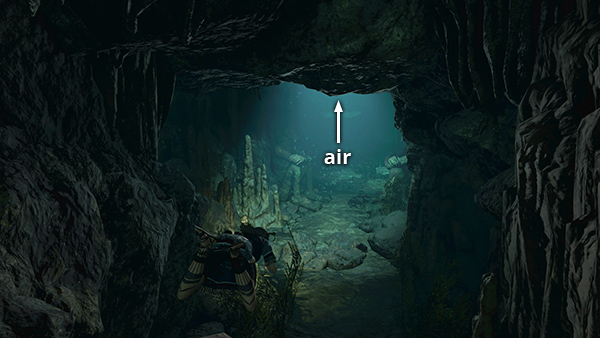
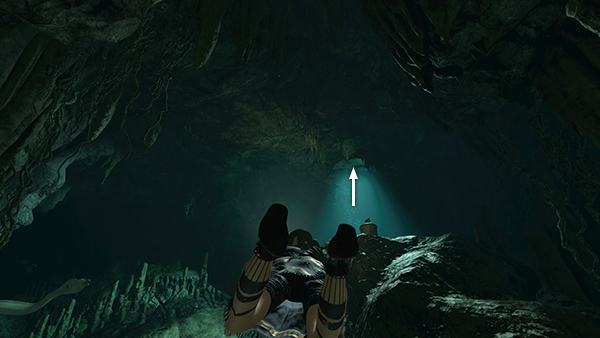
...and on to another air pocket.
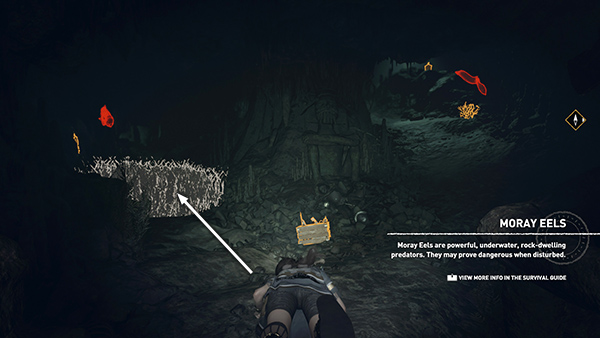
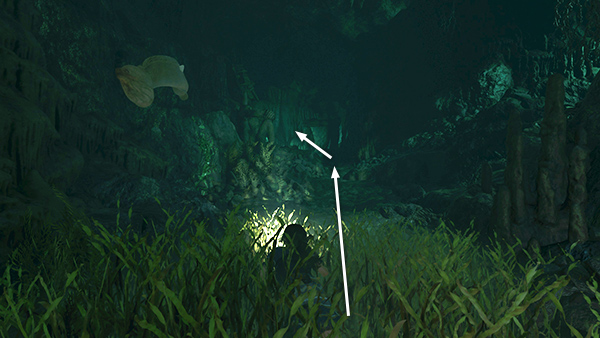
Just ahead, the tunnel splits. There's some salvage in the middle and 2 moray eels, one on each side. If you just can't stand eels, you can avoid them by quickly swimming to the left and hiding in the grass on the bottom of the tunnel.
Then when the eel passes, swim forward and follow the tunnel to the next area.
- OR -
If you want all the pickups in this area, swim toward either eel to trigger a QTE.
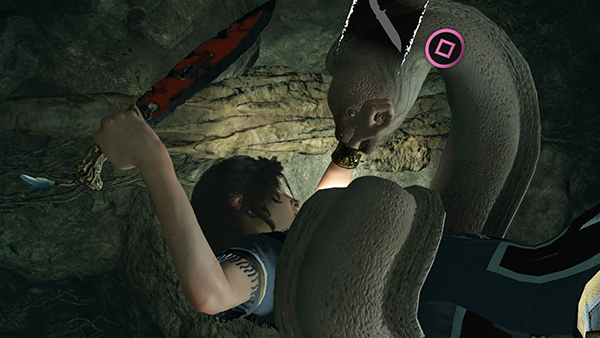
The eel wraps itself around Lara and you must mash Interact to stab it.
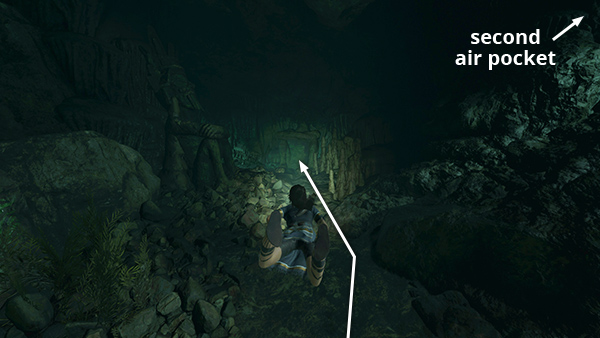
Once it's dead, return to the previous air pocket or on to the next one, at the top of the slope on the right (east) side of the cave. Take a breath, swim out and deal with the second eel the same way, then return to either air pocket.
Now you can explore without too much stress. Just make sure you don't stray too far from the air pockets. Collect the salvage just beyond the first air pocket, jade embedded in the west wall just beyond the grassy area, and a resource canister near the second air pocket. (All are shown in the Survival Instinct screenshot above.)
When you finish here, take a breath, then follow the tunnel to the northwest.
Soon Lara gets caught in a fast current, which drags her through the tunnel...
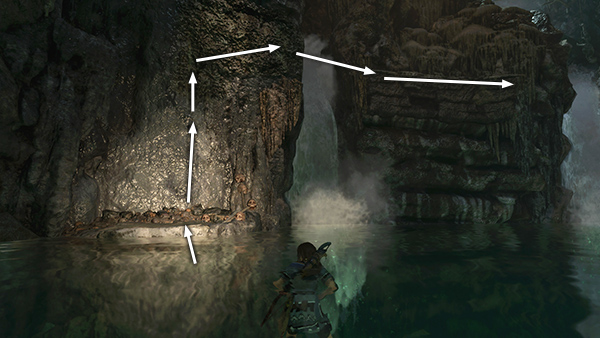
...and deposits her in a small pool fed by several waterfalls. Climb out of the water in the northwest corner. Scale the climbing wall and jump to the right grab the ledge beyond the waterfall. Climb along that ledge to the right.
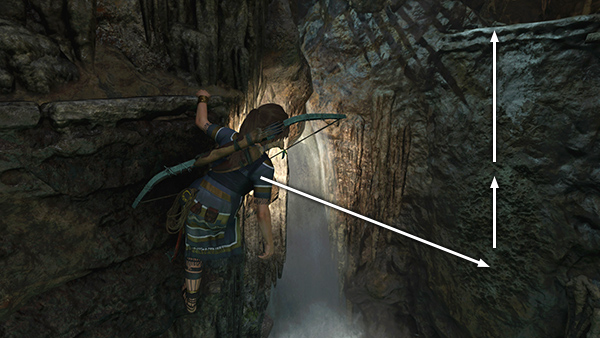
Jump to the right and latch onto the next climbable wall. Climb up as far as you can, then scramble up to the ledge above.
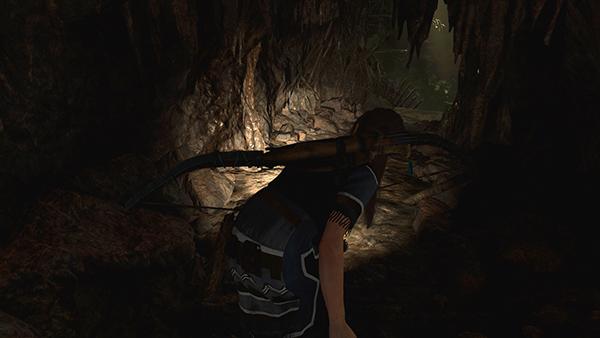
Follow the low tunnel...
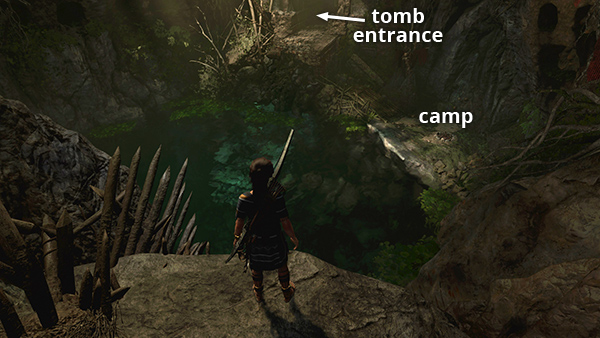
...to emerge on a ledge overlooking another small pool and the Collapsed Temple Base Camp. Gather some salvage and other resources on the bottom of the pool, and dry off at the camp before climbing up to the tomb entrance.
Copyright © - Stellalune ( ). All rights reserved. Feel free to copy or print this walkthrough for personal use. By all means, share it with friends, but please include this credit line so people can send me their feedback. No part of this walkthrough may be reproduced on another site without permission. Follow this link for details about this site's advertising and privacy policy.