Cenote – Return to Paititi (part 2)
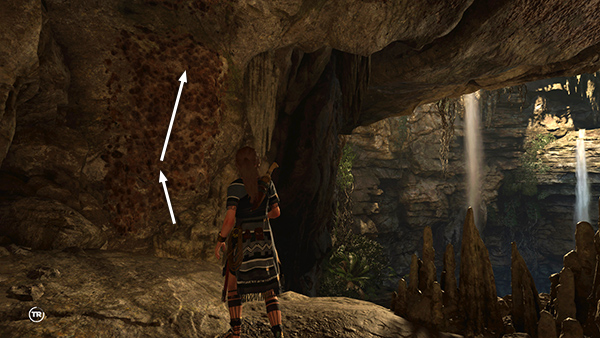
There's another climbable wall ahead. Latch on and climb up as far as you can.
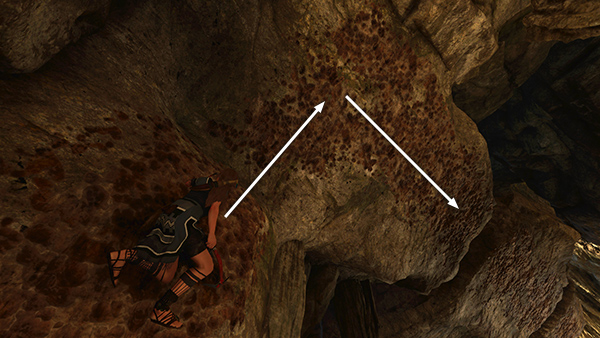
Climb up as far as you can. Then jump up and press Interact to latch onto the rock overhang. Continue climbing to the right.
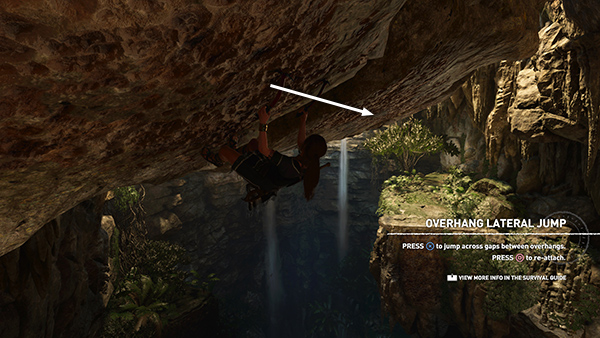
When you reach the wide crack, follow the tutorial text for the Overhang Lateral Jump: Lean to the right, then press Jump, then Interact to latch onto climbable area beyond the crack.
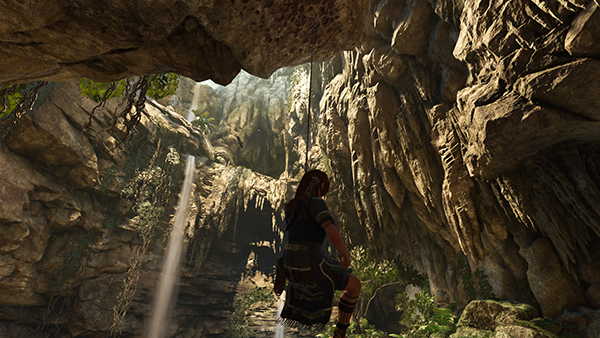
At this point you run out of climbable wall, so rappel down...
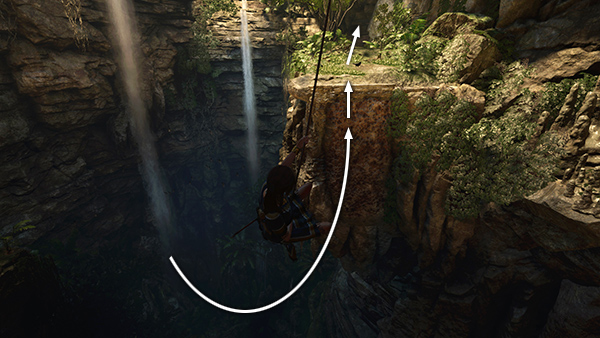
...until Lara is hanging roughly level with the ledge ahead. Swing back and forth to gather momentum. Then jump over to the ledge, or latch onto the craggy wall below it and climb up. Follow the path forward, gathering a few resources along the way.
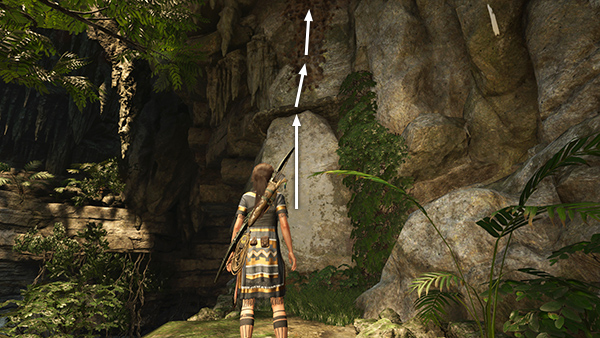
Scramble up the rock wall to grab the handhold at the top. Then jump to reach the climbing wall above it.
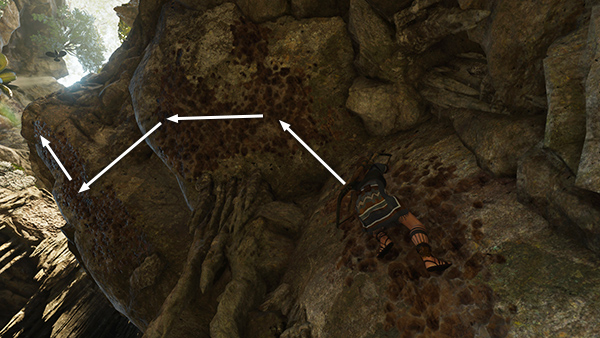
Climb up as far as you can. Jump and latch onto the overhang, then climb to the left. Jump past the gap and latch onto the next section of climbable overhang. Climb up and out toward the edge.
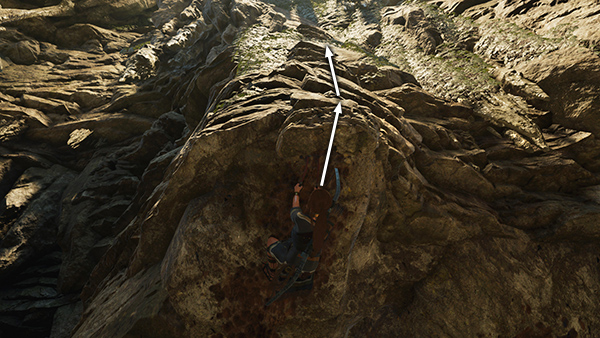
Then jump to grab the jutting ledge above and exit the overhang.
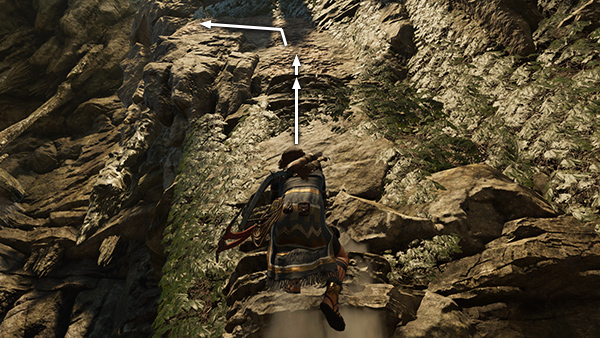
Continue climbing/scrambling upward until you reach the next section of rough climbing wall above. Climb along it to the left as far as Lara will go.
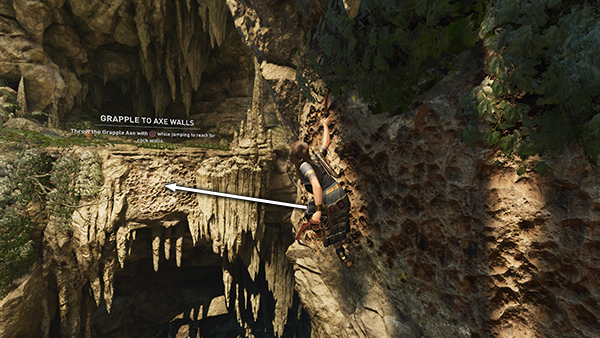
This next jump can be a little finicky. It may help to move the camera behind Lara a bit before jumping out to the left and pressing Interact to grapple the climbable wall on the other side of the cavern.
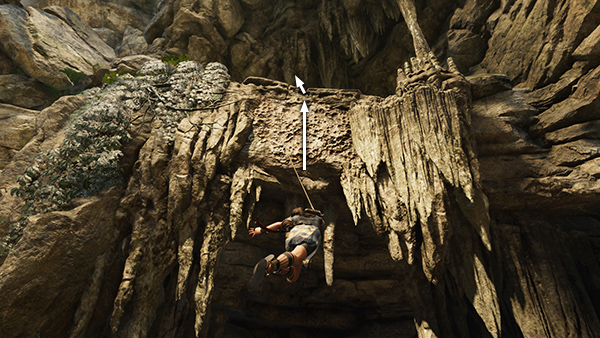
Once Lara latches on, climb the cable, then continue climbing onto the ledge above.
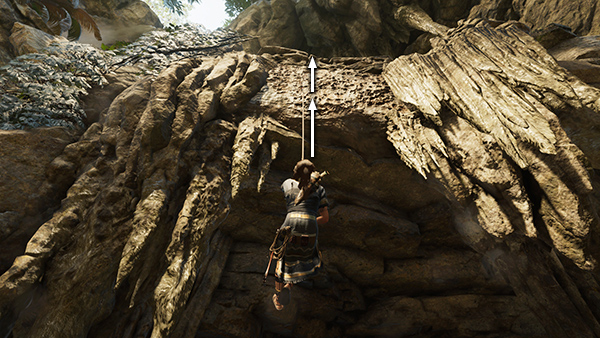
Loot the resource container ahead on the left and follow the path.
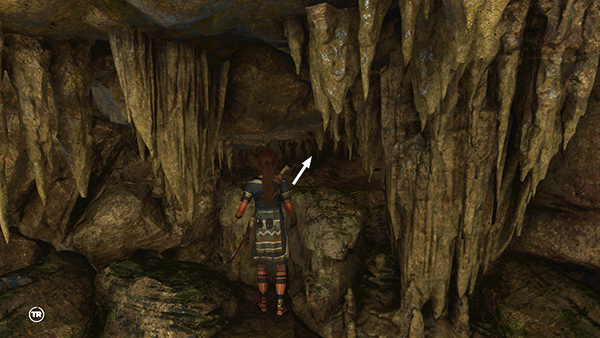
Climb through the narrow, horizontal opening.
[Previous | Next | Cenote Walkthrough]
Copyright © - Stellalune ( ). All rights reserved. Feel free to copy or print this walkthrough for personal use. By all means, share it with friends, but please include this credit line so people can send me their feedback. No part of this walkthrough may be reproduced on another site without permission. Follow this link for details about this site's advertising and privacy policy.