Cenote – Backtracking to the Challenge Tomb Entrance
If you missed the San Cordoba Challenge Tomb the first time through the level, you can return there by fast traveling to the Cenote Temple Ruins Base Camp, where you obtained the SHOTGUN.
These same instructions will also help obtain the jade ore behind the shotgun barrier on the way to the Challenge Tomb.
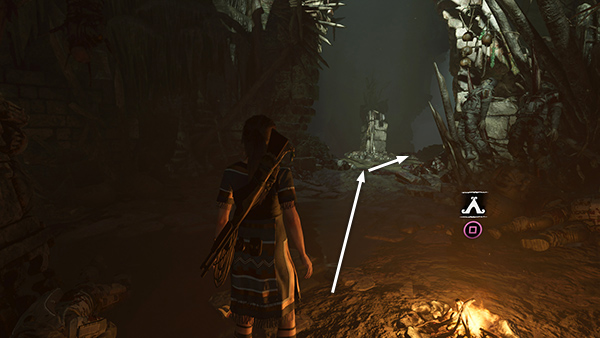
From the campfire, head down the slope to the east, bearing right at the square column. Continue down the slope to the ledge where you originally climbed up.
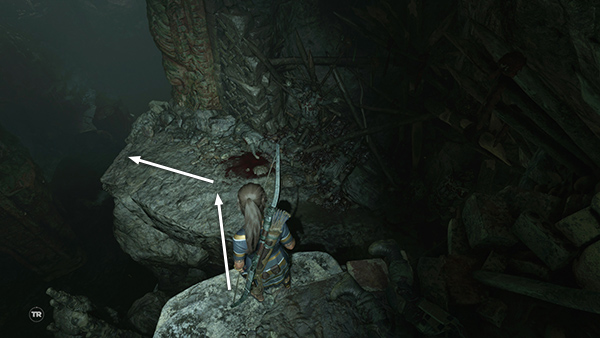
Jump down onto the ledge below and move to the left edge, overlooking the chasm.
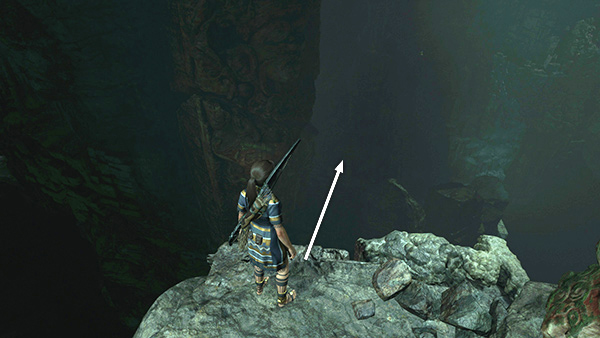
Now you're aiming for the path on the other side of the chasm. Even with the screen brightened considerably, it's hard to see where to go. Check this map detail or just aim to the right of the tall column and Lara should land on the path.
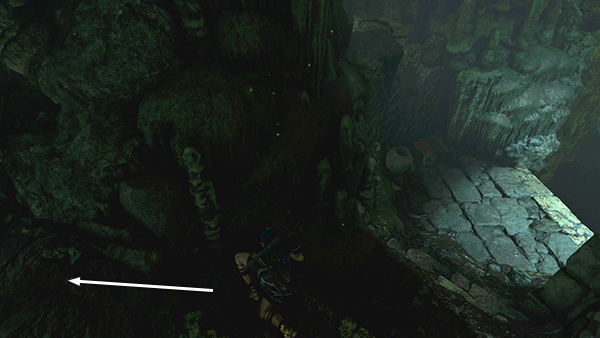
To the right is the ledge where you first climbed up from below. Turn left...
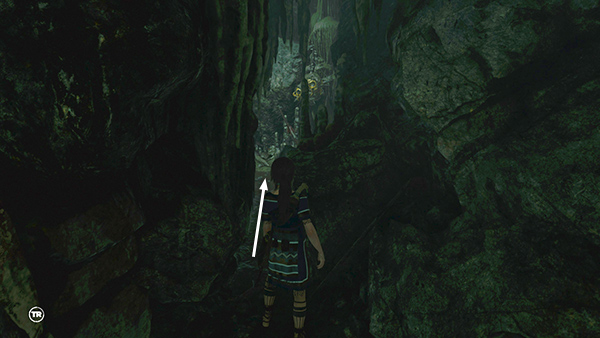
...and squeeze through the gap between the rocks to emerge near the Challenge Tomb entrance.
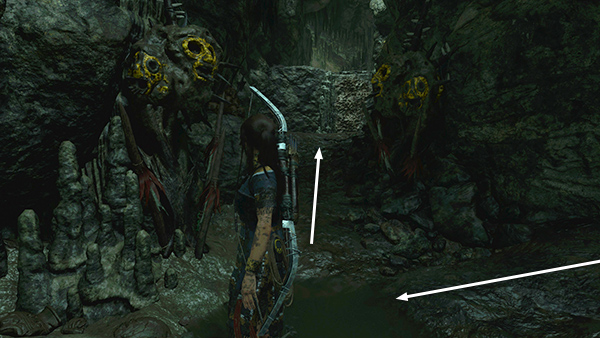
Turn right and go up the path between the golden totems.
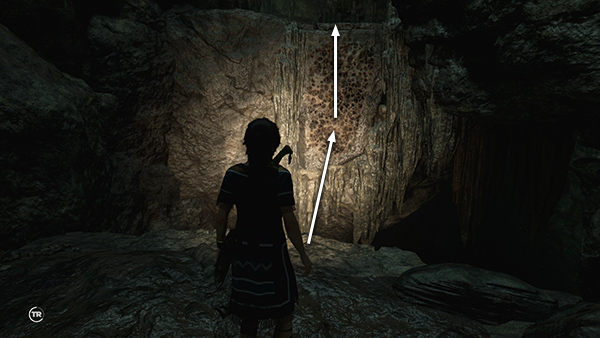
Jump across the gap, latch onto the rough wall, and climb onto the ledge above.
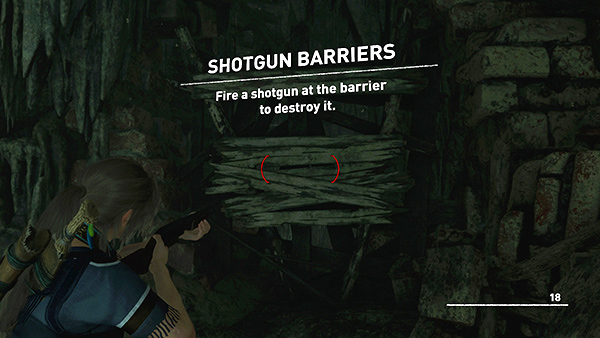
Now that you have the shotgun, you can use it to destroy the wooden barrier
on the right, opposite the entrance to the flooded caverns. The oh-so-subtle tutorial overlay reminds you that you can do this. If you've changed weapons, equip the shotgun by pressing 4 on the keyboard or D-Pad Left on the controller. Aim and fire as usual.
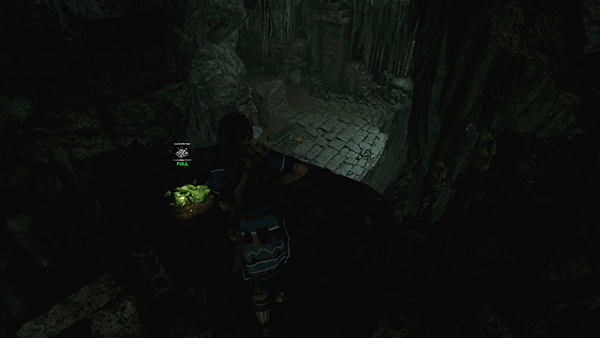
Just beyond the barrier is the pile of jade you may have glimpsed earlier while climbing through the cavern.
To get to the Challenge Tomb, return through the opening where you just shot the barrier and jump into the pool just ahead. Then follow the SAN CORDOBA CHALLENGE TOMB WALKTHROUGH, beginning with the second paragraph.
To get back to the Cenote Temple Ruins Base Camp, return the way you came to the ledge where you found document #4. Then retrace the same route you took to reach the base camp the first time. (Check these screenshots if you need a refresher.)
Copyright © - Stellalune ( ). All rights reserved. Feel free to copy or print this walkthrough for personal use. By all means, share it with friends, but please include this credit line so people can send me their feedback. No part of this walkthrough may be reproduced on another site without permission. Follow this link for details about this site's advertising and privacy policy.