The Lost City - From the Gate to the Southern Trebuchet (Part 2)
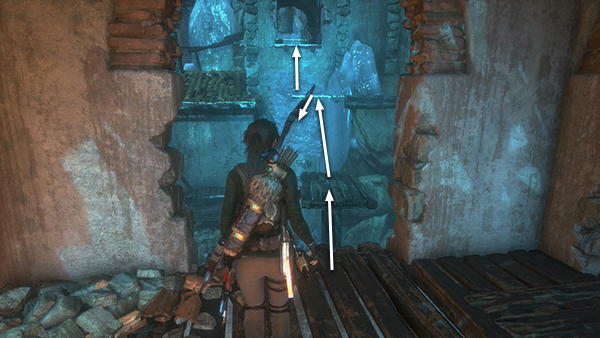
Climb across to the next building to the south.
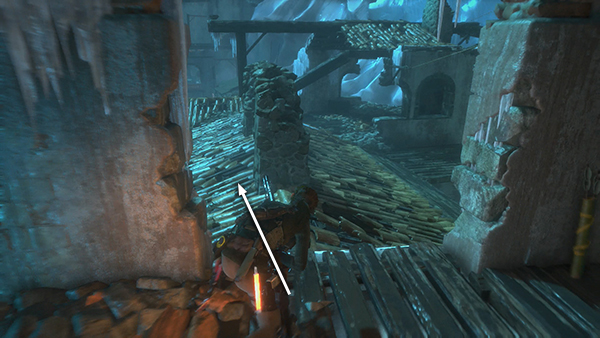
Move out onto the roof with the 2 chimneys. (This is the building near the crypt entrance where you fought Deathless warriors earlier.)
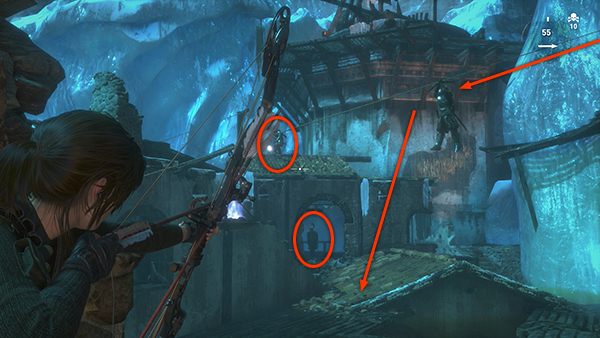
Now there are 3 more enemies: another archer on the roof between here and the trebuchet, a soldier with a shield and polearm who lumbers toward you from that same building, and a swordsman who slides down the zip line from the upper right. You may be able to take out the archer with a poison or fire arrow before the others arrive. If not, use the chimneys for cover.
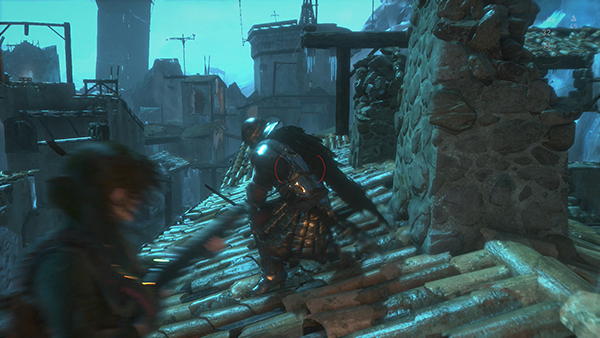
The swordsman rushes at you, just like the ones you've encountered previously. Again, you can use the Dodge Counter or Dodge Kill skill if you've unlocked it. Stand your ground and when the swordsman lunges, press B/C to dodge.
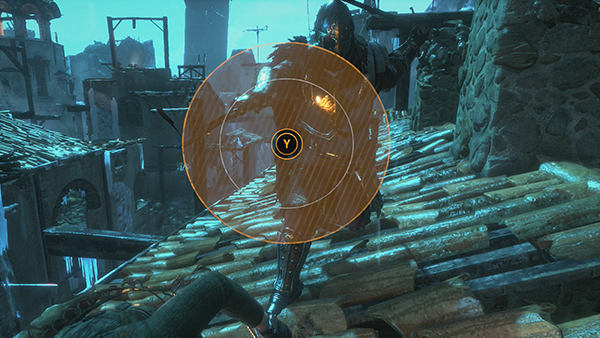
Then, when the Melee icon appears, wait for the the thin gray circle to contract all the way into the center and press Y/F...
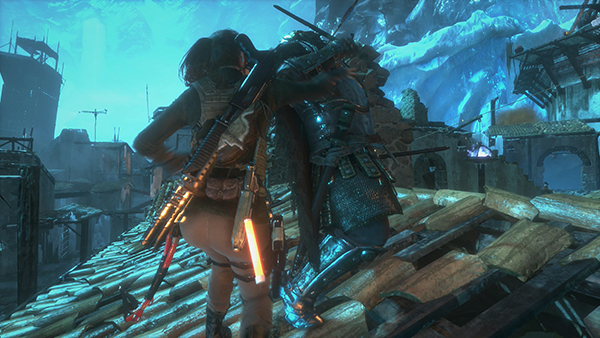
...for the finishing move. If you don't have this skill or prefer not to use it, try the shotgun with regular and/or dragonfire shells for close combat.
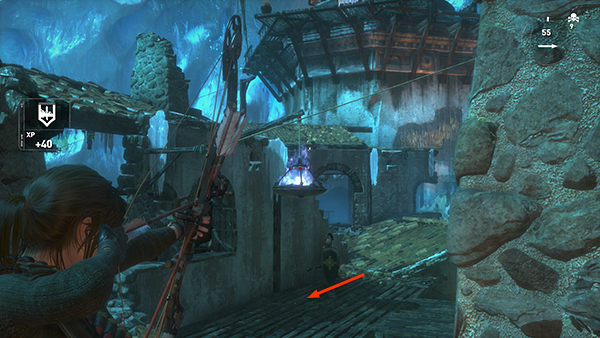
The last enemy, the warrior with the shield, moves slowly across the deck. If you dispatched the swordsman quickly, you'll have time to deal with the shielded guy before he gets to you. Either shoot the brazier as he passes under it...
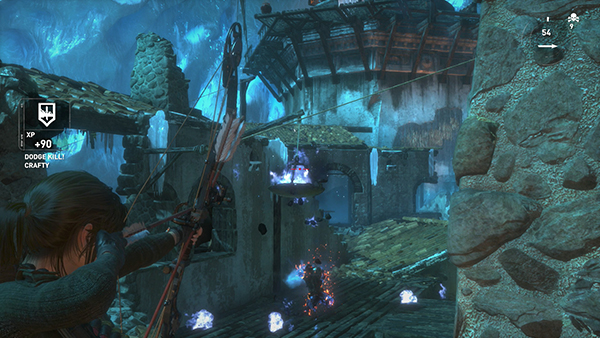
...to douse him with Greek fire, or use a fire or poison arrow to kill him from a distance. If he gets close, either run away then turn and shoot, or use the dodge maneuver.
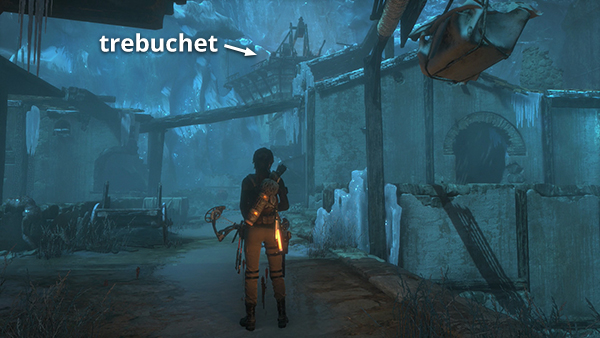
If you die or deliberately reload the checkpoint, Lara respawns just below and to the left of the building with the 2 chimneys. The trebuchet is directly ahead in the distance.
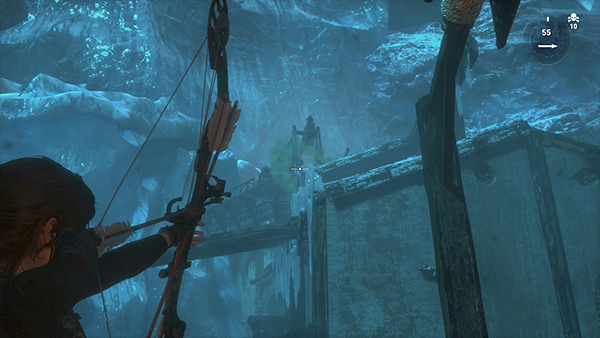
You can take out the 3 archers near the trebuchet from here using a few fire/poison arrows.
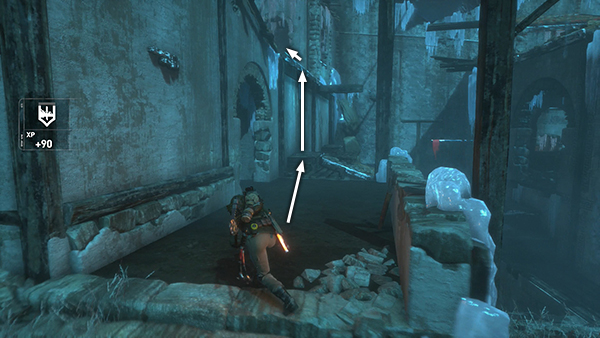
Then move around to the right, scramble up onto the roof with the 2 chimneys, and fight the remaining enemies as shown above.
After defeating those enemies, you can explore around the city to resupply if you like, but you may encounter more Deathless in the streets. I'm not sure whether they appear randomly or only in certain areas. If you don't like fighting, head straight for the trebuchet, as described below. You'll have other chances to revisit this area.
[Part 1 | Part 3 | Return to The Lost City Walkthrough]
Copyright © - Stellalune ( ). All rights reserved. Feel free to copy or print this walkthrough for personal use. By all means, share it with friends, but please include this credit line so people can send me their feedback. No part of this walkthrough may be reproduced on another site without permission. Follow this link for details about this site's advertising and privacy policy.