Logging Camp Second Visit - Mission: Dangerous Territory
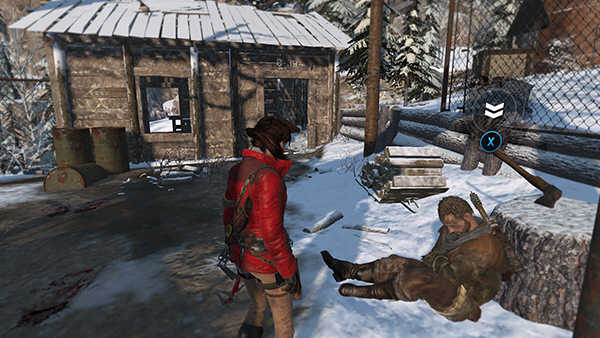
This mission is given by a wounded Remnant scout who can be found sitting in front of the wooden shack between the Remnant general's cabin and the SAWMILL. He asks you to clear out a nearby wolf den so he and his comrades will have a safe place to rest and regroup.
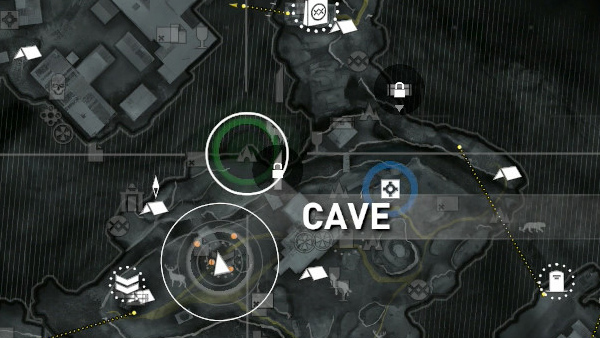
If you agree to help, the location of the cave is marked in green on your map and in Survival Instinct.
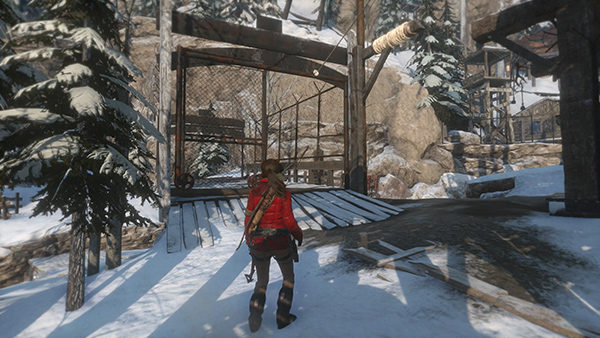
Head up the hill toward the SAWMILL. Then cross the metal bridge to the left (northwest).
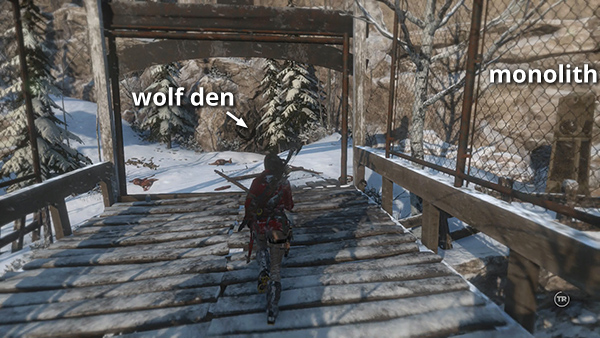
Skin the 2 deer carcases lying near the cave entrance for hides and pick up some rifle ammo. (This is not shown here, but it's just at the end of the bridge.) There's also a monolith (3/3) off to the right but you'll need to unlock Level 3 Russian before you can decipher it. I've labeled it 3/3 since it will probably be the last one you actually read. Approaching it now marks it on your map.
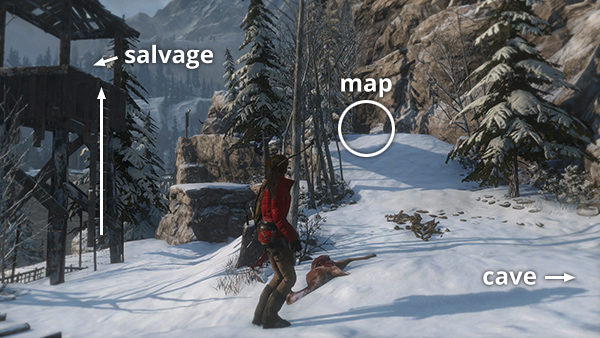
On the left is a guard tower with a salvage crate at the top, and if you head up the slope directly to the left of the cave entrance, you'll find an Archivist Map (5/9) sitting on the ground.
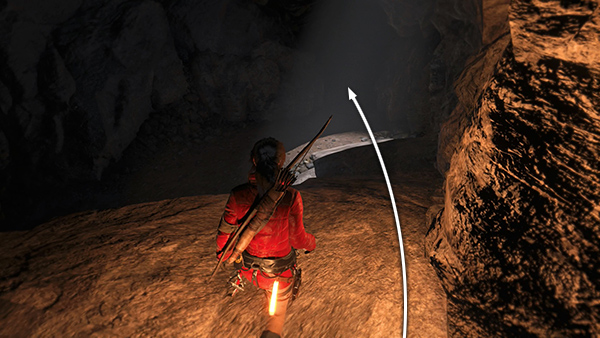
Enter the cave and follow the right wall forward, readying your weapon of choice as you move deeper inside.
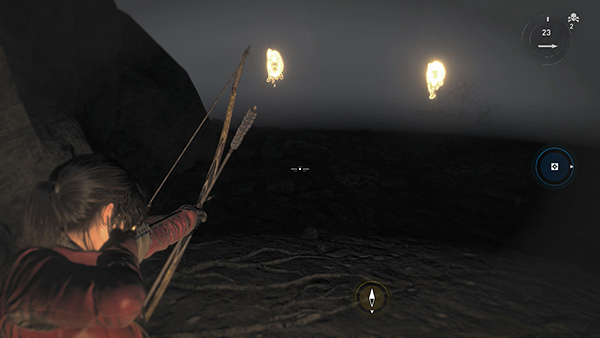
Lara goes into a defensive crouch when she senses the wolves ahead. If you've unlocked the Animal Instincts skill, press the right stick every few steps and the wolves will glow, making them easier to target. There are 5 wolves in all, but two will charge first.
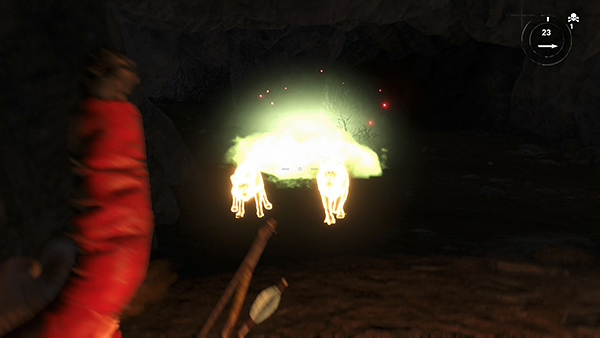
Use poison arrows if you have them.
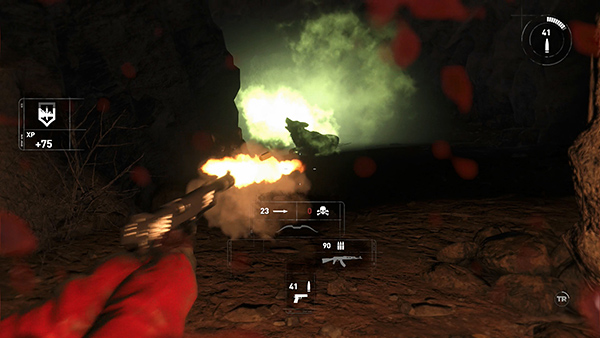
Then follow up with rifle or pistol so you don't get overrun.
NOTE: If Lara is pinned down by a wolf, it triggers a QTE in which you must wiggle the left stick from side to side, then press the Melee button (Y) when you see the prompt on the screen in order to kill the wolf. (Sorry no screenshots yet, but I will try to add these later.)
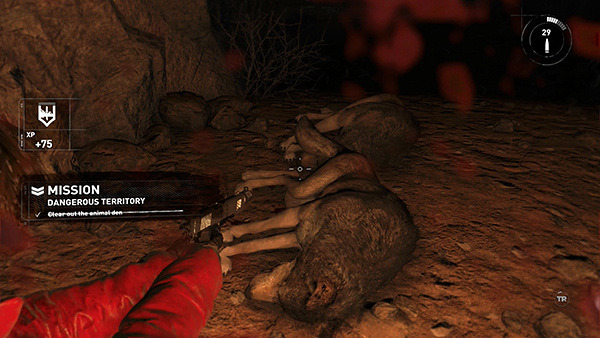
When you've killed them all, a message indicates you've completed the challenge.
[Return to the Logging Camp Walkthrough]
Copyright © - Stellalune ( ). All rights reserved. Feel free to copy or print this walkthrough for personal use. By all means, share it with friends, but please include this credit line so people can send me their feedback. No part of this walkthrough may be reproduced on another site without permission. Follow this link for details about this site's advertising and privacy policy.