Geothermal Valley - House of the Afflicted Challenge Tomb (Part 2)
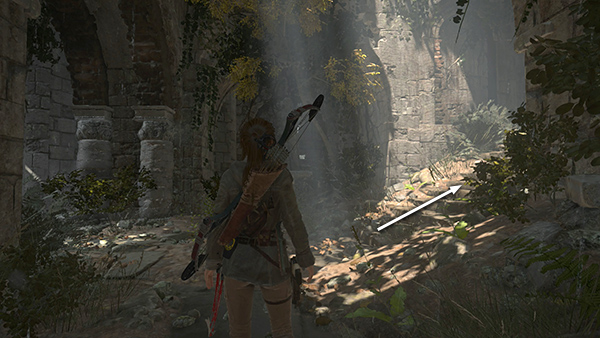
After fighting off the wolves and prying open the door, as shown in part 1, head up the stairs on the right and follow the passageway into the ruins.
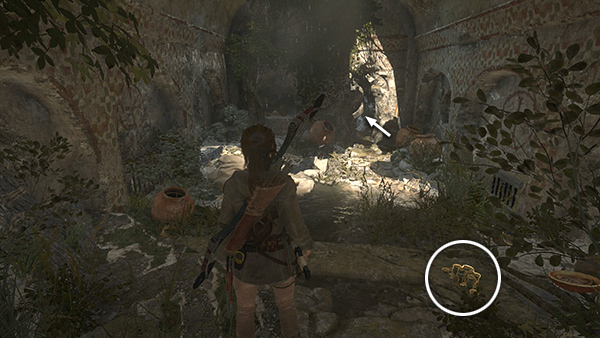
There are several turns but no side passages, so you can't get lost. When you emerge from an arched tunnel of rough stone into a room with many clay vases and a few skulls, there's a stack of coins on the floor to the right. Take them and squeeze through the narrow gap in the wall ahead.
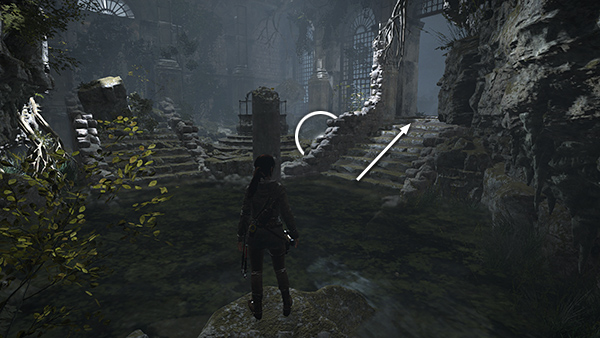
Proceed through a dark, rocky tunnel into a flooded room with two flights of stairs with a huge metal cauldron in the corner between them. There's a survival cache (2/20) buried just to the right of the cauldron. Dig up the cache. Then head up the stairs on the right...
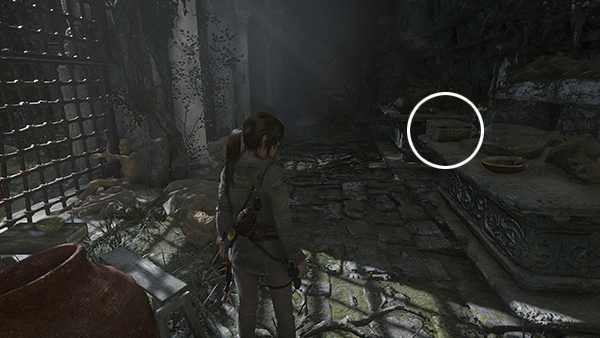
...into a corridor containing several corpses and a relic (3/13), a Belt Buckle from the Athanatoi set.
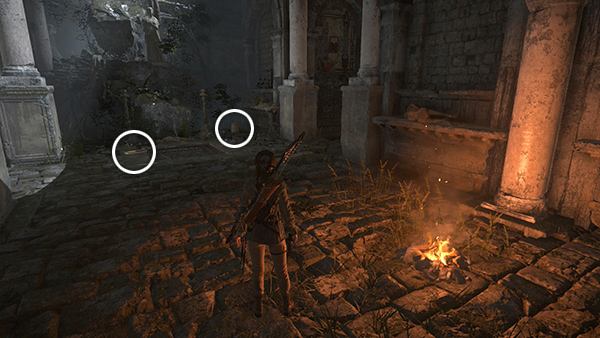
Continue to the next room, where you'll find the Infirmary Base Camp, a container of cloth, and a document (5/33), Last Parting from the House of the Afflicted series (Greek).
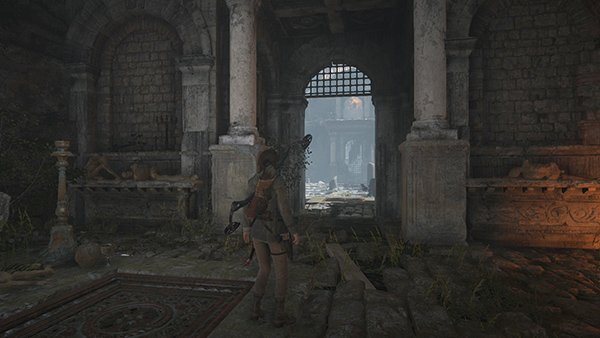
Go through the open doorway into the puzzle area. The codex is in the little room high up on the far side of the courtyard.
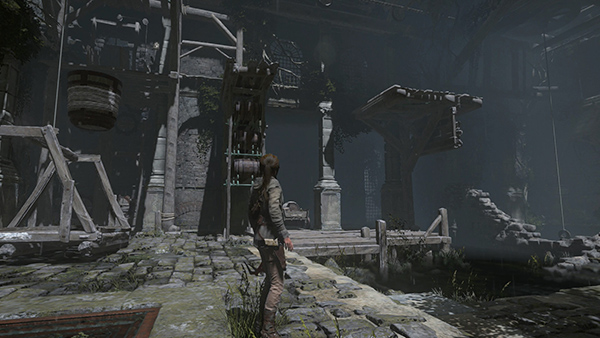
To get there, you'll need to position the suspended wooden platforms on the left side of the room so that you'll be able to jump across.
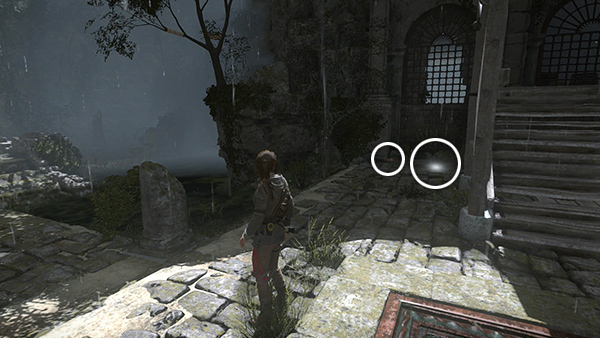
First, collect a few goodies: Pick some mushrooms and dig up another survival cache (3/20) in the corner on the right near the wooden stairs.
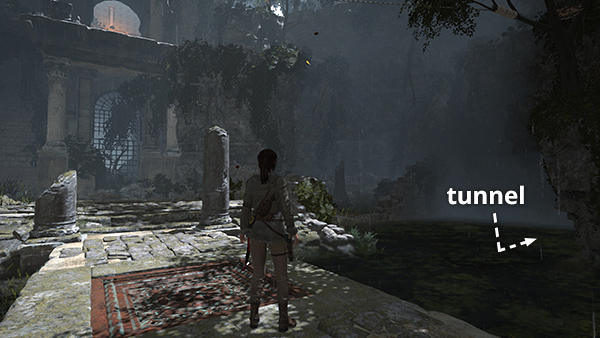
Hop into the shallow pool on the right (northwest) side of the room and swim through an underwater opening into the next room.
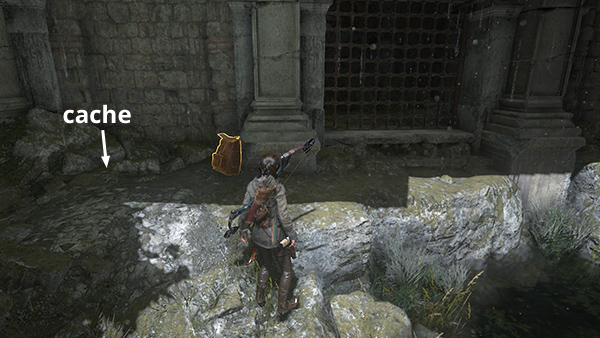
Here you'll find an Explorer Satchel (2/5). Examine it to discover the locations of 3 survival caches. We already found two of these. The other survival cache (4/20) is buried just to the left of the satchel. Dig it up and then swim back to the main room.
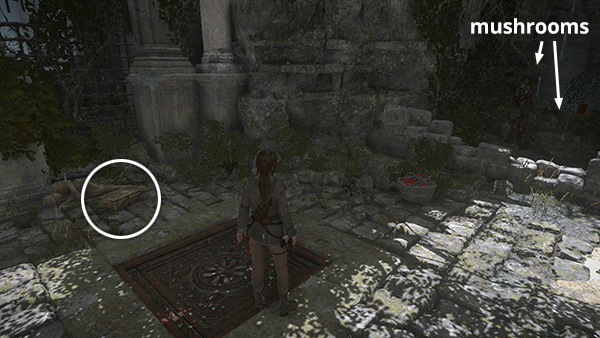
On the ground below the codex roomis a box containing a relic (4/13), a Necklace from the Icons of Kitezh set, a basket of herbs, and more mushrooms growing on the ground and in a dead tree. There are also several bird's nests containing feathers scattered around this area.
[Part 1 | Part 3 | Return to the Challenge Tomb Walkthrough]
Copyright © - Stellalune ( ). All rights reserved. Feel free to copy or print this walkthrough for personal use. By all means, share it with friends, but please include this credit line so people can send me their feedback. No part of this walkthrough may be reproduced on another site without permission. Follow this link for details about this site's advertising and privacy policy.