Geothermal Valley - House of the Afflicted Challenge Tomb (Part 1)
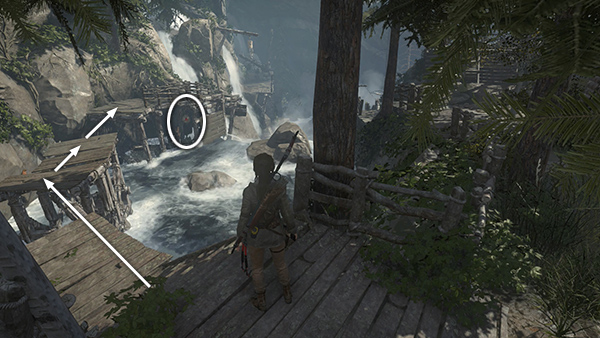
To reach the first challenge tomb in this area, start at the broken wooden bridge/walkway that crosses the stream just north of the village. As you step onto the walkway, shoot the bull's-eye (4/8) hanging from the underside of the walkway a little way downstream. Then follow the walkway as it continues eastward along the steep rock wall.
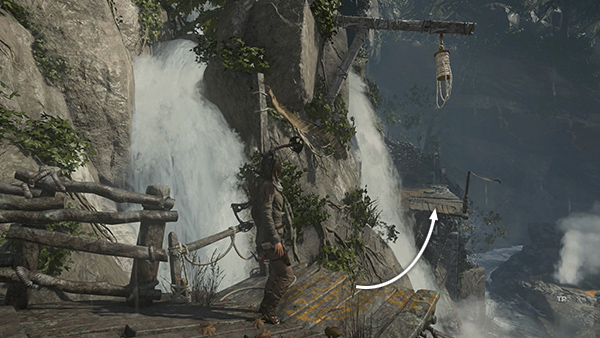
When you reach the wide gap near the waterfall, shoot a rope arrow into the hanging rope coil and swing across.
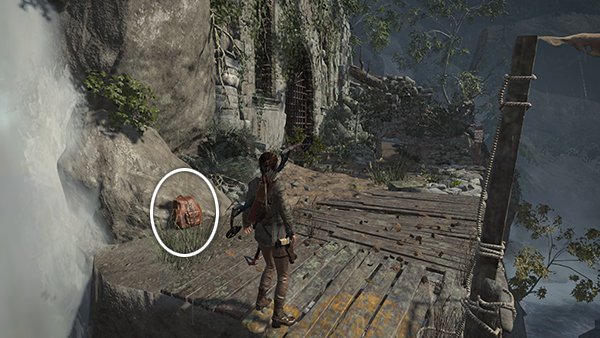
Just ahead on the left is an Explorer Satchel (1/5) that reveals the location of a number of survival caches and strongboxes, as well as several caves and both of the crypts in this level.
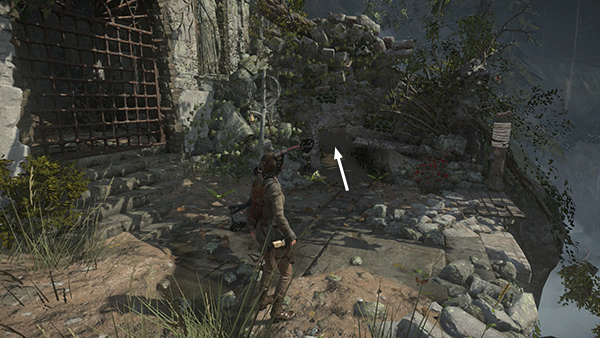
Crawl through the low opening into the little clearing beyond.
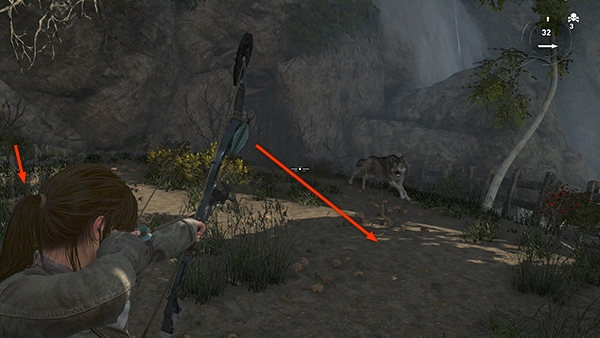
Ready your weapon of choice and step forward to trigger the appearance of 3 or 4 wolves from the cave openings on the other side of the clearing.
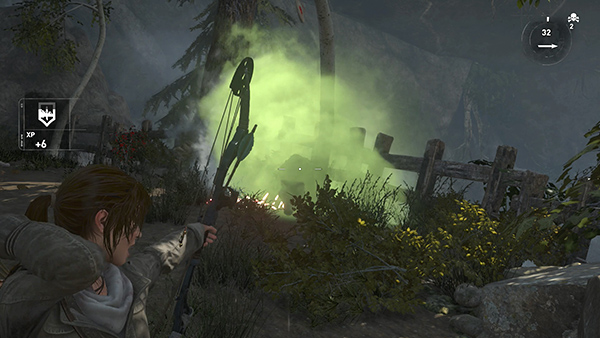
If you start with poison arrows and shoot quickly, you can probably take out the first wolf...

...and maybe one or two more.
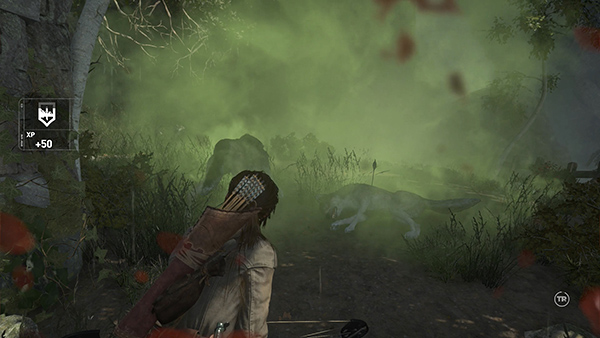
If they are close together, the gas cloud may kill more than one, but Lara could also take damage. You'll probably need to switch to the pistol (or shotgun if you have it) to finish the fight. By all means, use the weapon you're most comfortable with in close quarters, since these wolves move in quickly and don't give up.
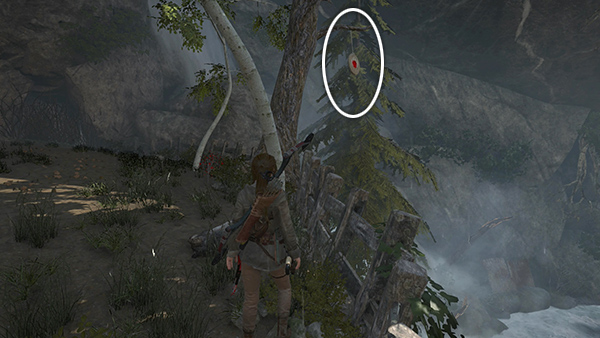
When you've killed them all, collect their hides. Stand near the fence overlooking the water and look up on the left to spot another bull's-eye (5/8) hanging in a tree. Shoot it for the challenge.
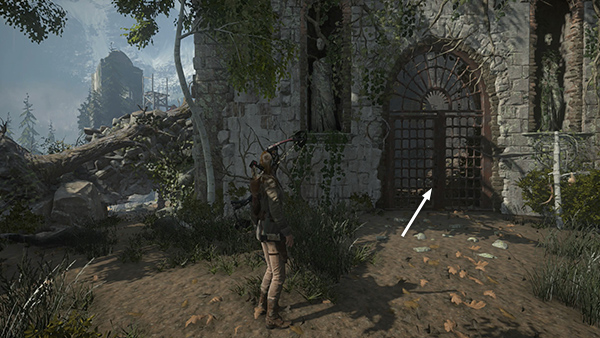
Then pry open the metal door and go inside.
[Part 2 | Return to the Challenge Tomb Walkthrough]
Copyright © - Stellalune ( ). All rights reserved. Feel free to copy or print this walkthrough for personal use. By all means, share it with friends, but please include this credit line so people can send me their feedback. No part of this walkthrough may be reproduced on another site without permission. Follow this link for details about this site's advertising and privacy policy.