Rise of the Tomb Raider - Geothermal Valley Missions
Updated: 6/11/16(†)
There are 4 missions in the Geothermal Valley. This guide should help you complete them all. If you are playing through for the first time, you may want to follow the main walkthrough instead.
To check your progress on any mission, open the map screen in game. Then press Y on the controller or click the Missions/Challenges button at the bottom of the map screen. This sub-menu shows active and completed missions and challenges, and lets you toggle between them if you have more than one active at a time. Objectives for the active challenge are then highlighted in green on your in-game map and in Survival Instinct view.
DEFENSIVE STRATEGY
MISSION GIVER
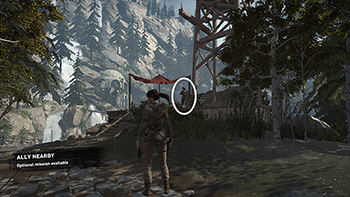
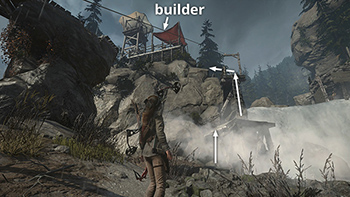
This mission is offered by the Remnant builder, who can be found near the guard tower at the northeast end of the village near the Valley Farmstead Base Camp. Talk to him to get started. The mission has two parts, detailed below. 'Builder' is marked on the on the annotated level map, and the walkthrough includes additional details and screenshots. (Click screenshot to enlarge.)
QUEST
You'll need to collect 4 pieces of hardwood and 4 deer hides to start. If you've done some hunting and gathering earlier, you may already have these. If not, there are plenty of saplings and deer in the valley below. When you have what you need, return to the builder by climbing the ladder below the first guard tower. (Click screenshot to enlarge.)
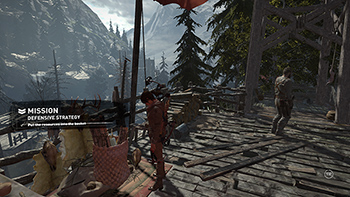
Talk to the builder, and then put some of the resources in the basket behind him. (Click screenshot to enlarge.)
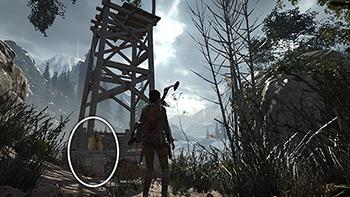
Take the rest of the supplies down to the second guard tower on the lakeshore. It's located just south of the Remnant hunter's cabin. Both the hunter and the tower are marked on the map. (Click screenshot to enlarge.)
COMPLETING THE MISSION: When you've placed the supplies in the basket near the second tower, you'll be directed to return to the first guard tower to complete the mission. Climb back up the way you did before, talk to the builder, and he'll give you the Battle Worn Outfit. If you like, you can then return to the Valley Farmstead Base Camp to equip it from the Weapons menu.
SURVEILLANCE DISRUPTION
MISSION GIVER
This mission is given by the Remnant hunter who lives in the cabin near the second guard tower on the lakeshore. Her location is marked on the annotated level map. (Click screenshot to enlarge.)
QUEST
The hunter asks you to shoot down 4 drones sent by Trinity to survey the valley. When you accept the mission, the current location of each drone is marked with a green circle on your in-game map. (Click screenshot to enlarge.)
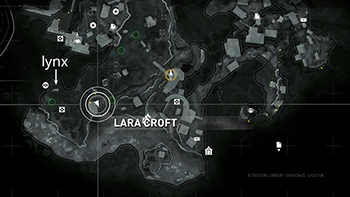
Before chasing after the drones, I recommend taking out the lynx that lives in the forest to the west of the hunter's cabin. The walkthrough includes a few tips on this. (Click screenshot to enlarge.)
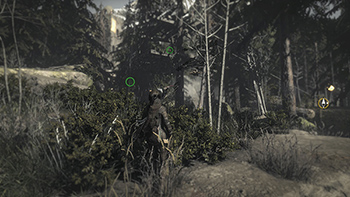
When the coast is clear, go after the 4 drones. You can use the map to track them (as shown above) and/or activate Survival Instinct for a little help if necessary. (Click screenshot to enlarge.)
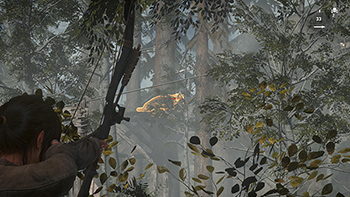
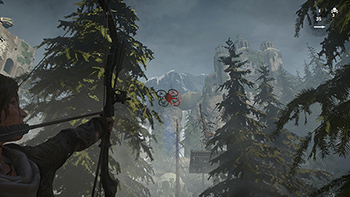
When you've located a drone, aim a little ahead of it in the air and then fire as it comes into range. The walkthrough includes additional drone-hunting tips.
COMPLETING THE MISSION: When you have shot down all of the drones, return to the Remnant hunter next to her cabin, and speak to the her. She'll reward you with an Ancient Horn Bow.
A HEARTY MEAL
MISSION GIVER
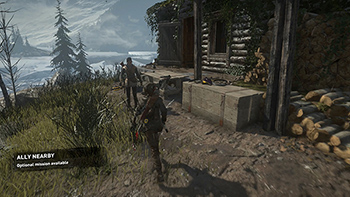
This mission also comes from the Remnant hunter who gives the Surveillance Disruption mission, above. You may need to wander away from her and return a little later before she'll offer this second task. The walkthrough includes more info. (Click screenshot to enlarge.)
THE QUEST
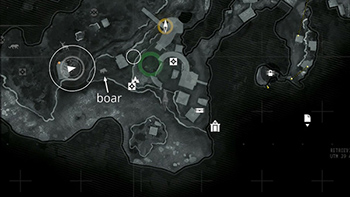
This time she asks you to gather some supplies: Meat from 2 boars plus 4 mushrooms. The boars can be found just east of the hunter's cabin. When you accept the mission, your map is updated. In my game, the green marker was in the wrong place on the map, but there is a boar icon where the razorbacks live. (Click screenshot to enlarge.)
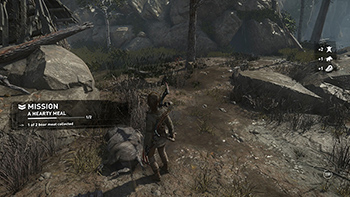
When you locate the boars, shoot two of them and loot their carcasses. You'll get meat for the mission, as well as hide and boar fat, which can be used as a lubricant to make various weapon upgrades. (Click screenshot to enlarge.)
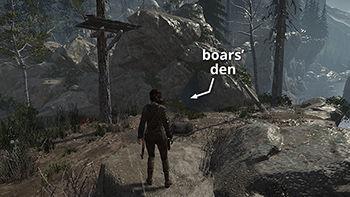
If you don't already have the required mushrooms, go into the nearby boars' den to find some. And of course, there are mushrooms inside many of the other caves in the game. Just watch out for wildlife living inside.
COMPLETING THE MISSION: When you have all the supplies, return to the Remnant hunter. She'll be waiting outside her cabin, just west of the boars' den. Speak to her and she'll give you the Huntress Outfit for your efforts, which you can then put on at any base camp.
ANCIENT SECRETS
MISSION GIVER
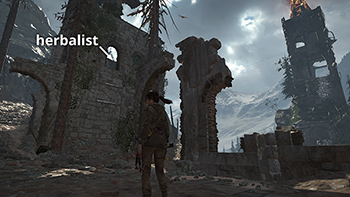
This mission begins with the Remnant herbalist, who can be found in the tower to the southeast of the Ruins Encampment Base Camp. You can climb up to her window or go around to the back of the tower to get inside. The location is marked on the annotated level map. (Click screenshot to enlarge.)
THE QUEST
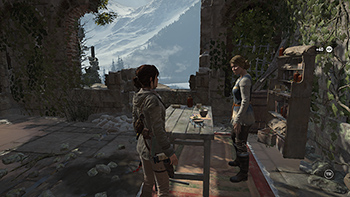
The herbalist asks you to explore the tombs throughout the valley and bring back the ancient knowledge you find. After you accept her mission, she will give you 10 gold coins for every Challenge Tomb you've raided so far. Return to her each time you complete another one for more rewards. (Click screenshot to enlarge.)
COMPLETING THE MISSION: Later in the game, when you've completed all 9 Challenge Tombs, fast travel back to the Ruins Encampment Base Camp, climb the hill to the herbalist's tower, and talk to her once more. She'll give you more gold coins and the Sacra Umbra Outfit.
Top of Page | Collectible Guides | Main ROTTR Page
†UPDATE HISTORY: 6/11/16 - Page first posted online.
WAS THIS WALKTHROUGH HELPFUL? If not, I apologize and invite you to contact me with any questions. If you need help right away, I recommend the r/TombRaider subreddit. Other fan-run forums are listed at tombraiders.net/stella/community.html. If this site was useful, please consider supporting it financially or in other ways. For details, visit tombraiders.net/stella/support.html. As always, I welcome your corrections/suggestions. Thank you!
Copyright © 2015 - Stellalune (). All rights reserved. Feel free to copy or print this walkthrough for personal use. By all means, share it with friends, but please include this credit line so people can send me their feedback. No part of this walkthrough may be reproduced on another site without permission. Follow this link for details about this site's advertising and privacy policy.
Stella's Tomb Raider Site: tombraiders.net.
