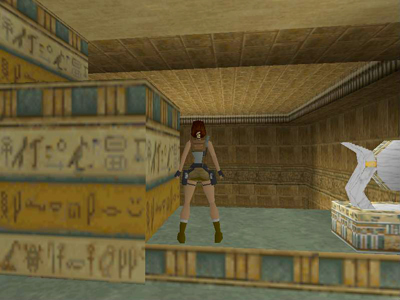
Obelisk of Khamoon - Shortcut to Secret #2
This shortcut leads directly from the HIGHEST ROOM—the one with the switch that lowers the SEAL OF ANUBIS bridge—to secret #2, on top of the column at the center of the drawbridges. It's a bit tricky, and Lara will lose about 3/4 of her health, so be sure to have full health and save your game first.

The screenshot above shows where you're trying to land: on the near right corner of the column. (The other arrow shows the normal path to the secret, from the greenery-covered ledge near the ANKH bridge switch.)

Stand at the edge of the opening and carefully adjust Lara's position so she's squarely facing the near right corner of the column. (Don't forget to use the Look button to make sure the path she'll travel is straight.) Then hop back once, so she's in the position shown above.

Now take a running jump. As Lara sails through the air, wait until she's almost reached the column before pressing Action. If you press it at the last moment, she'll throw out her arms as if to grab the column. . .

. . . but instead land right at the corner. After picking up secret #2, don't forget to go for secret #3 as described in the main walkthrough. (Special thanks to Mark R. for alerting me to this brilliant shortcut.)
Walkthrough text and diagrams copyright © 1998- Stellalune (email ). All TR1 screenshots were made using Glidos and Fraps. Feel free to copy or print this walkthrough for personal use. By all means, share it with friends, but please include this credit line so people can send me their feedback. No part of this walkthrough may be reproduced on another site without permission. Follow this link for details about this site's advertising and privacy policy.