Tomb of the Torturer - Spike Maze (Part 3)
Braziers, Major pickups, and 3 Illuminated Spheres
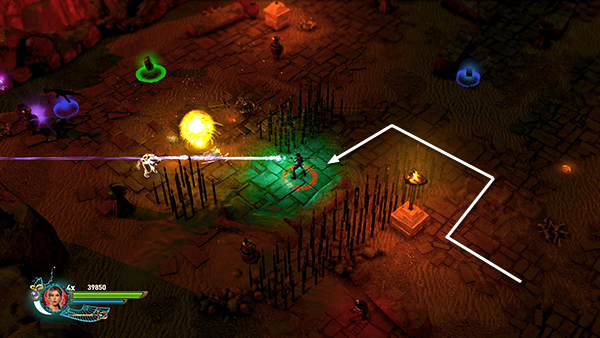
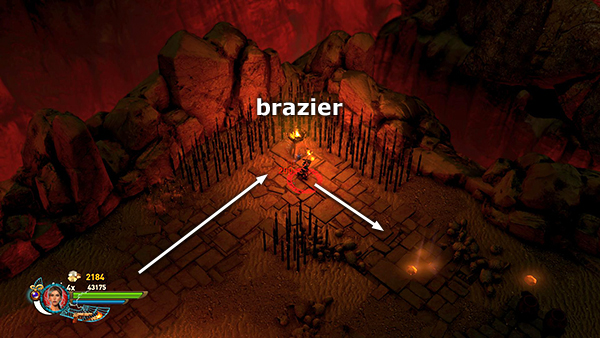
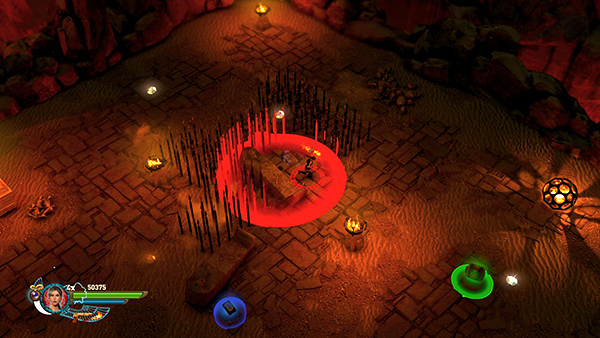
From the spot where the second illuminated sphere was, move toward the left corner of the room to trigger the appearance of another Mark of Set. Destroy it with the staff or just fight the enemies that emerge from it until the Mark closes on its own.
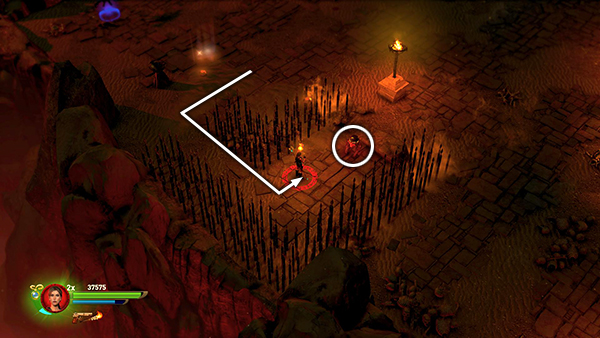
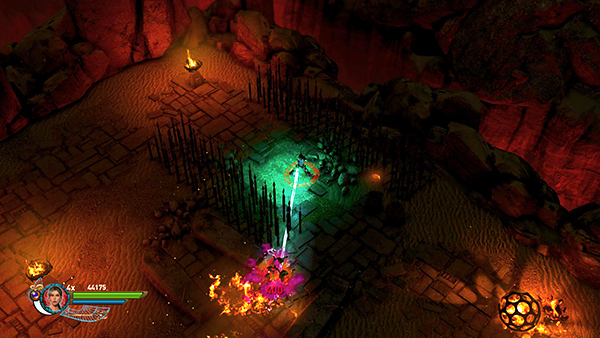
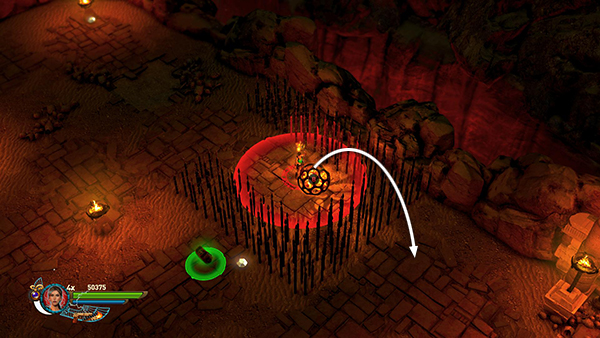
Move around the spikes toward the lower right to pick up a red skull (2/5).
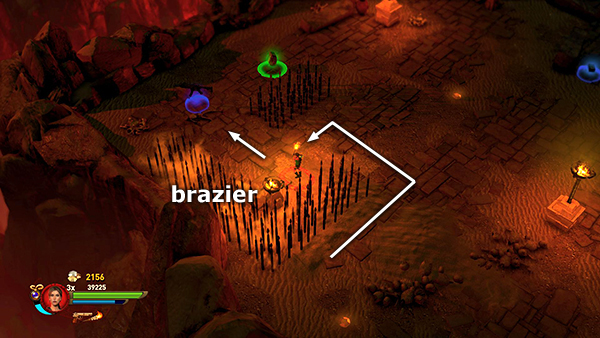
Then return toward the left corner of the room to light another brazier (19/32) and pick up the HIGH POWERED SUBMACHINE GUN.
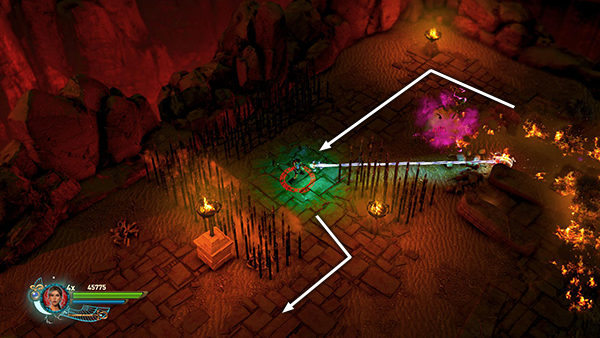
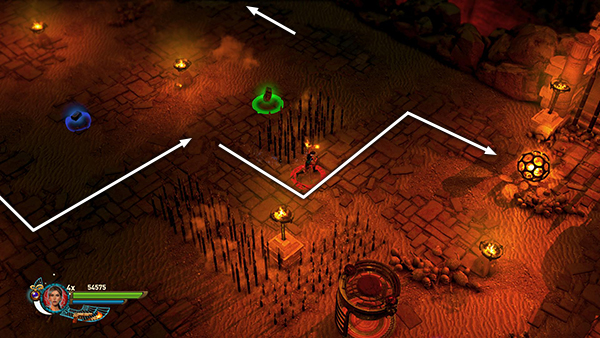
Continue along the safe path that follows the upper left wall of the room. Light another brazier (209/32) about halfway along.
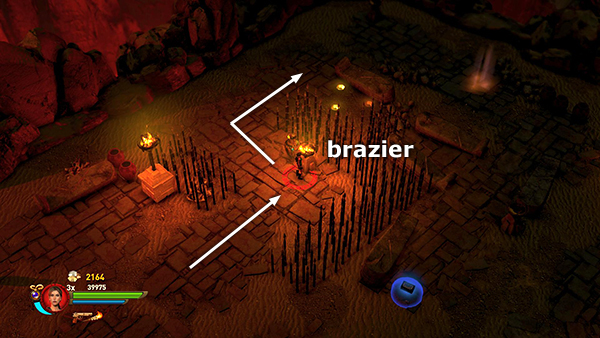
Then proceed to the upper corner and light the next brazier (21/32). As you round the corner and head to the right toward the third illuminated sphere...
...a swarm of flaming scarabs attacks.
It may help to backtrack along the path to put some distance between you and the bugs as you shoot/bomb them.
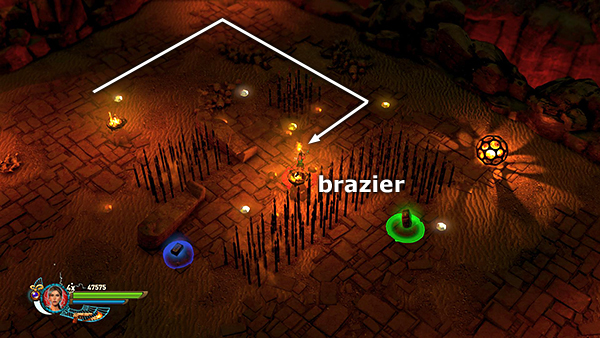
Then return toward the sphere but just before you reach it, move down/left between the spikes toward the cluster or sarcophagi to find the last brazier (22/32) in this room.
If you want to, you can blow up the sarcophagi and fight any skeletons that emerge.
Then head for the third glowing sphere and use a remote bomb to blast it over the spikes toward the exit.
Move back through the maze—first to the upper corner, then down to the left, then back over to the right—to reach the glowing sphere.
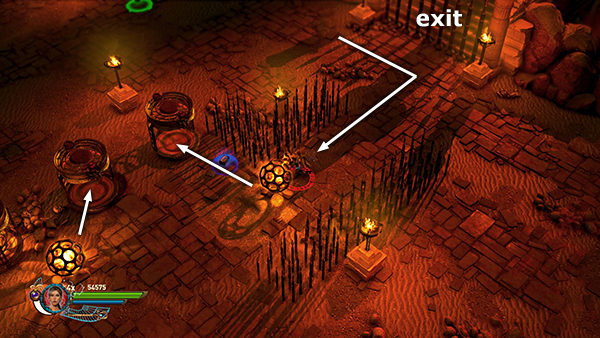
Roll it into one of the cages. Then roll the second sphere, which you blasted over the spikes earlier, into the third cage to open the exit.
Copyright © - Stellalune (
). All rights reserved. The screenshots and videos included here were made using Fraps. Feel free to copy or print this walkthrough for personal use. By all means, share it with friends, but please include this credit line so people can send me their feedback. No part of this walkthrough may be reproduced on another site without permission. Follow this link for details about this site's advertising and privacy policy.