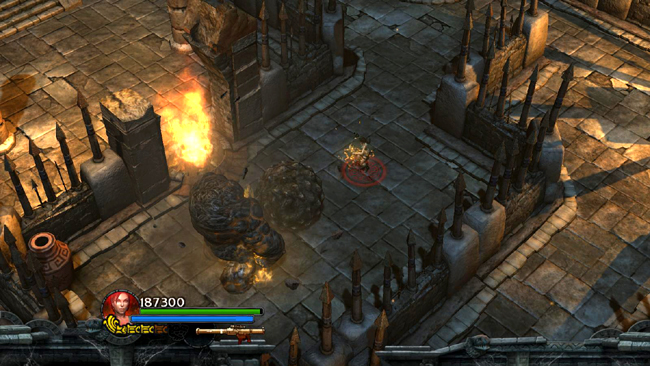
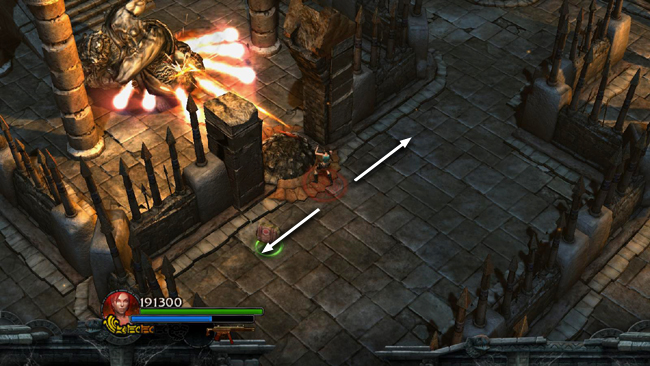
When you approach the second fire pit with the second large ball, another fire golem appears. Destroy it and pick up any health/ammo it leaves behind.
Then roll the ball into the fire pit.
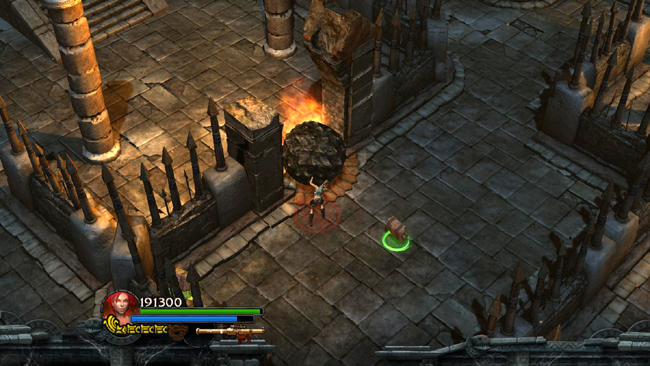
Hop over the ball into the area beyond.

Climb the staircase to trigger the appearance of the second gatekeeper at the top.
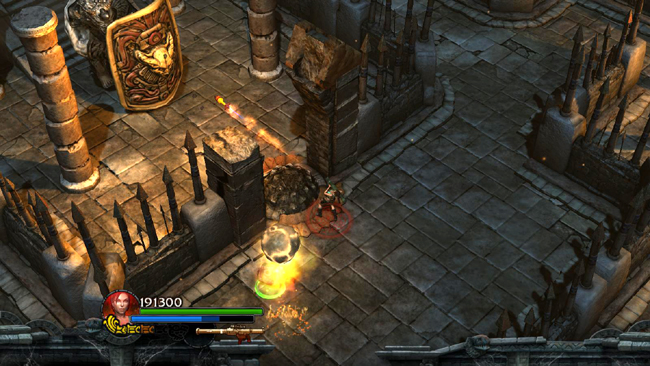
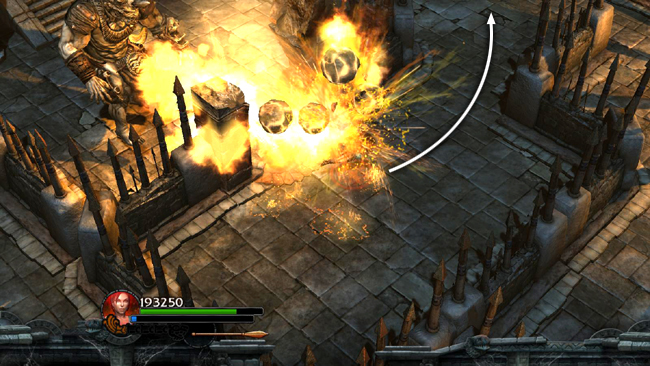
If you like, you can jump back over the ball and shoot the gatekeeper from behind it, since he's too big to fit through the opening. As with the previous gatekeeper, you'll need to remove its shield with a rocket or grenade first, as shown above.
Then you can finish it off with your weapon of choice. When it shoots a round of pink energy bolts, dodge behind the wall on either side to avoid them.
When lava boulders begin to rain from above, move out of the way until they subside.
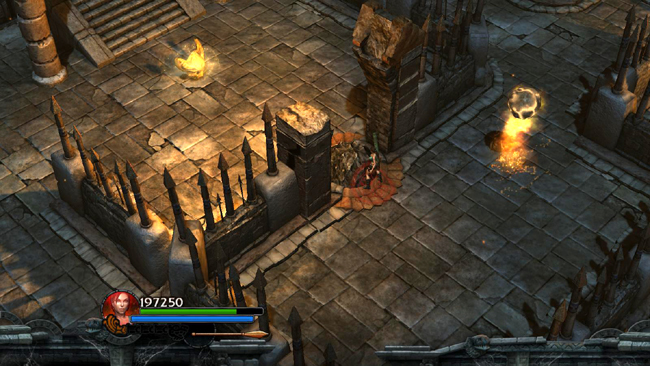
When the gatekeeper falls, pick up the GOLDEN KEY (2/3).
NOTE: If you're going for the 6-minute time challenge, you don't actually have to defeat this guardian. Just destroy its shield, take the key and then run out.
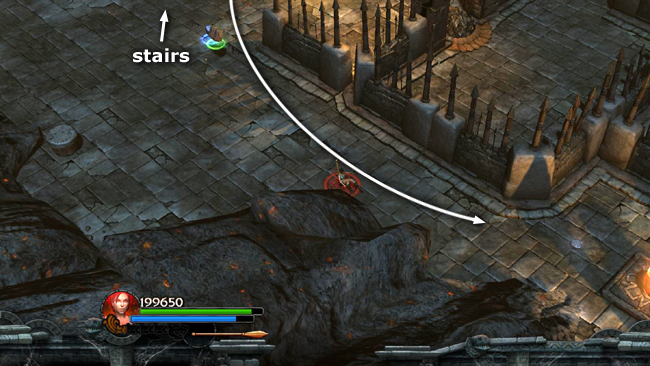
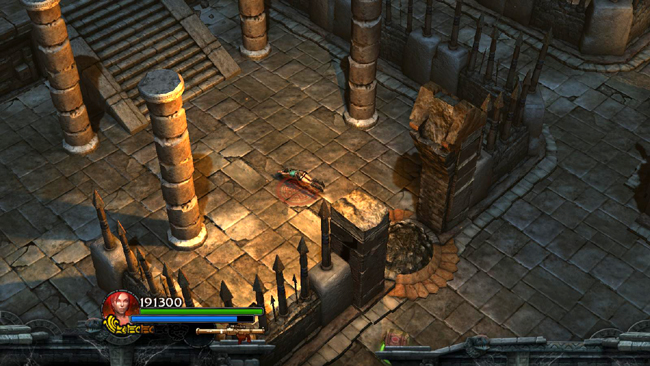
From the staircase where the gatekeeper appeared, follow the western wall southward to an open area.
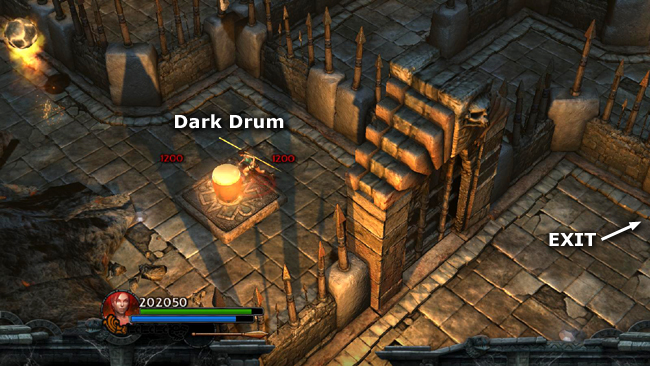
Here you'll find some gems and a Dark Drum Artifact (+ weapon, + defense) sitting on a pressure pad. Stepping on the pad opens the gate to the SE and triggers a barrage of lava boulders from above. So once you have the artifact, quickly run out through the gate. Head NE to get back to the entrance. You'll encounter a few lizards on the way out.
[Return to The Mirror's Wake Walkthrough]
Copyright © - Stellalune (). All rights reserved. The screenshots and videos included here were made using Fraps. Feel free to copy or print this walkthrough for personal use. By all means, share it with friends, but please include this credit line so people can send me their feedback. No part of this walkthrough may be reproduced on another site without permission. Follow this link for details about this site's advertising and privacy policy.
|