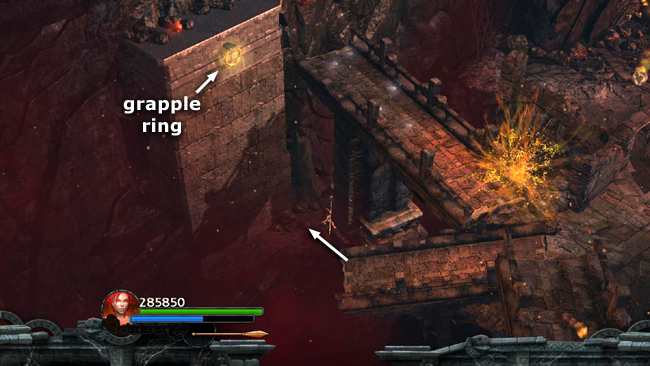
Exit the ARENA on the west side and move to the end of the broken bridge segment lying on the ground. Jump off the bridge and grapple the golden ring high on the wall above the murky pit.

Climb the cable until Lara is hanging just a little below the ring.
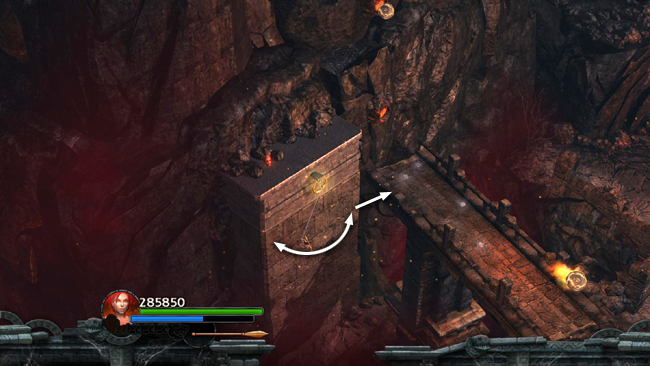
Wall-run back and forth and then jump to grab the edge of the bridge to the right. Pull up.
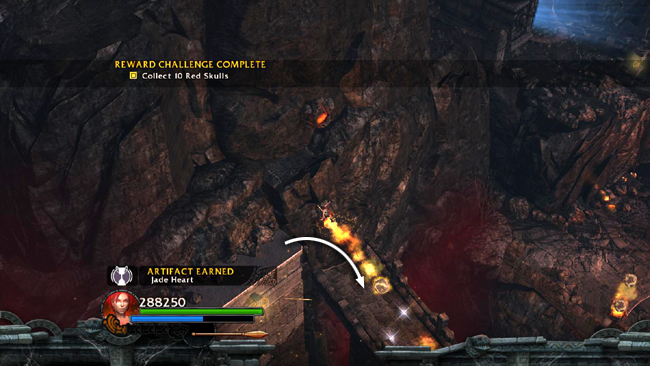
Throw a spear into the wall next to the ring.
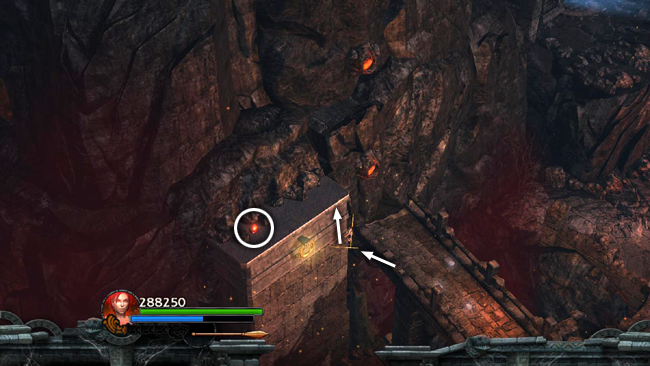
Use the spear to climb onto the wall to get the final red skull (10/10). If you've found the other 9, you'll receive a Jade Heart Artifact (+ weapon, + defense, + bomb, + speed) as well.
Jump back down onto the bridge.
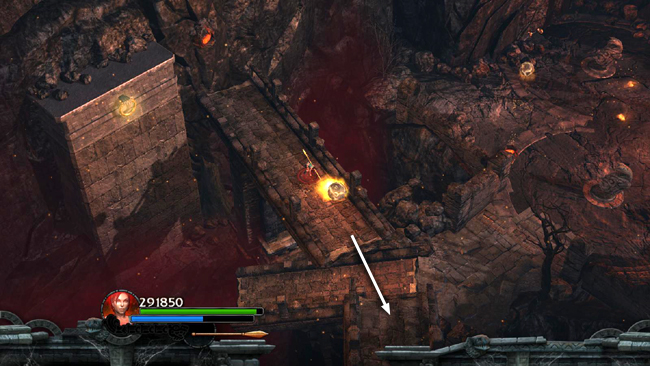
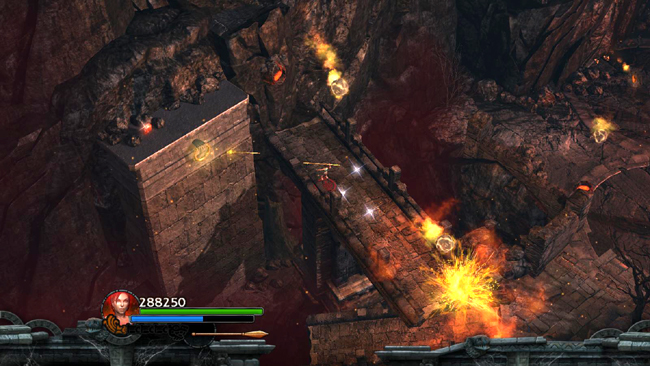
Follow the bridge SE, gathering gems and avoiding the falling lava boulders. Jump across the gap.
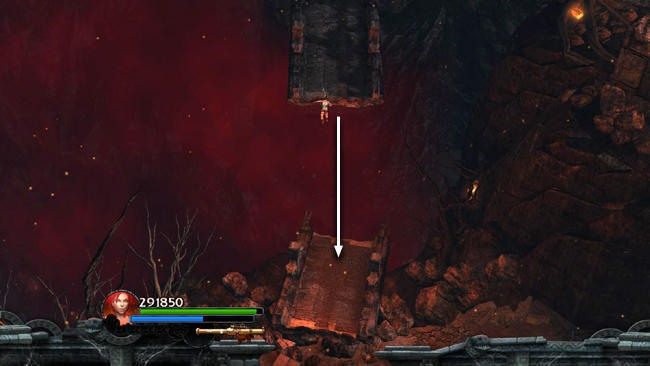
Then, at the end of the broken bridge, jump down into the area below.
[Return to The Mirror's Wake Walkthrough]
Copyright © - Stellalune (). All rights reserved. The screenshots and videos included here were made using Fraps. Feel free to copy or print this walkthrough for personal use. By all means, share it with friends, but please include this credit line so people can send me their feedback. No part of this walkthrough may be reproduced on another site without permission. Follow this link for details about this site's advertising and privacy policy.
|