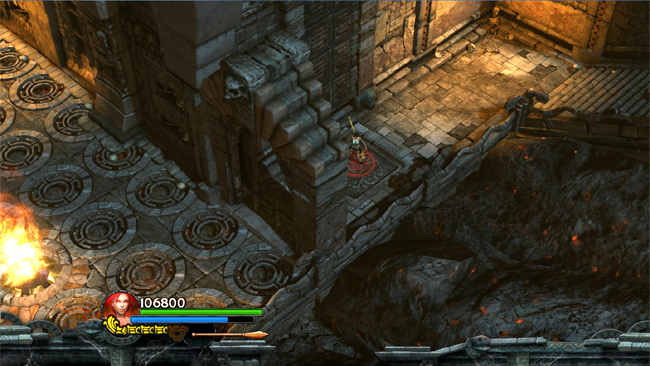
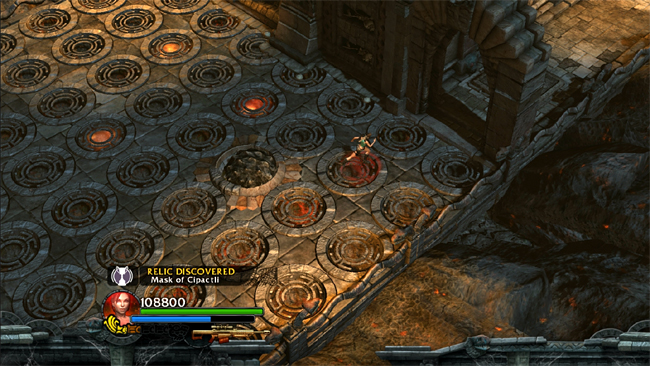
The Mirror's Wake - Challenge Tomb 2
This sequence is also shown in a short video walkthrough.
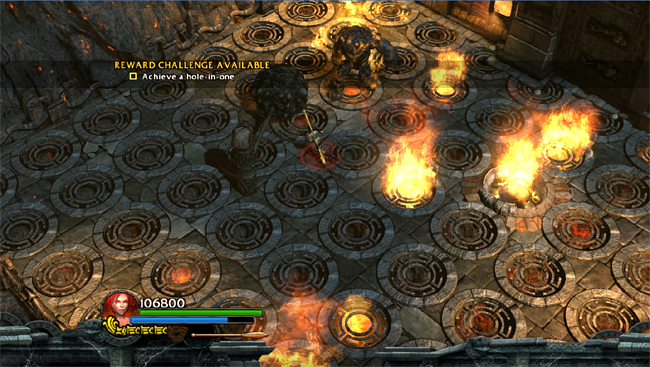
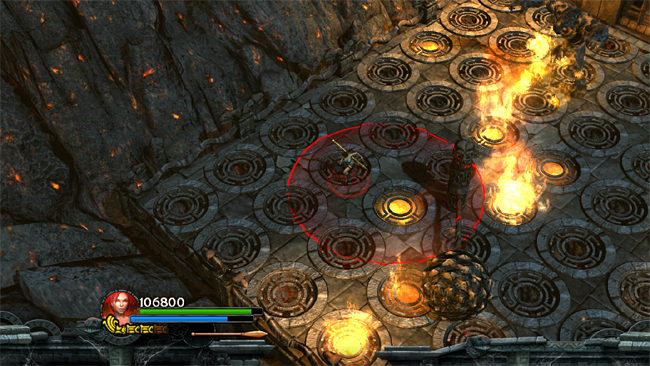
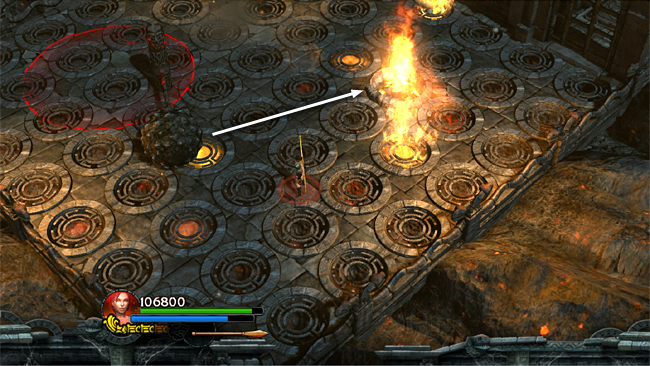
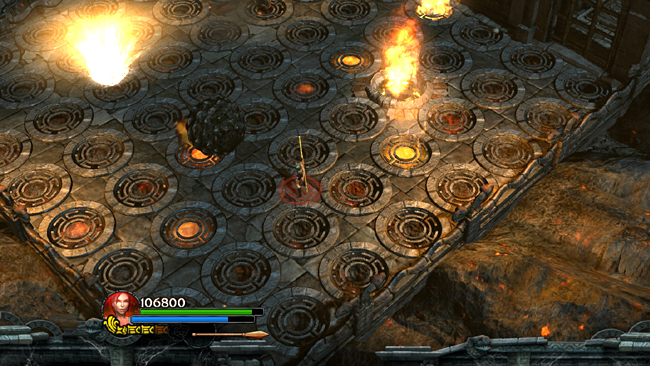
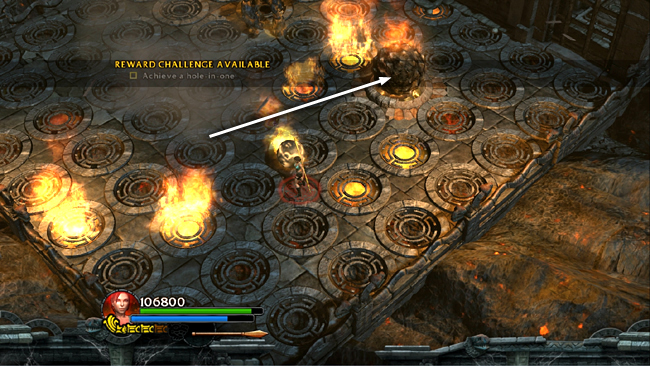
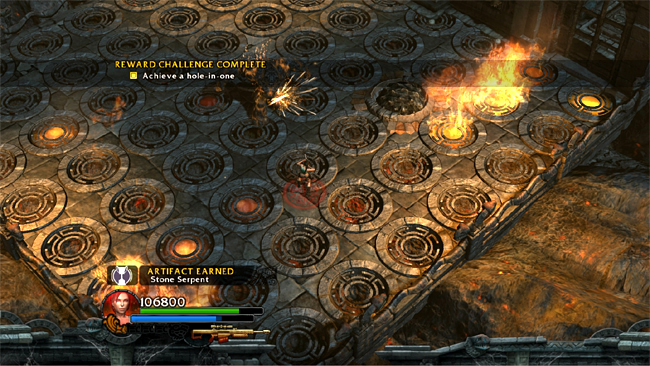
If you're going for the hole-in-one, either ignore the golem for now and concentrate on the rolling ball trap, or try to use weapons other than grenades or rockets to fight the golem so you don't accidentally destroy the trap prematurely. If the golem's death explosion destroys the trap, you can either quit and reload to try again or continue per the note below.
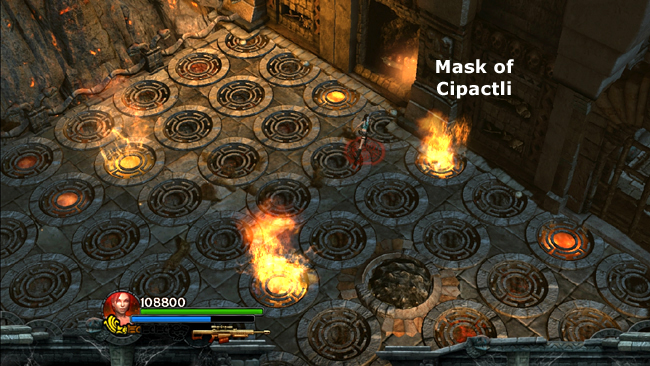
NOTE: Don't worry if you don't get the hole-in-one the first time. It's actually easier the second time you play the level. The first time, just concentrate on killing the golem, destroying the ball trap and rolling the ball into the fire pit. Then take the relic and leave. When you replay the level, next time you enter the challenge tomb, the exit doesn't close behind you. You can then trigger the golem, run back into the hallway and shoot it from there. Again, try to use weapons other than grenades or rockets so you don't destroy the rolling ball trap too soon. When the golem falls, exit and re-enter the tomb to trigger the checkpoint. Then you can attempt the hole-in-one, reloading as many times as needed, without having to deal with the golem each time. (The video shows this method as well.) [Return to The Mirror's Wake Walkthrough] Copyright © - Stellalune (). All rights reserved. The screenshots and videos included here were made using Fraps. Feel free to copy or print this walkthrough for personal use. By all means, share it with friends, but please include this credit line so people can send me their feedback. No part of this walkthrough may be reproduced on another site without permission. Follow this link for details about this site's advertising and privacy policy. |