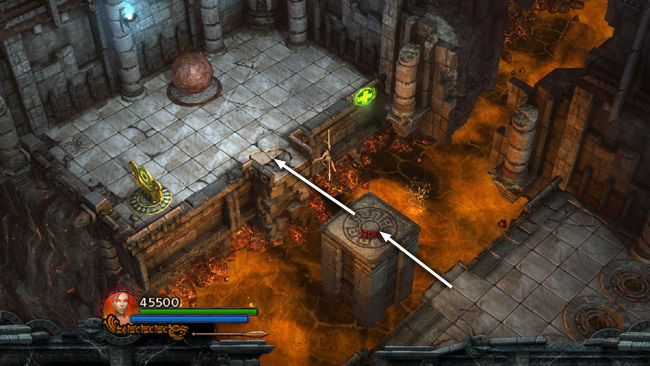
Hop across the square pillar sticking out of the lava trench to the ledge on the other side.
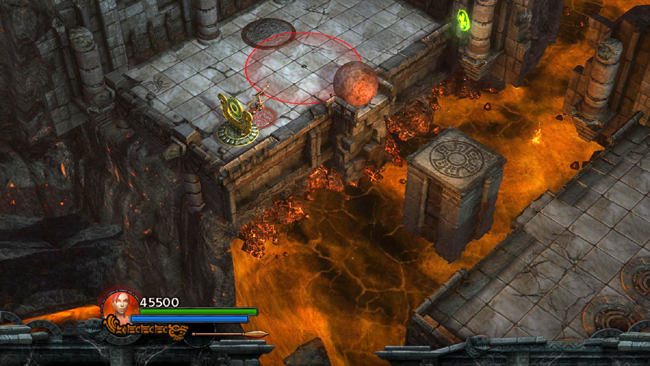
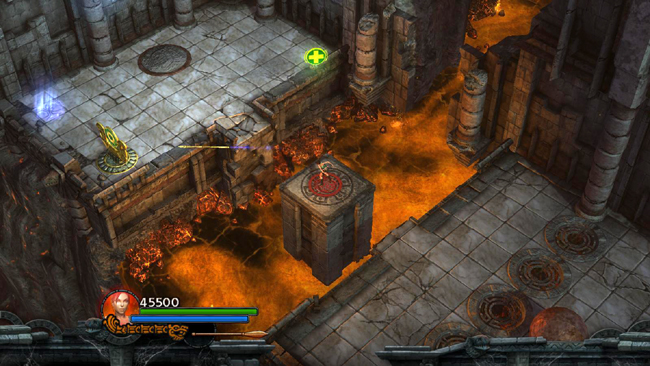
Roll the LARGE BALL (5/6) into the slight depression at the edge of the ledge near the square pillar. Plant a bomb behind the ball so the red circle indicating the blast radius overlaps the ball just slightly, as shown above. This placement will cause the ball to be blasted forward more than upward.
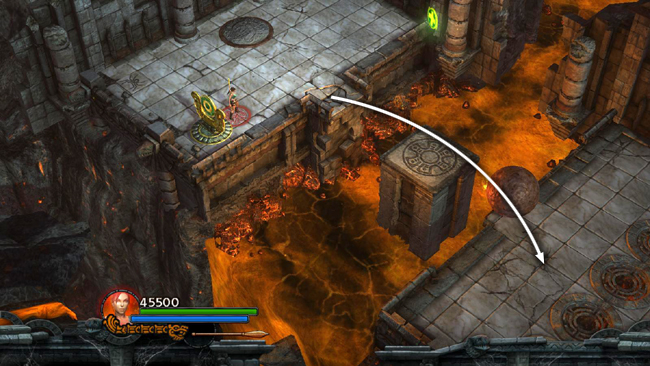
Detonate the bomb to hurl the ball across the square pillar to the other side of the lava trench. If you don't get it right at first, a new ball will drop out of the chute so you can try again.
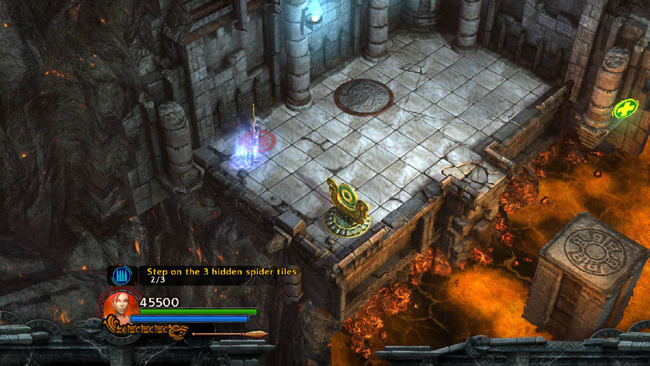
Also be sure to step on the hidden spider tile (2/3) in the far left corner. This is part of the spider-tile Reward Challenge.
Now jump onto the pillar and shoot the target to raise Lara to the HEALTH UPGRADE floating in midair.
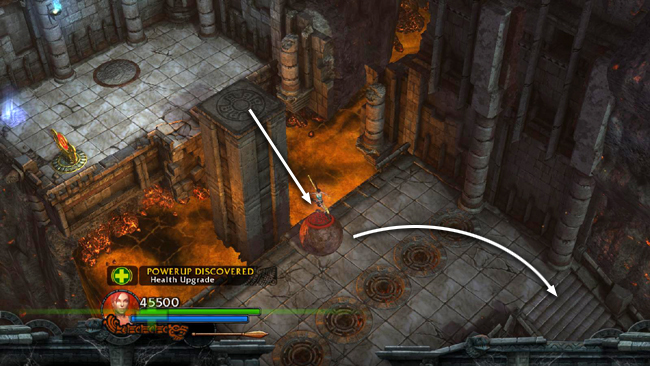
Jump down onto the ledge. Then carefully roll the ball past the burners and down the stairs into the ROOM WITH STONE FISTS.
[Return to the Stronghold Passage Walkthrough]
Copyright © - Stellalune (). All rights reserved. The screenshots and videos included here were made using Fraps. Feel free to copy or print this walkthrough for personal use. By all means, share it with friends, but please include this credit line so people can send me their feedback. No part of this walkthrough may be reproduced on another site without permission. Follow this link for details about this site's advertising and privacy policy.
|