It's a Madhouse! - Secret #3 (part 1)
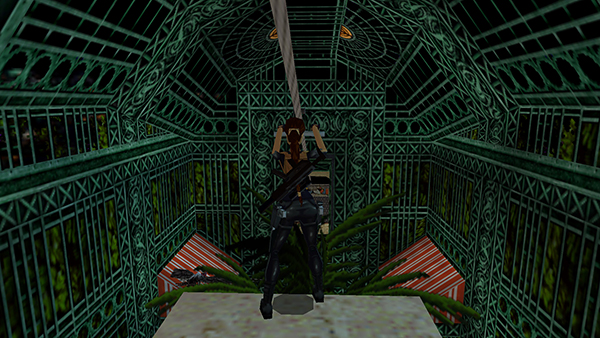
Ride the zip line from the AVIARY down into the next area.
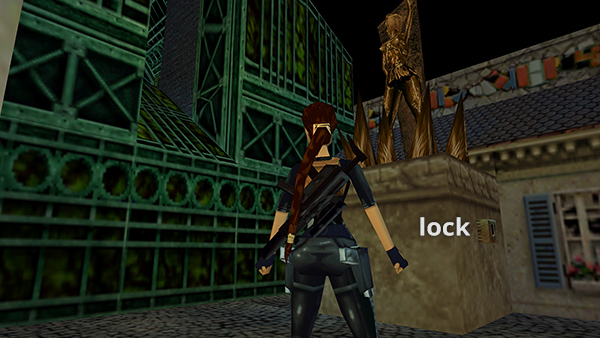
If you picked up the SECOND AVIARY KEY, use it in the lock on the base of the statue
This opens a gate near the SECOND GOLDEN STATUE (the one with the trapdoor that you opened earlier using the switch on the side of the FIRST GOLDEN STATUE).
Follow the cobblestone walkway away from the statue with the lock.
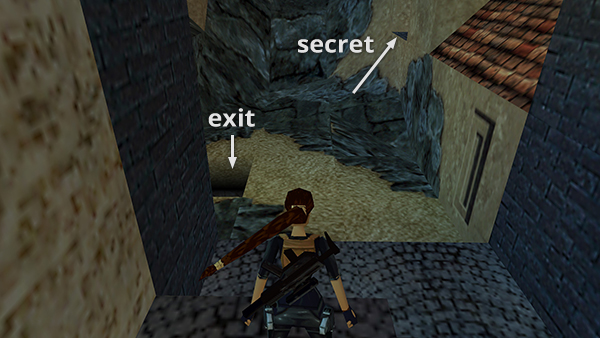
If you didn't do what's necessary to get the third secret (described in the main walkthrough) or you just aren't interested in secrets, drop into the hole on the left. This leads to the level exit. Pick up the main walkthrough at the *** near the end. Otherwise, jump into the raised opening on the right...
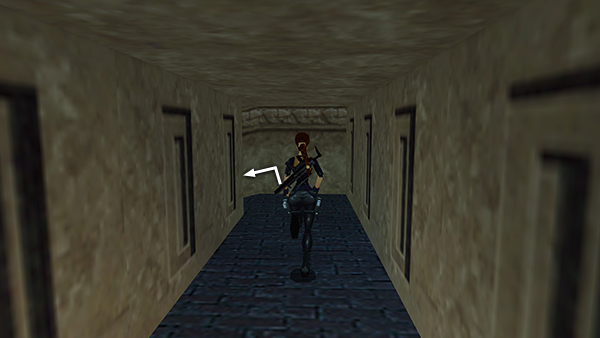
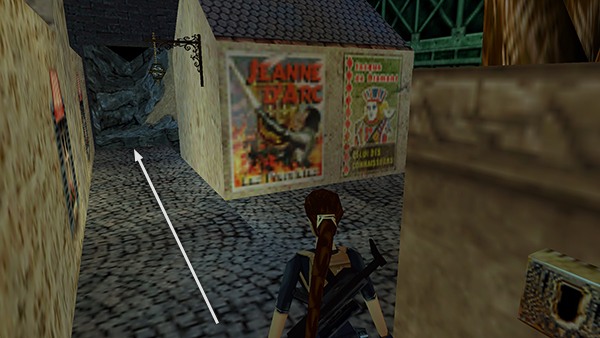
Follow the passageway forward, then down to the left...
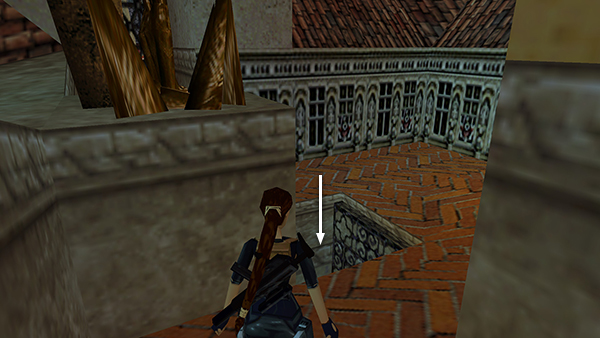
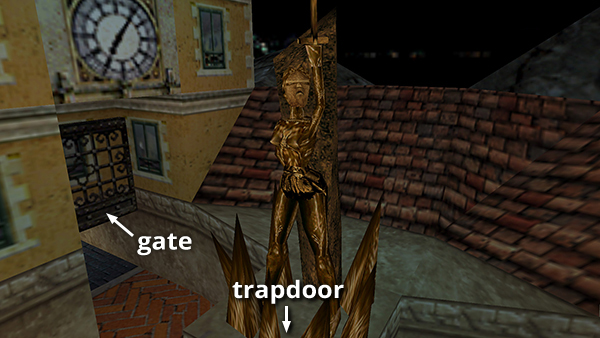
..to the SECOND GOLDEN STATUE. If you followed the walkthrough, the trapdoor at the base of the statue should be open. Drop through the opening into a dark cave. This is SECRET #3.
Copyright © 2000- - Stellalune (
). All rights reserved. Feel free to copy or print this walkthrough for personal use. By all means, share it with friends, but please include this credit line so people can send me their feedback. No part of this walkthrough may be reproduced on another site without permission. Follow this link for details about this site's advertising and privacy policy.