Temple Ruins - Secret #1 - Rooms Below the Trapdoor
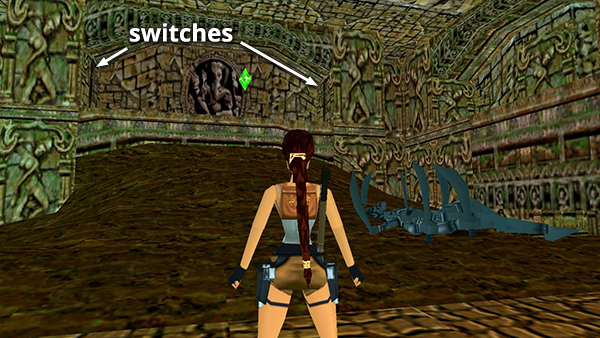
After using the 2 switches on the ledge where you found the crystal...
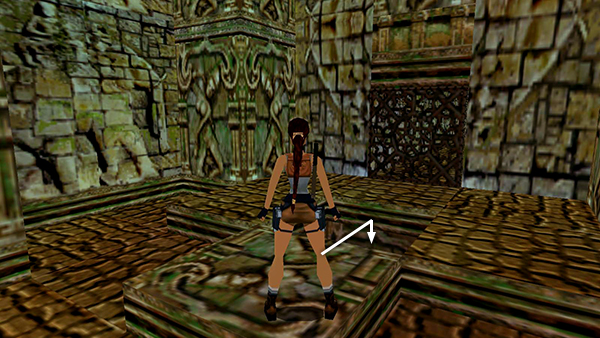
Step on the low block near the trapdoor to open it. Drop through the trapdoor.
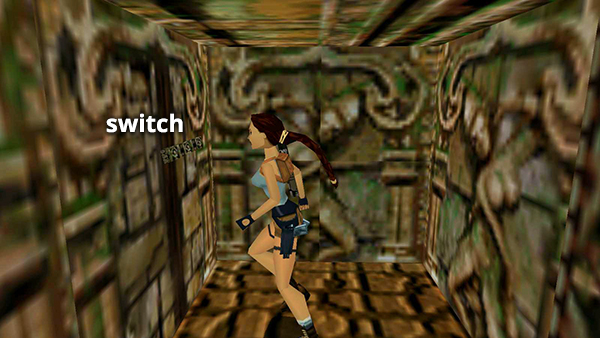
Throw the switch in the passageway below to open the second small gate in the room above. Don't climb back up yet, though.
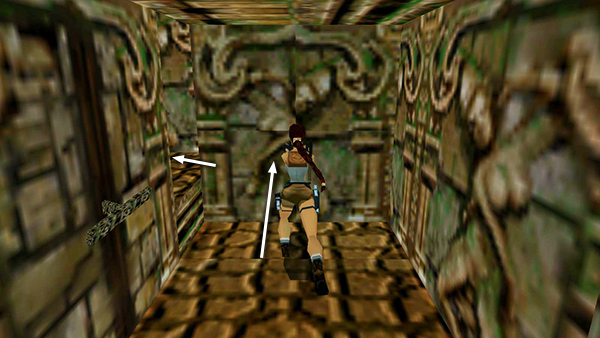
Next to the switch in the pit is a movable block. Push it once and enter the room beyond. This is SECRET #1.
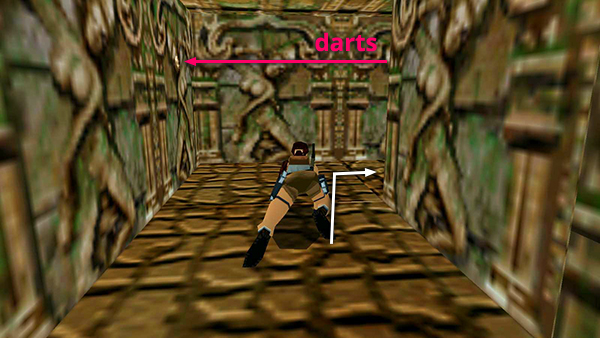
Proceed carefully, crawling under the poisoned darts or hugging the right wall to avoid them. As with snake venom, if you are struck by one of these darts, Lara's health will gradually run out unless you use a medi pack to antidote the poison.
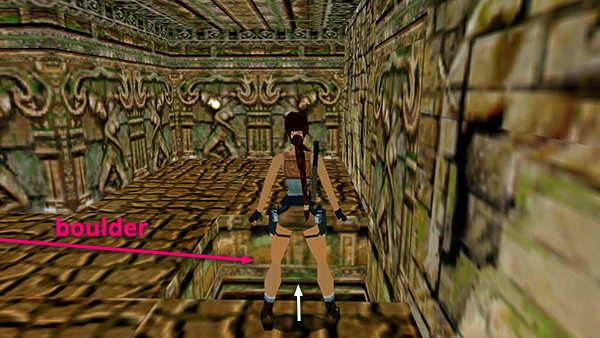
Just around the corner is a shallow pit containing a small medi pack. This is a boulder trap. The boulder doesn't move until you actually step into the pit, but once it lands there, it prevents you from getting the medi pack. So walk to the edge, step off into the pit...
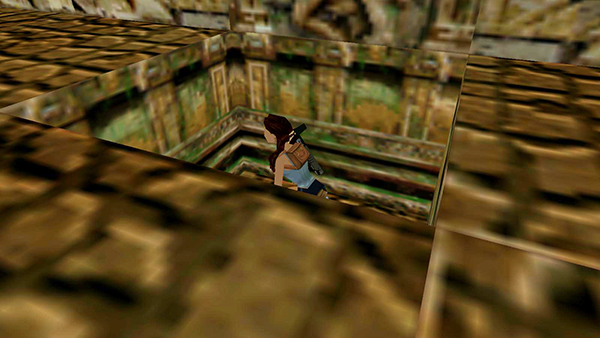
...and immediately press Action to grab the medi pack.
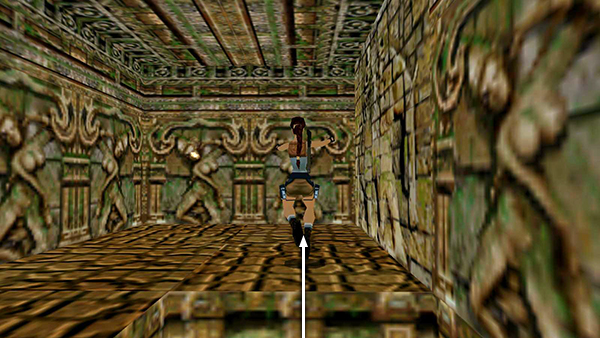
Then quickly jump forward out of the pit before the boulder arrives.
- OR -
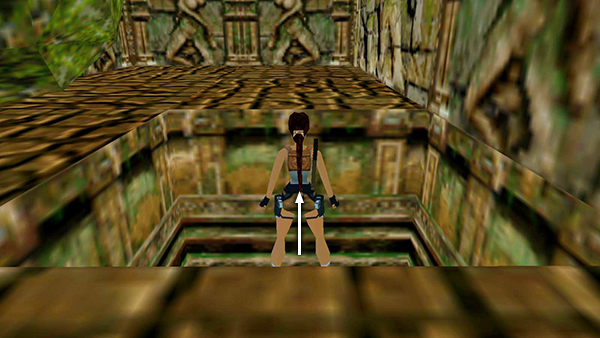
Alternatively, once you have the medi pack, run forward and stand against the wall of the pit.
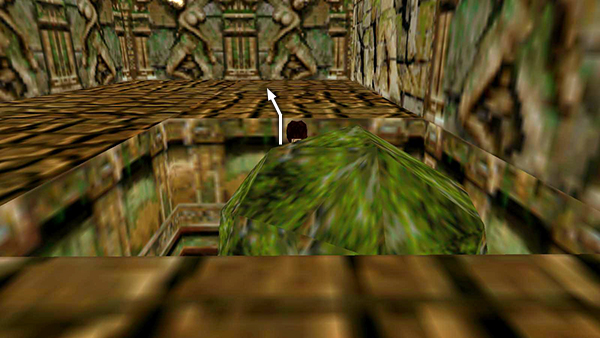
The boulder will then land behind Lara without squashing her, and you can then climb out safely.
Copyright © 1998- - Stellalune ( ). All rights reserved. Feel free to copy or print this walkthrough for personal use. By all means, share it with friends, but please include this credit line so people can send me their feedback. No part of this walkthrough may be reproduced on another site without permission. Follow this link for details about this site's advertising and privacy policy.