Temple Ruins - Path to Second Ganesha Key (part 1)
The route from the ROOM WITH THE LARGE GATE AND TWO KEYHOLES to this point is described in the main walkthrough.
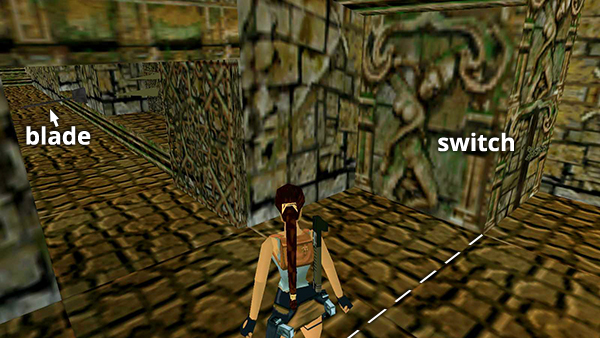
Pull the switch to the right of the gate to open it. Ahead is a gauntlet of traps, including a knee-high horizontal slicing blade and spiked walls that close in from both sides. To get through with little or no damage, start one floor tile from the doorway. The broken line in the screenshot above marks the seam between textures. This is where you want to begin. Save the game here if possible.
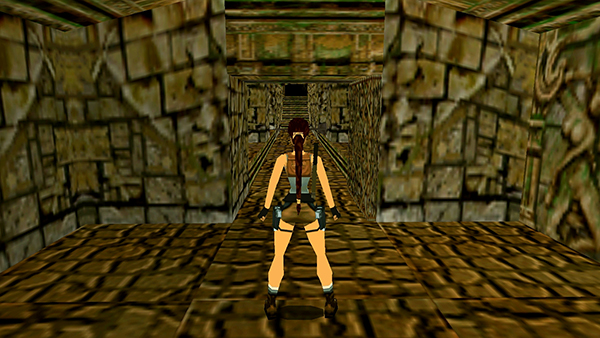
Then, when the slicing blade closes (i.e., immediately after it makes the "sching" sound)...
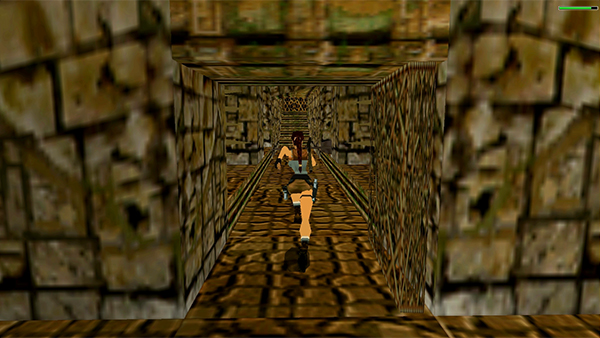
...start sprinting forward without jumping.
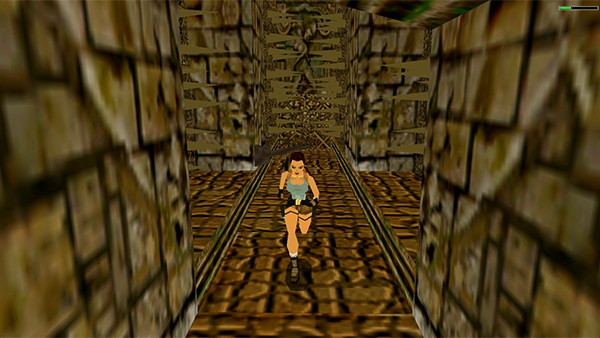
If you time the sequence correctly, Lara should sprint straight through the traps without taking any damage. If you like, you can tap Look to cancel the weird camera angle, but it's probably not necessary if you use this strategy.
NOTE: To Sprint or Dash, while running forward, hold either slash (/) on the PC/Mac or R2 on the PlayStation. You'll then see the green stamina bar at the top right corner of the screen. When this meter runs out, you must let it refill before you're able to sprint again. For this short sequence, you won't need more than one full bar.
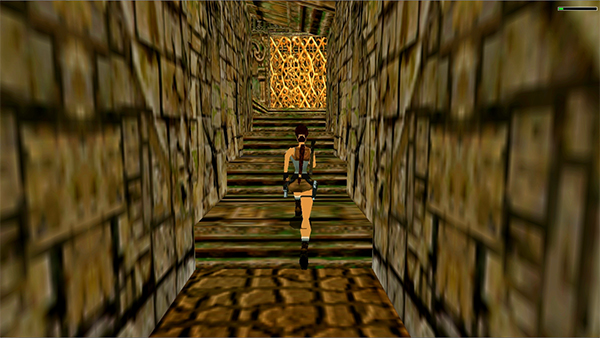
Once you clear the second set of encroaching spikes, the camera moves behind Lara again, and you're safe.
Copyright © 1998- - Stellalune ( ). All rights reserved. The screenshots and videos included here were made using Fraps and the classic Tomb Raider widescreen patch by Mr. Fourblack. Feel free to copy or print this walkthrough for personal use. By all means, share it with friends, but please include this credit line so people can send me their feedback. No part of this walkthrough may be reproduced on another site without permission. Follow this link for details about this site's advertising and privacy policy.