The Great Wall - Climbing up to the Wall
Includes Secret #1 - Silver Dragon
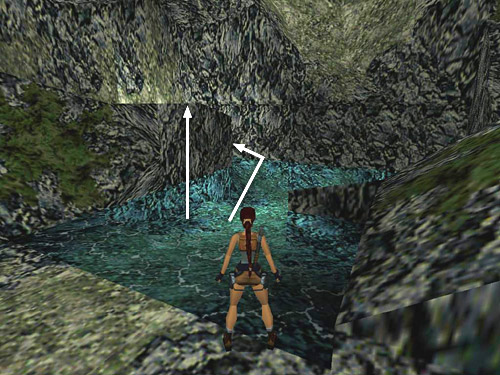
Wade into the shallow pool. Climb out of the water on the rocks at the far left. (You can either pull up directly onto the ledge or go around behind the rock formation and climb up.)
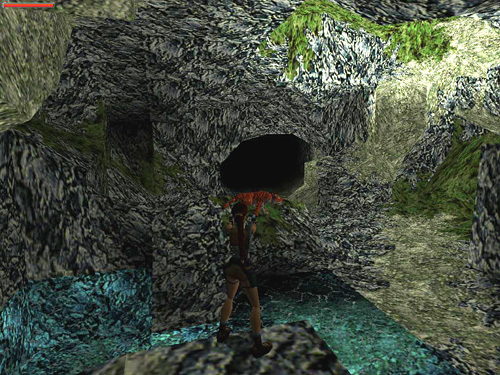
If you like, you can turn and shoot at the tiger that emerges below. You don't have to kill it, though, since you're going up, not down. And tigers are endangered, you know. ;-)
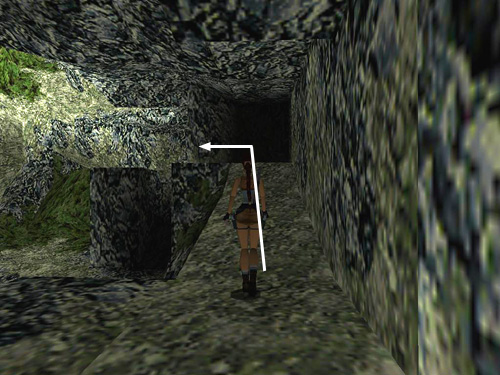
Walk to the end of this ledge.
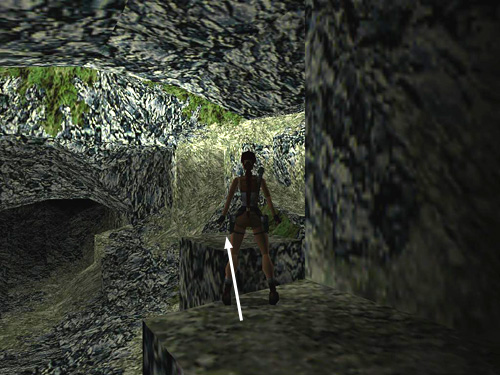
Then take a standing jump to the freestanding block ahead.
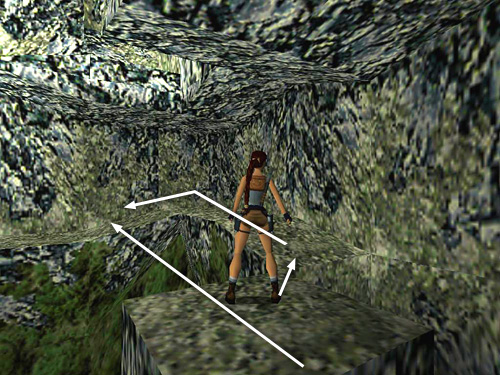
Turn right and jump to the long, L-shaped ledge. (Or, take a running jump from the freestanding block directly to the middle of the path, as shown by the lower arrow in the screenshot above.)
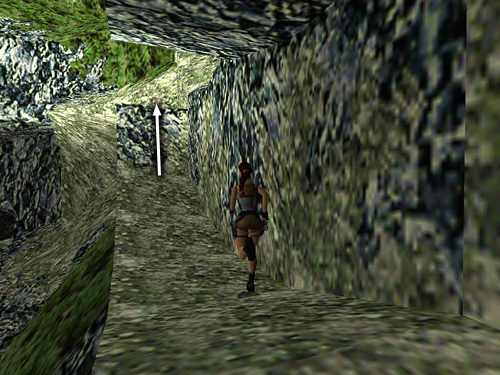
Follow this ledge all the way to the other end and climb onto the raised block.
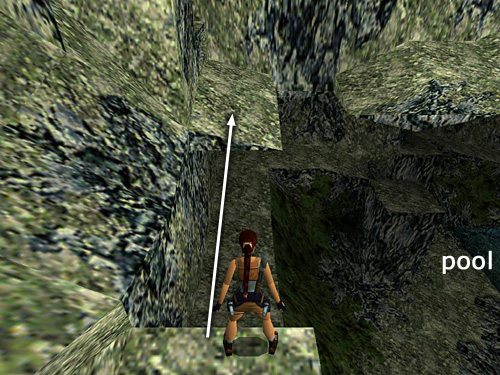
Turn around and take a running jump to land on the thin ledge above the ledge on which Lara was just standing.
NOTE: If you aren't already familiar with the technique for setting up jumps, I highly recommend you try this now. Walk to the edge and angle Lara so she's facing where you want her to land. Then take a single hop back from the edge (Back + Jump). Press and hold Forward, then quickly press Jump, and Lara will run two steps and jump on the third, taking off right at the edge and landing on the other side of the gap.
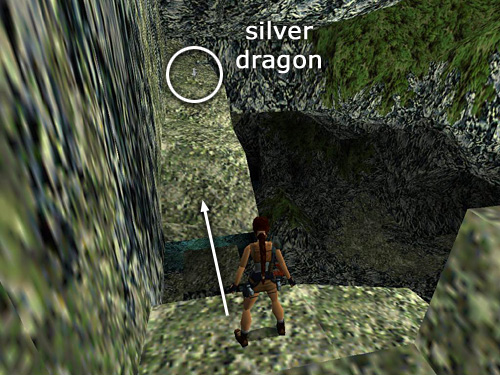
Turn right and jump across the small gap onto the longer ledge that runs along the wall. Follow it to the end, where you'll find SECRET #1, the Silver Dragon. From up here you can kill a second tiger on the cave floor if you like.
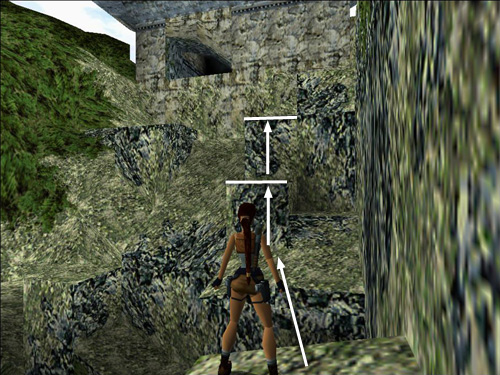
Turn around, return to the other end of this ledge and jump back across the small gap. Then climb the blocks ahead until you can touch the side of the Great Wall. Look to the left to spot an opening leading inside the wall.
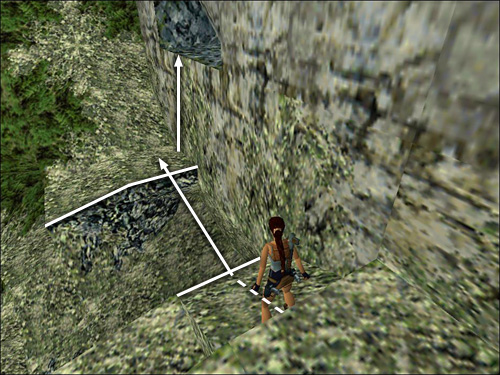
Stand on the slightly sloped surface with the wall on Lara's right. Then take a running jump to land on the flat area just below the opening. (Again, use the setup technique described in the note above to make sure Lara doesn't fall.) Climb up into the building.
Copyright © 1998- - Stellalune (). Feel free to copy or print this walkthrough for personal use. By all means, share it with friends, but please include this credit line so people can send me their feedback. No part of this walkthrough may be reproduced on another site without permission. Follow this link for details about this site's advertising and privacy policy.
Stella's Tomb Raider Site: tombraiders.net.