Rise of the Tomb Raider - Acropolis Collectibles
Updated: 6/12/16(†)
This guide, along with the annotated level map, should help when revisiting this level. If you are playing through for the first time, you may want to follow the main walkthrough instead. Weapons, Equipment, and Outfits are covered separately.
Note that once you have completed this level, the canyon to the northwest of the tower is only accessible from the Cliffside Lookout Base Camp in the GEOTHERMAL VALLEY. The rest of the level is still entirely connected, so you can fast travel back to the camp nearest the item(s) you need. Then when you have everything, fast travel back to the Cliffside Lookout or wherever you left off. The section in the main walkthrough on REVISITING THE ACROPOLIS includes more info.
Relics · Documents · Mural · Explorer Satchel · Survival Caches · Monolith & Coin Caches · Strongboxes · Archivist Map · Cut Short Challenge
RELIC 1
The first relic is near the Remnant Bazaar Base Camp. As you're heading south toward the archway leading into the market square, the relic is sitting on the ground in the tent on the left side of the road. (Click screenshot to enlarge.)


RELIC 2
This relic is in the room where you first obtain GRENADE ARROWS. To get back there later in the game, start at the Riverside Landing Base Camp. Head down the stairs to the north, go through the doorway on the left, then turn right and step through the hole you made earlier with your axe. Drop down into the little room with the mural, scramble up the wooden wall on the right, step forward, and drop down near the relic. (Click screenshot to enlarge.)
RELIC 3
The third relic is at the north end of the stone bridge near the Riverside Landing Base Camp. From the camp, head up the stairs to the north. Walk across the planks and then follow the ledge that runs alongside the building until you can jump and grab the edge of the bridge. Pull up and you'll see the relic to the left. Check the walkthrough and map for details. (Click screenshot to enlarge.)
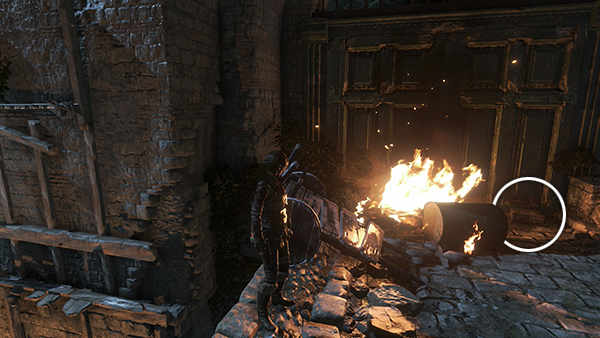
DOCUMENT 1
The first document is near the level entrance. Drop down on the right side of the stone bridge with the scattered supplies, and you'll find the scroll in the alcove below. See the map and walkthrough for details. (Click screenshot to enlarge.)
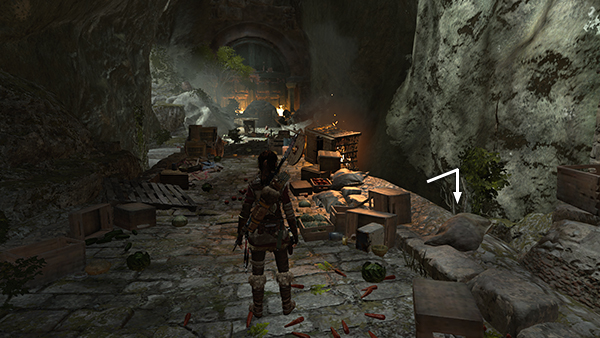
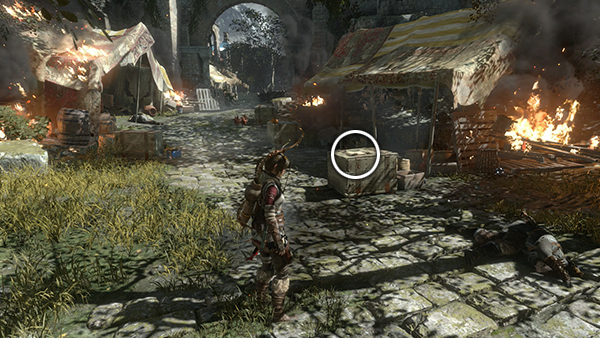
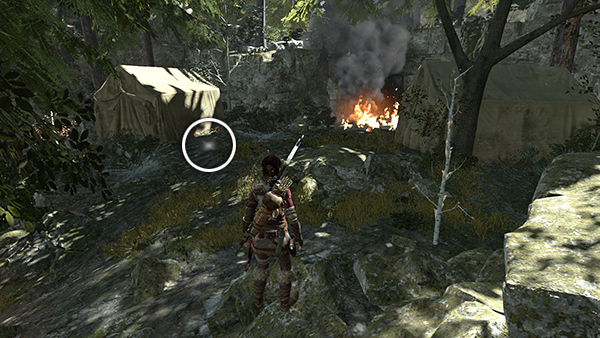
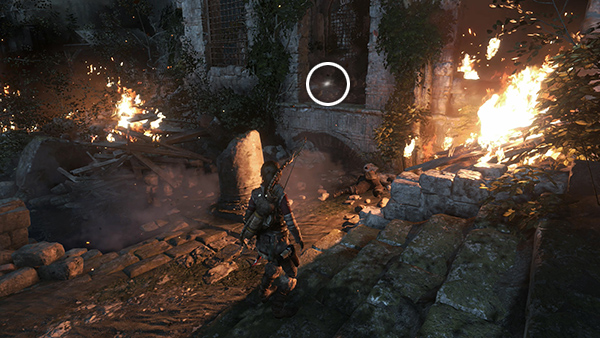
DOCUMENT 2
This document is just down the hill from the Remnant Bazaar Base Camp, at the north end of the cobbled road, near a pile of burning debris. (Click screenshot to enlarge.)
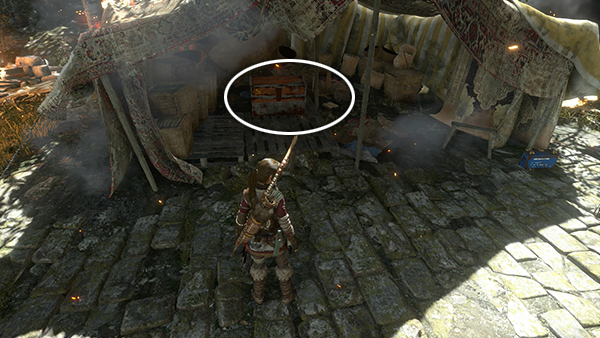
DOCUMENT 3
This document is under one of the tents just down the hill to the west of the Remnant Bazaar Base Camp. It's the same tent as strongbox #2. (Click screenshot to enlarge.)
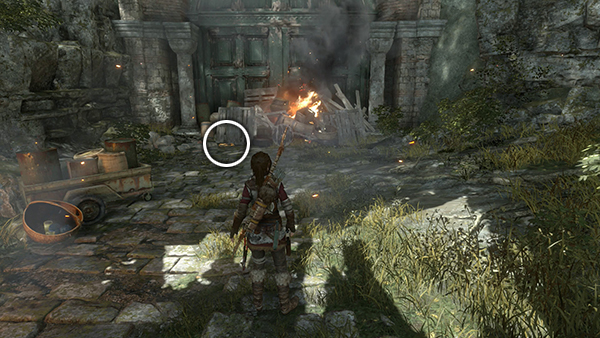
DOCUMENT 4
This document is in the same area as the previous ones, near the Remnant Bazaar Base Camp. It's sitting on a wooden crate just outside one of the tents. (Click screenshot to enlarge.)

DOCUMENT 5
This document is sitting on a table near the monolith and the Riverside Landing Base Camp. (Click screenshot to enlarge.)
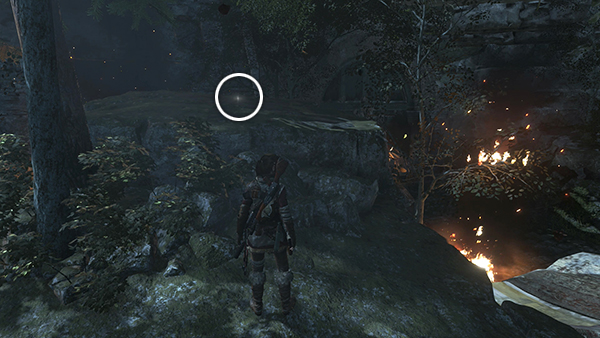
DOCUMENT 6
This document is between the Riverside Landing Base Camp and the bridge with relic #3. From the base camp, go up the stairs to the north. Then walk along the planks to reach the wooden ledge ahead. The document is lying near an abandoned bedroll in the corner. (Click screenshot to enlarge.)


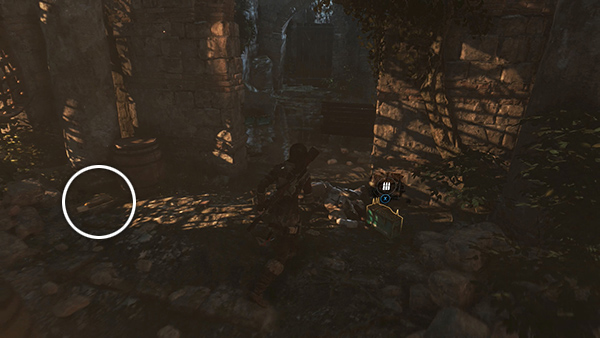
DOCUMENT 7
This document is sitting on a table just north of the Tower Courtyard Base Camp. (Click screenshot to enlarge.)
DOCUMENT 8
Head west from the Tower Courtyard Base Camp and you'll find this scroll lying on the ground on the left side of the corridor, on the way to the tower gate. Again, check the map and walkthrough if you're having trouble finding it. (Click screenshot to enlarge.)
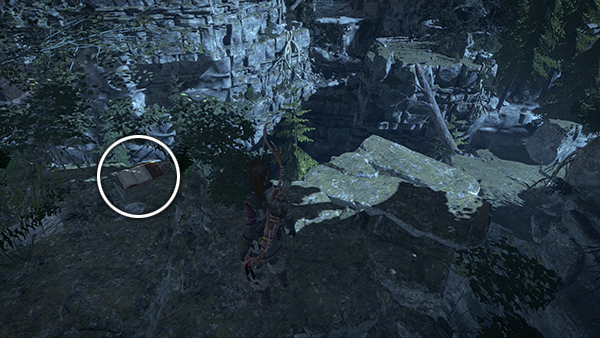
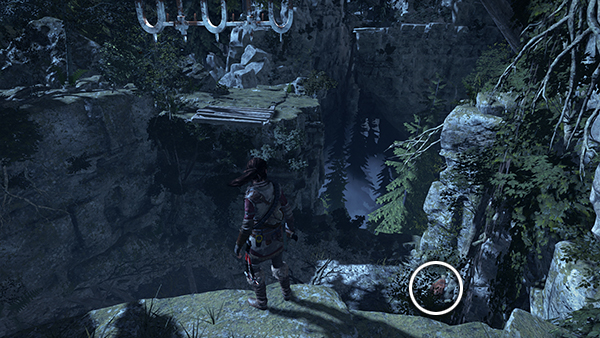
DOCUMENT 9
This document is in the canyon beyond the tower at the end of the level. The first time through, you'll cross a chasm by walking along a fallen tree then use the grapple axe to climb up onto a high ledge. The document is here, on the ground to the right. To get it later, start from the Cliffside Lookout Base Camp in the GEOTHERMAL VALLEY and follow the canyon to the south. Jump/climb along the ledges on the left side of the canyon until you reach the document. (Click screenshot to enlarge.)
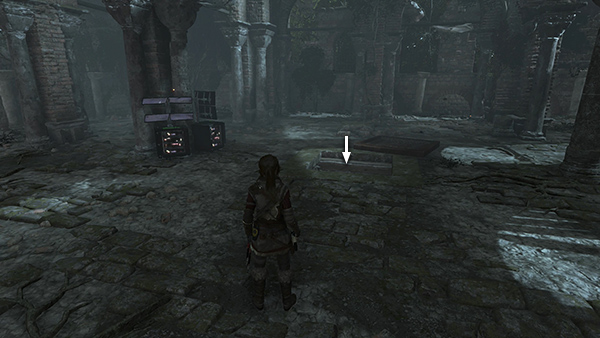
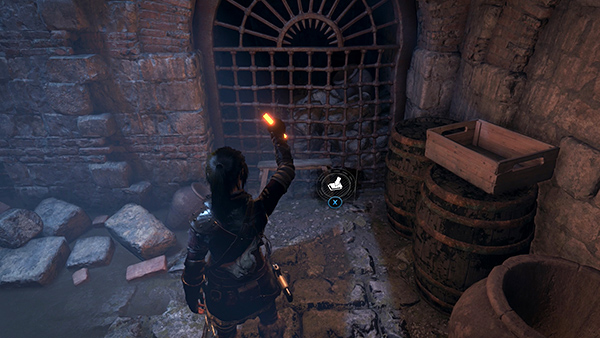
DOCUMENT 10
This document cannot be obtained on your first pass through the level. You must return for it later. Fast travel to the Tower Courtyard Base Camp and follow the passage to the west. Crawl under the gate into the tower, and drop through the trapdoor in the middle of the floor. The document is in the area below. See the main walkthrough for details and additional screenshots. (Click screenshot to enlarge.)
MURAL
The one mural in this level is in the catacombs, on the way to the little side room where you first obtain GRENADE ARROWS. To get back there later in the game, start at the Riverside Landing Base Camp. Head down the stairs to the north, go through the doorway on the left, then turn right and step through the hole you made earlier with your axe. Drop down into the little room beyond and the mural will be on your left. See the map and walkthrough for details. (Click screenshot to enlarge.)
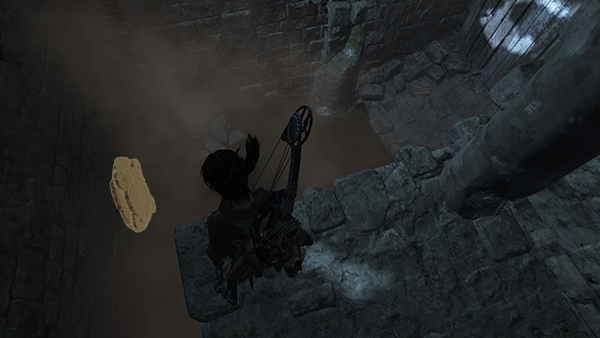
EXPLORER SATCHEL
Near the end of the level, you find yourself in a canyon at night. The first time you're prompted to use the GRAPPLE AXE, instead of swinging across the gap, drop down into the shallow pit to find the satchel on the right. To retrieve it later, fast travel to the Cliffside Lookout Base Camp in the GEOTHERMAL VALLEY and follow the canyon back to this point. The satchel will then be below on the left. (screenshot) See the map and walkthrough for details. (Click screenshot to enlarge.)
SURVIVAL CACHE 1
The first cache is a short distance from the Remnant Bazaar Base Camp. If you stand near the green tent next to strongbox #1, you should be able to spot the flashing light on the rock ledge to the north, where the cache is buried. (Click screenshot to enlarge.)
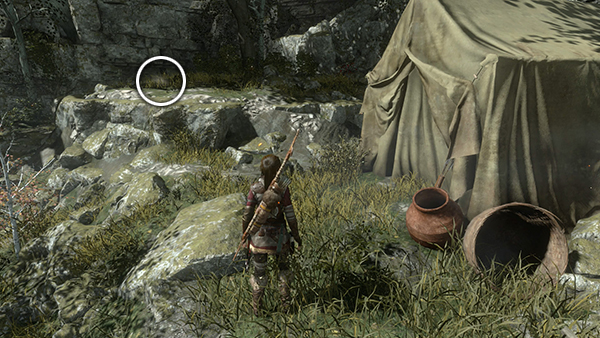
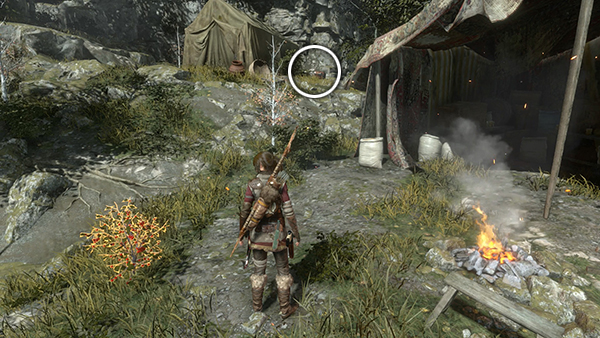
SURVIVAL CACHE 2
The next cache is in also near the Remnant Bazaar Base Camp. There are two more olive drab tents near the western edge of the Bazaar. The cache is buried near the tent on the left. Again, you can probably find it by looking for the flash, but you can also wait until you've found the Explorer Satchel and return for it then. (Click screenshot to enlarge.)
SURVIVAL CACHE 3
This cache is buried in the northeast corner of the ruined building to the northeast of the Tower Courtyard Base Camp. It's a little difficult to spot, but you can probably see the flash if you stand outside and look in, as shown here. Otherwise, check the annotated map or wait until you find the Explorer Satchel and use your in-game map to set a waypoint. (Click screenshot to enlarge.)
MONOLITH
The monolith is located next to the Riverside Landing Base Camp. Document #5 is also nearby. It is inscribed in Greek, but if you've been a good collector, you should be able to decipher it the first time you see it. If not, it's easy enough to fast travel back to this camp later. (Click screenshot to enlarge.)

COIN CACHE 1
After deciphering the monolith (above), all the coin caches will become accessible and will be marked on your in-game map. The first one is just down the stairs to the north of the monolith. Check the map and walkthrough for details. (Click screenshot to enlarge.)
COIN CACHE 2
This cache is back in the area near the Remnant Bazaar Base Camp. Fast travel there and you'll find the cache buried atop a rock formation in the northwest corner of that area. (Click screenshot to enlarge.)
COIN CACHE 3
It's impossible to get the last coin cache on your first pass through the level. You must return for it later. Fast travel to the Tower Courtyard Base Camp and follow the passage to the west. Crawl under the gate into the tower and drop through the trapdoor in the middle of the floor. The coin cache is in the area below. See the main walkthrough for details and additional screenshots. (Click screenshot to enlarge.)
STRONGBOX 1
The first strongbox is just up the hill from the Remnant Bazaar Base Camp on the right side of the olive green tent near the cliff wall. You'll need the LOCKPICK to open the box. The map and walkthrough include more info. (Click screenshot to enlarge.)
STRONGBOX 2
The second strongbox is in the same area, just down the hill from the Remnant Bazaar Base Camp in the same tent as document #3. (Click screenshot to enlarge.)
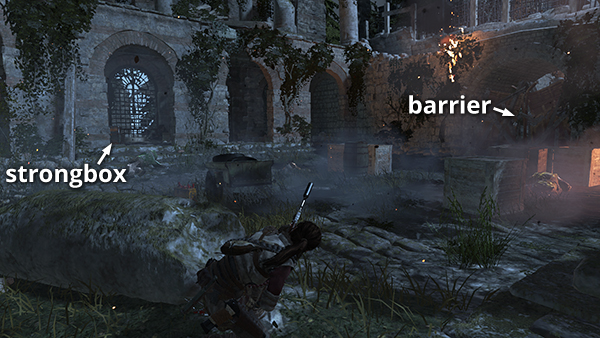
STRONGBOX 3
The third strongbox is in the area where you fight a group of Trinity soldiers and then blow up a metal impact barrier with a grenade in order to move on. It is in the alcove on the left if you're facing the barrier. This box contains one of the UPGRADE TOOLS, so it's very important you find it. It's about halfway between the Riverside Landing and Tower Courtyard Base Camps, so you can backtrack for it later from either camp. See the map and walkthrough if necessary. (Click screenshot to enlarge.)
ARCHIVIST MAP
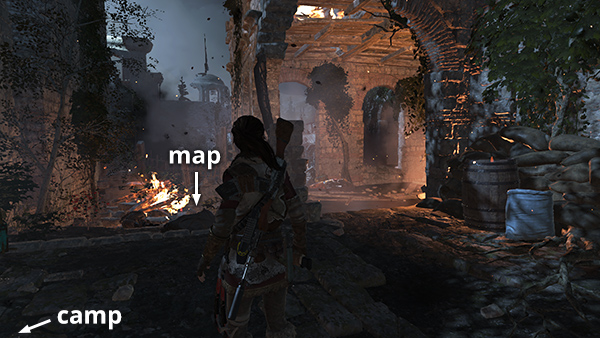
The map that reveals the locations of this level's documents and relics is spread out on the ground in a little dead-end area just north of the Tower Courtyard Base Camp. Check the map and walkthrough for details. (Click screenshot to enlarge.)
Top of Page | Walkthrough | Collectible Guides | Main ROTTR Page
†UPDATE HISTORY: 6/12/16 - Page first posted online.
WAS THIS WALKTHROUGH HELPFUL? If not, I apologize and invite you to contact me with any questions. If you need help right away, I recommend the r/TombRaider subreddit. Other fan-run forums are listed at tombraiders.net/stella/community.html. If this site was useful, please consider supporting it financially or in other ways. For details, visit tombraiders.net/stella/support.html. As always, I welcome your corrections/suggestions. Thank you!
Copyright © 2015 - Stellalune (). All rights reserved. Feel free to copy or print this walkthrough for personal use. By all means, share it with friends, but please include this credit line so people can send me their feedback. No part of this walkthrough may be reproduced on another site without permission. Follow this link for details about this site's advertising and privacy policy.
Stella's Tomb Raider Site: tombraiders.net.