Temple of the Cat - Inside the Pyramid
Secret #2 and "No Feline Vision" Achievement/Trophy
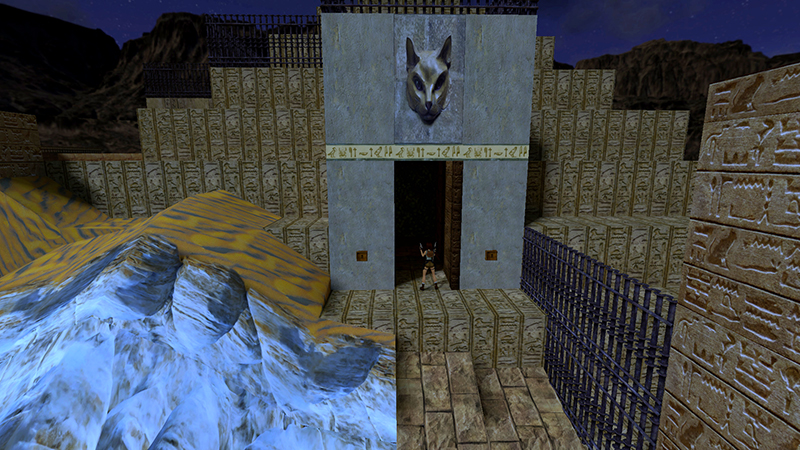
Once you have the first 2 ORNATE KEYS, use them to open the large door on the west side of the pyramid, overlooking the pool where you killed the crocodile earlier.
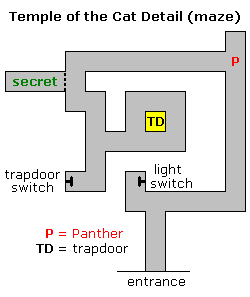
The passageways leading into the pyramid are laid out fairly simply, but since it's dark, I've included this diagram to make navigating a little easier.
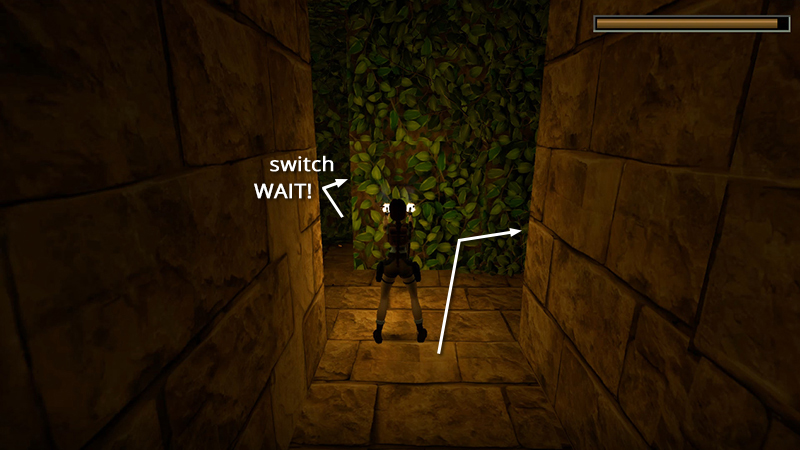
Inside, just ahead on the left, is a switch that lets in some light; don't use it yet or you'll miss a secret. First, go to the right. If you like, you can draw pistols and fire continuously to light your way.
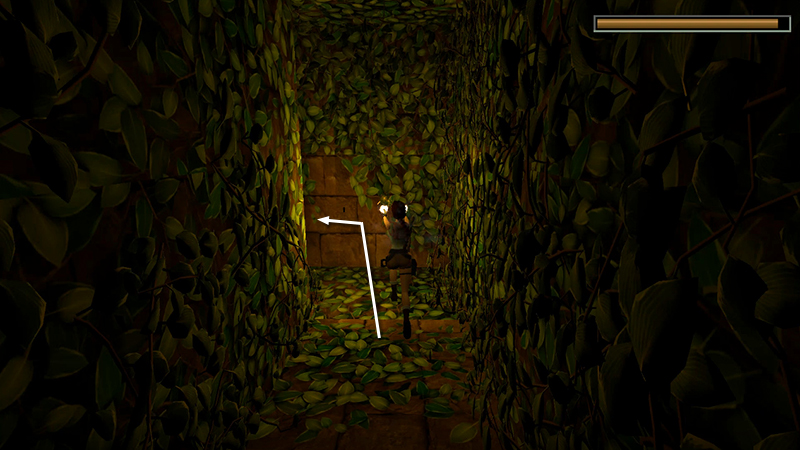
Follow the passageway forward, then left.
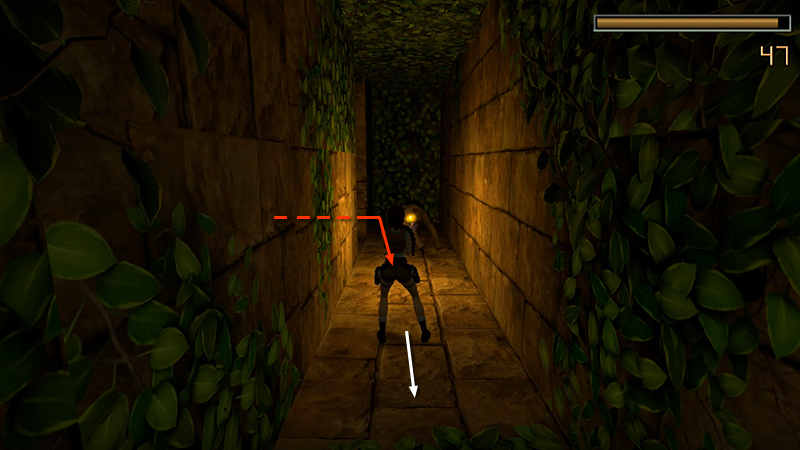
As you advance, a panther (10) charges around the next corner. There's a bit more ambient light here, so you can switch to the shotgun if you prefer, and hop backwards while firing. Then switch back to pistols for illumination.
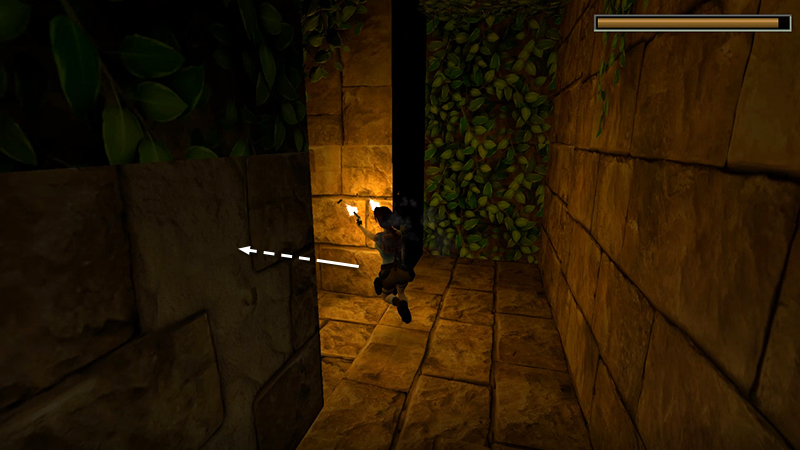
Continue around the next corner to the left, where the panther came from...
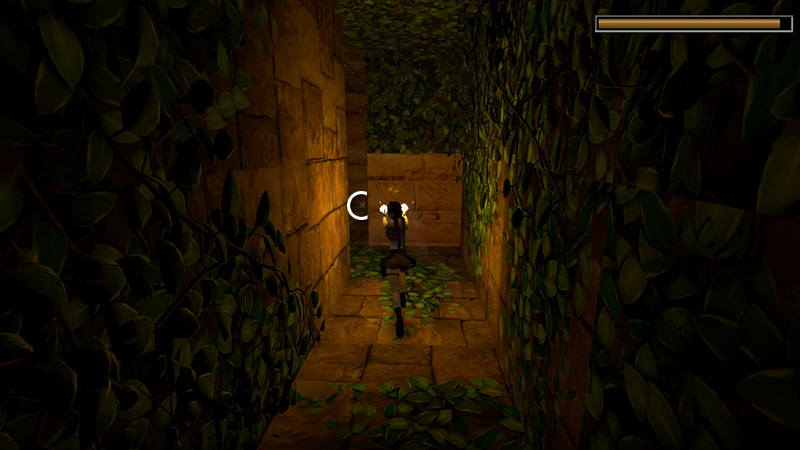
...then straight on to a lighted area with a large medi pack (22). This is SECRET #2.
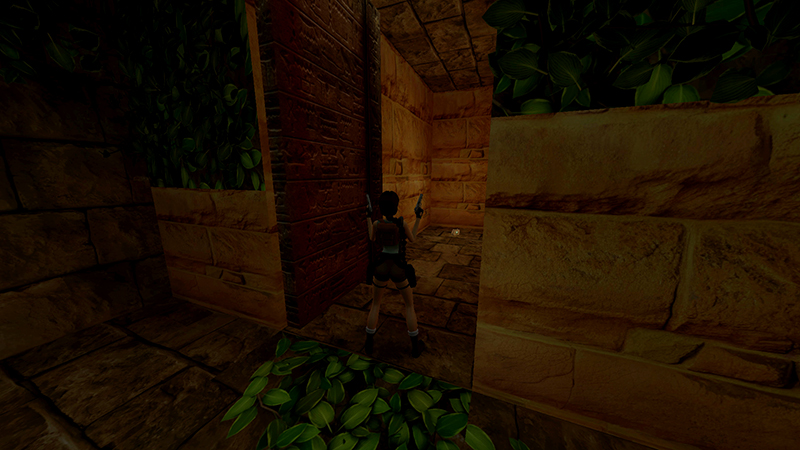
As long as you didn't play with that first switch, this door will be open. Turning the lights on closes the door permanently, so you can't access the secret.
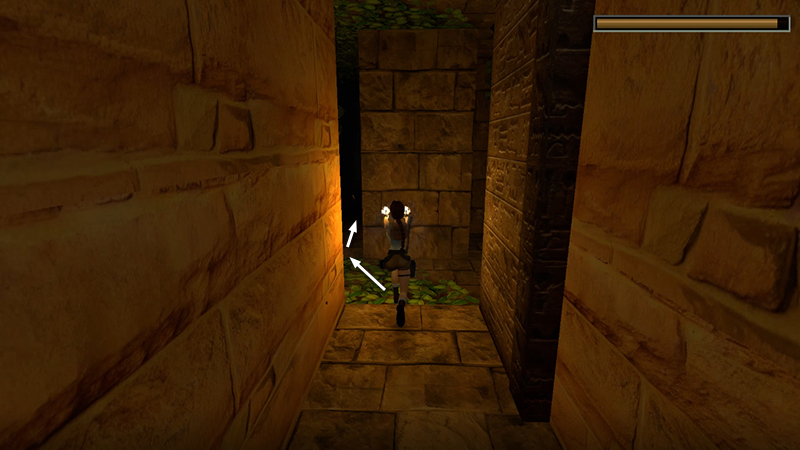
Return to the entrance, using pistols to light your way if necessary. From the secret room, it's a slight left...
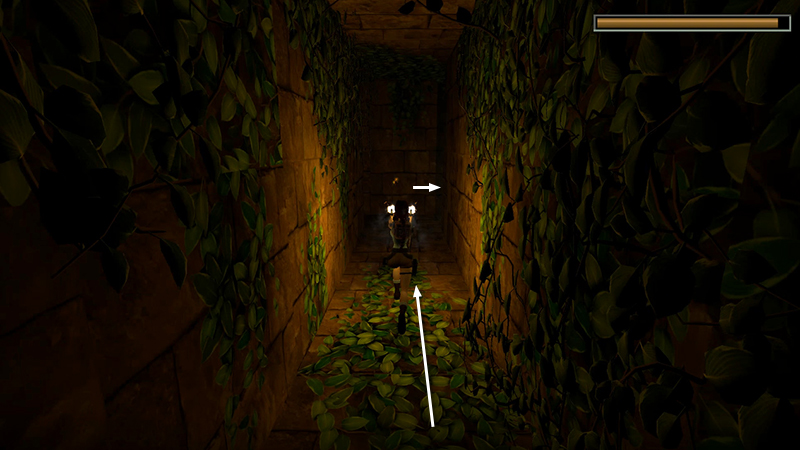
...then a long straightaway, then right...
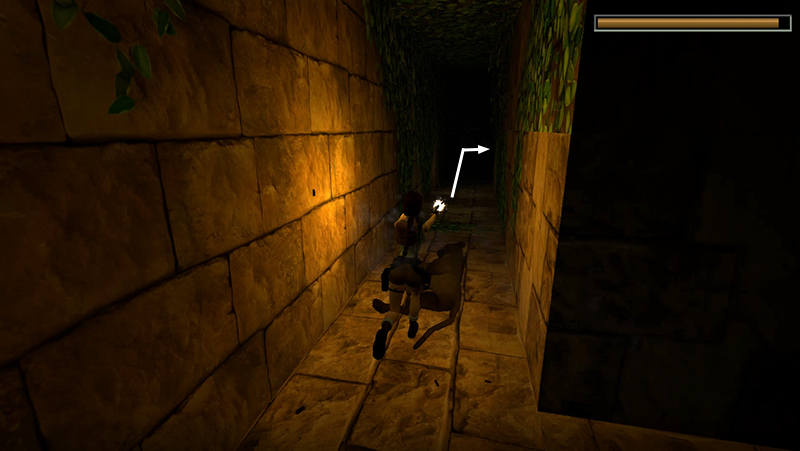
...then straight on past the dead panther, then another right right...
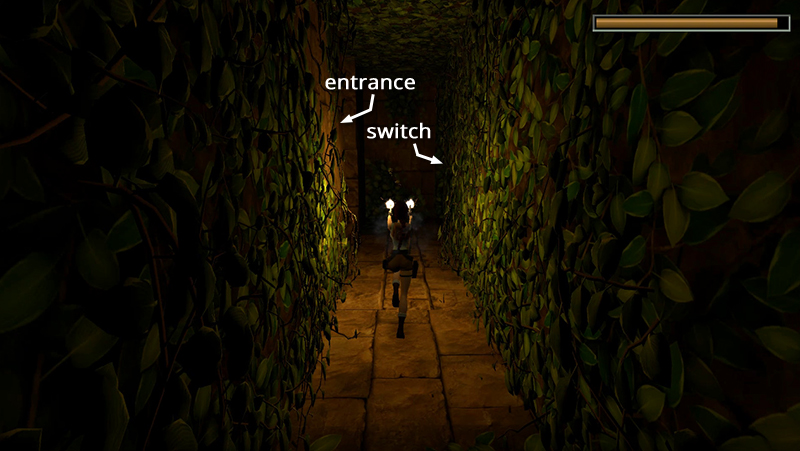
...past the entrance on your left, then right again into the alcove with the switch.
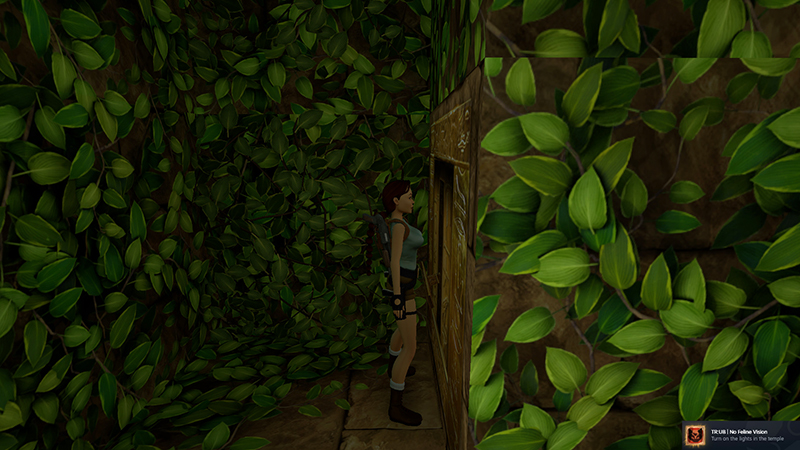
Use it to turn on the lights and unlock the "No Feline Vision" achievement/trophy.
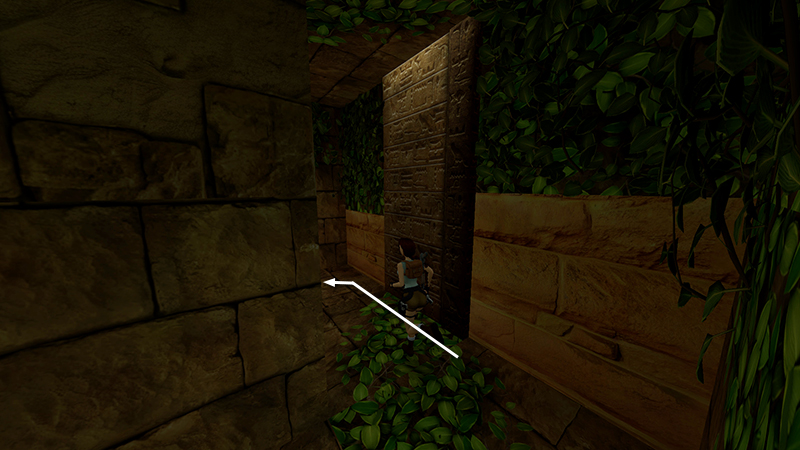
Then retrace your steps to the secret room. The door will be closed now.
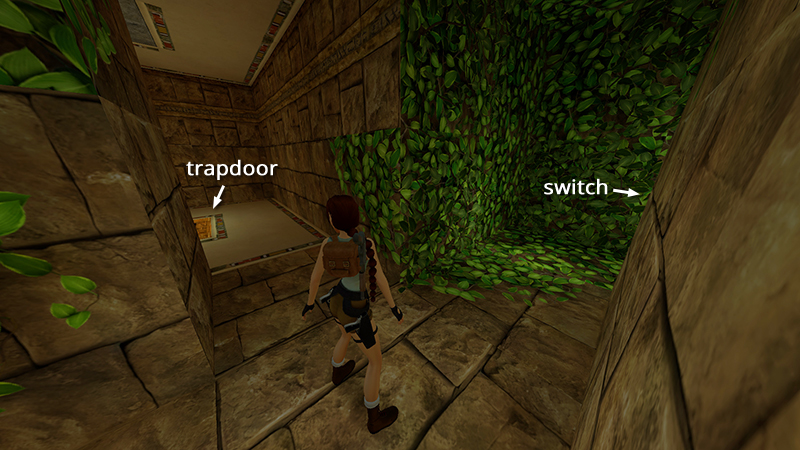
Just beyond it is a well-lit room with a golden trapdoor, and beyond that, on the right, is a second switch. Use it to open the trapdoor.
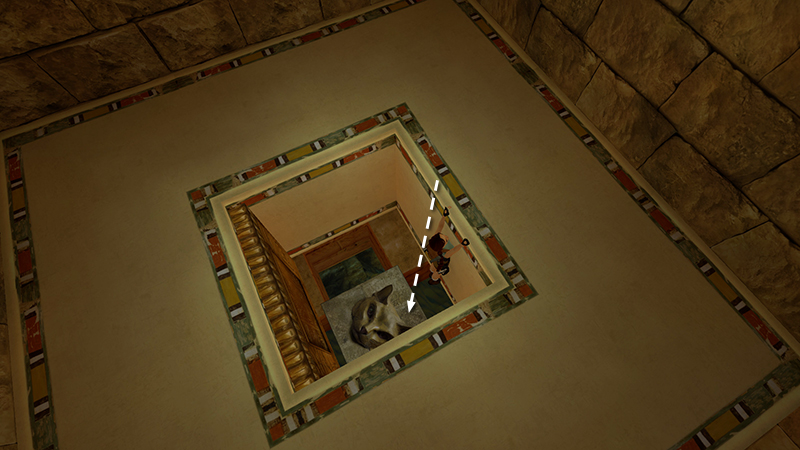
Safety drop into the room below.
DARK MODE: I plan to add optional dark mode for these pages, but my current priority is updating the walkthroughs. Meanwhile, may I suggest a reputable dark mode browser extension, such as Dark Reader? (Download only from trusted sites, like darkreader.org or your browser's official add-on/extension site.)
Walkthrough text and diagrams copyright © Stellalune (email ). Feel free to copy or print this walkthrough for personal use. By all means, share it with friends, but please include this credit line so people can send me their feedback. No part of this walkthrough may be reproduced on another site without permission.