Temple of the Cat - Movable Blocks
Secret #4 and "Sokoban" Achievement/Trophy
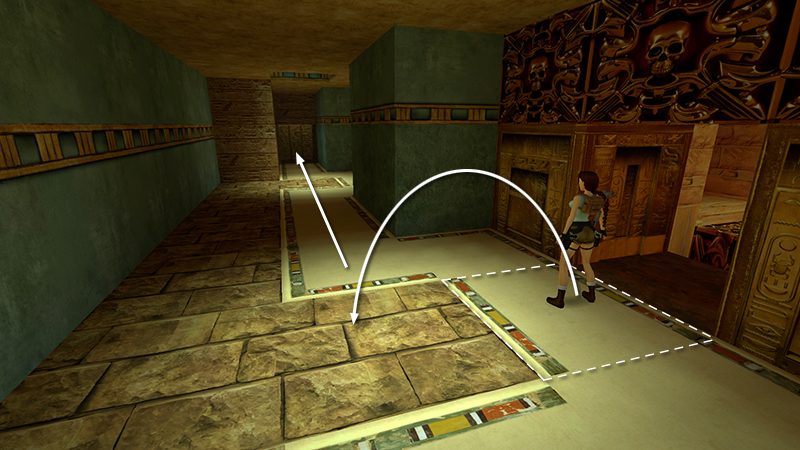
You can obtain this secret even if you don't open the trap room in the previous section. Stand just outside the gold door below the skull motifs. Doing so opens the small door with the hieroglyphs at the far (north) end of the corridor. Once Lara leaves this pressure pad, the door only stays open for about 8 seconds. If you stand on the pad with the gold door on Lara's right, side flip to the left, then take running jumps all the way to the door, you'll make it in time.
Inside is a warren of rooms with movable blocks. You'll need to rearrange the blocks in order to reach the secret room and get back out. To unlock the "Sokoban" achievement/trophy, you must "get all secret items and leave the room by moving the blocks no more than 24 times." Save the game before you start pushing blocks, in case you mess up.
The diagram below follows the same sequence as the walkthrough and accompanying screenshots. Each of the movable blocks is labeled with a letter. The various stages of the arranging are numbered 1-8.
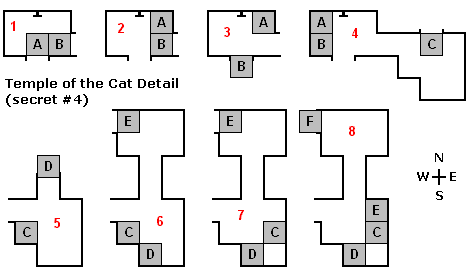
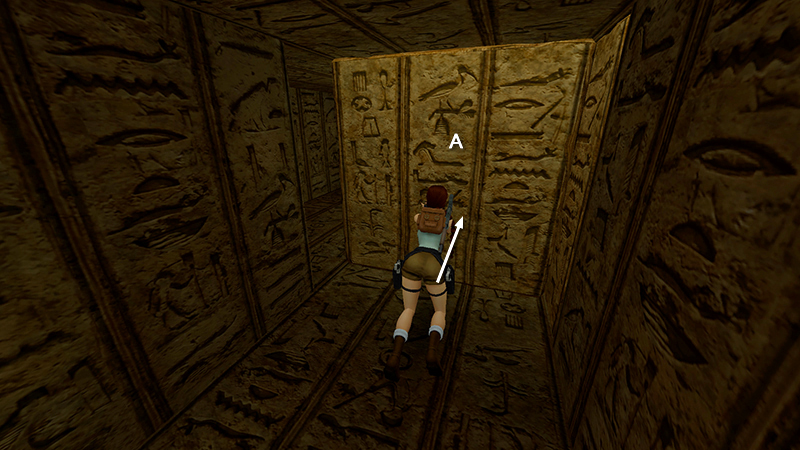
(1) When you first enter through the timed door, there's a movable block (A) directly in front of you. Push it once.
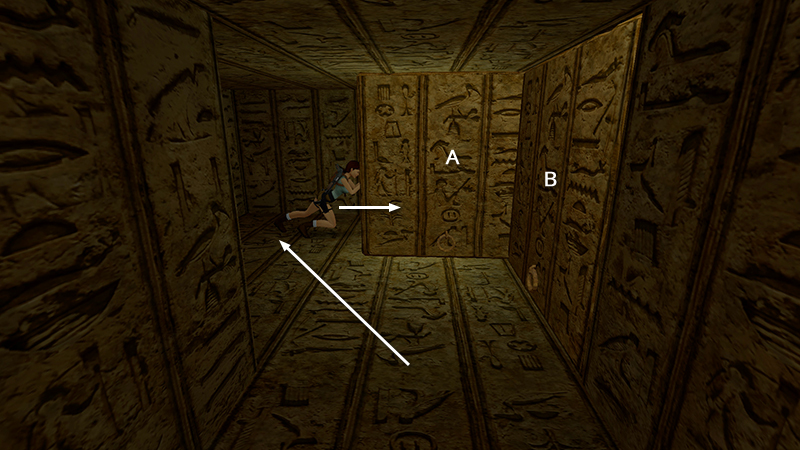
Go around to the left, and push it again (2).
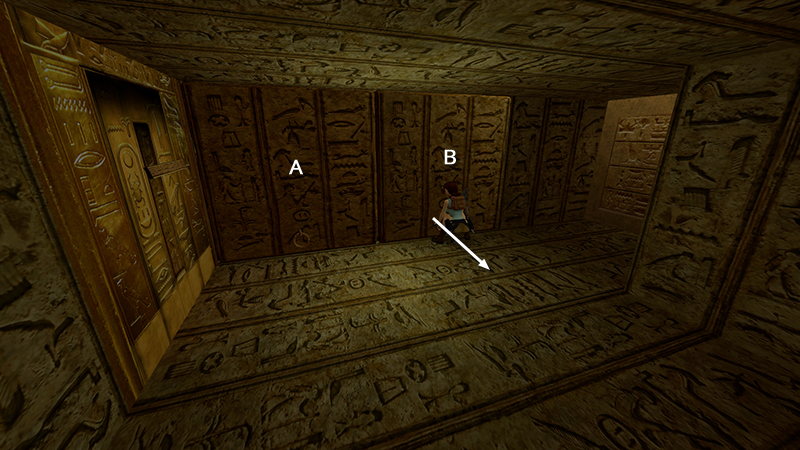
Behind the first block is a switch, which opens the exit. You don't need to use it yet. Next to the first block is a second movable block (B). Pull it once.
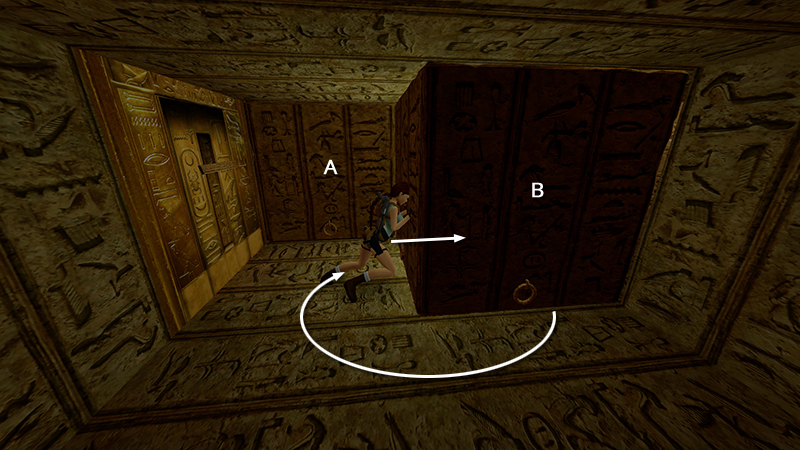
Then go around to the left and push it into the doorway (3).
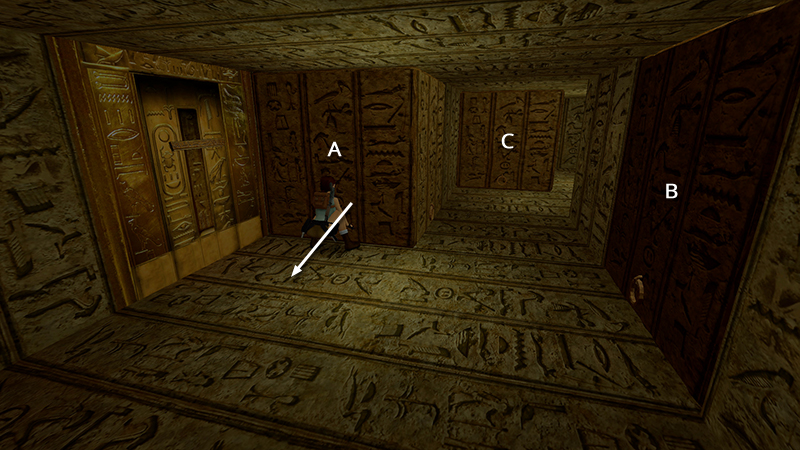
In order to unblock the doorway so you can get out later, you'll need to move the first block (A) into the corner on the other side of the switch by pulling it once...
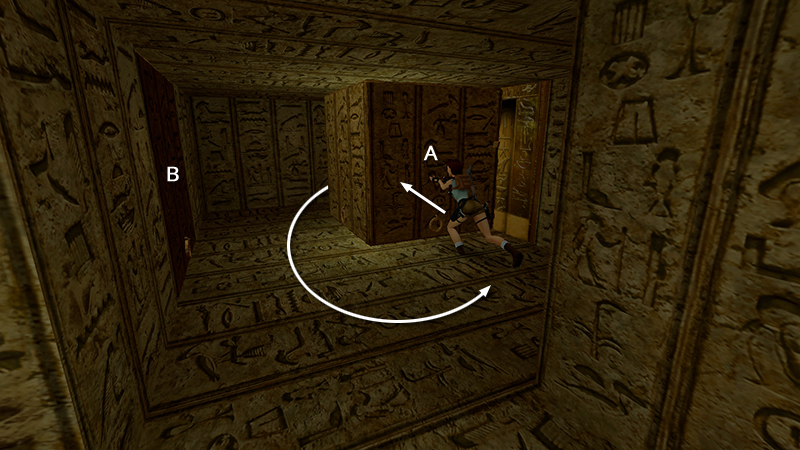
...going around it, then pushing it once.
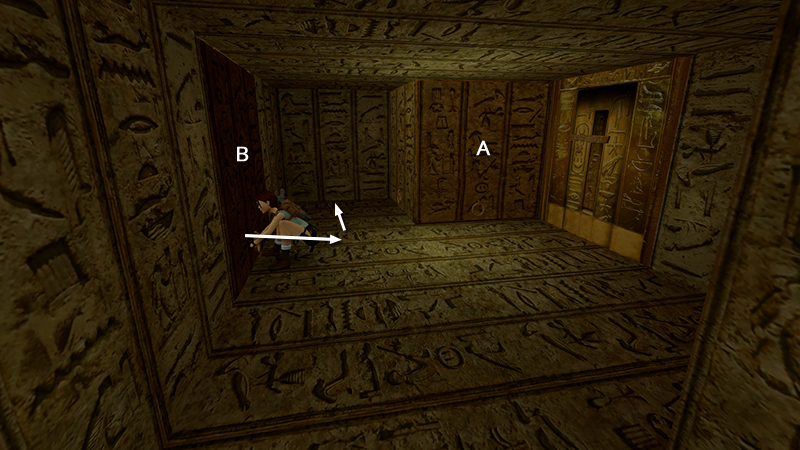
Now, you can pull the second block (B) out of the doorway and push it into the corner next to the first block (4).
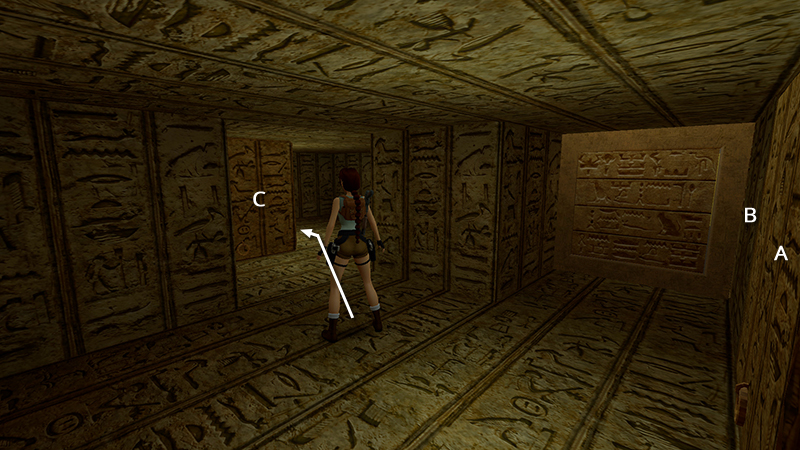
Enter the next room, where there's a third block (C), (also shown in step 4).
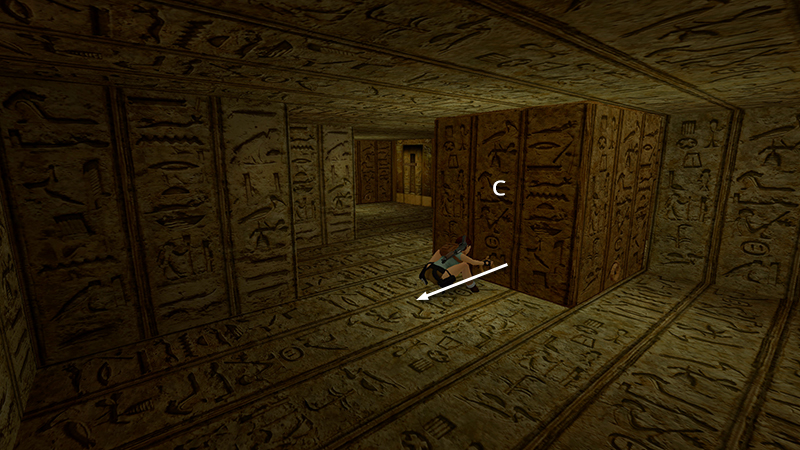
Face this block so there are open squares on either side. Pull it once into the middle of the room.
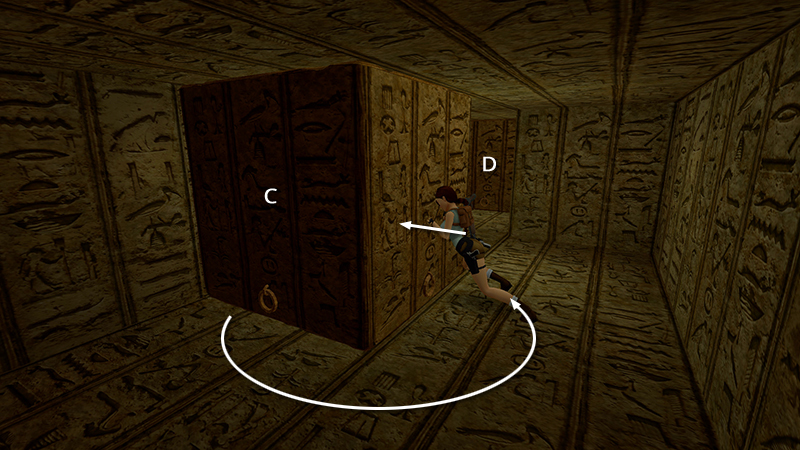
Then go around to the right side and push it once. This opens up a passageway with a fourth block (D), (5).
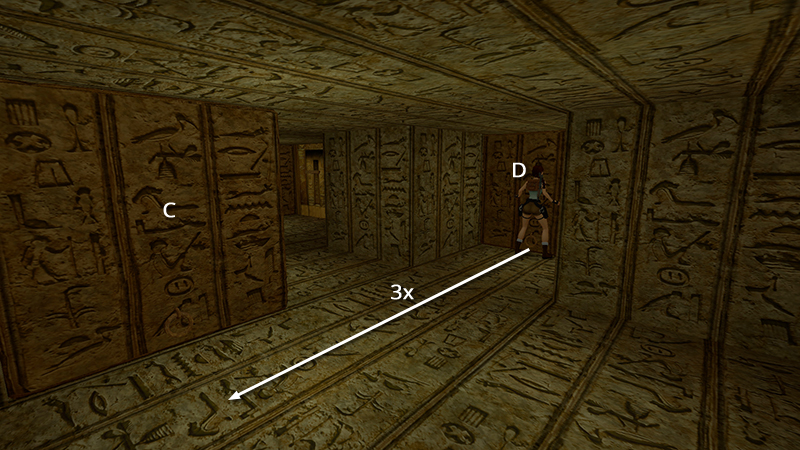
Pull this block 3 times.
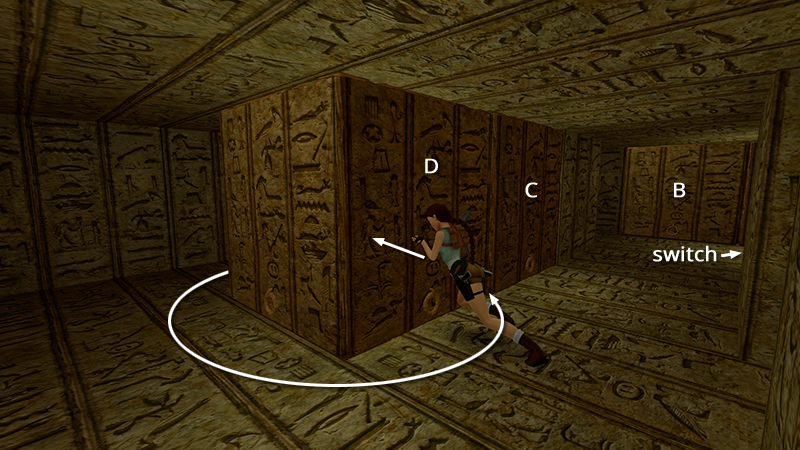
Then go around to the opposite side and push it against the wall (6).
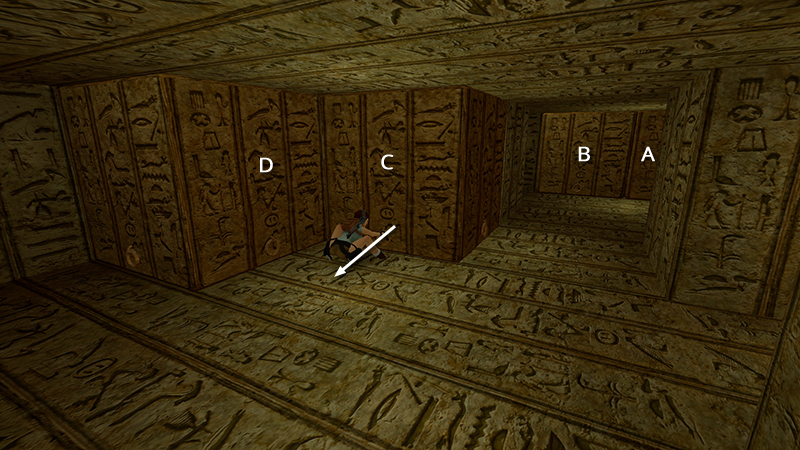
Now move the third block (C) against the opposite wall by pulling it once to position it in front of the fourth block (D)...
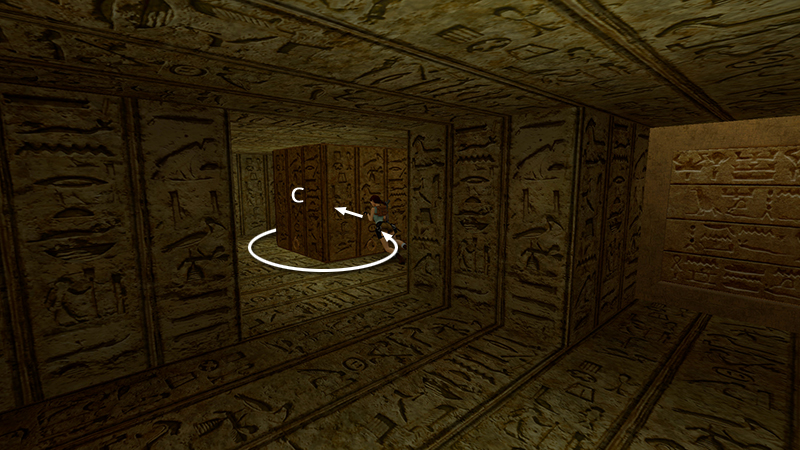
...then going behind it and pushing it again (7). (Don't bother pushing block C into the corner next to D; you'll only waste a move you'll need for the achievement/trophy.)
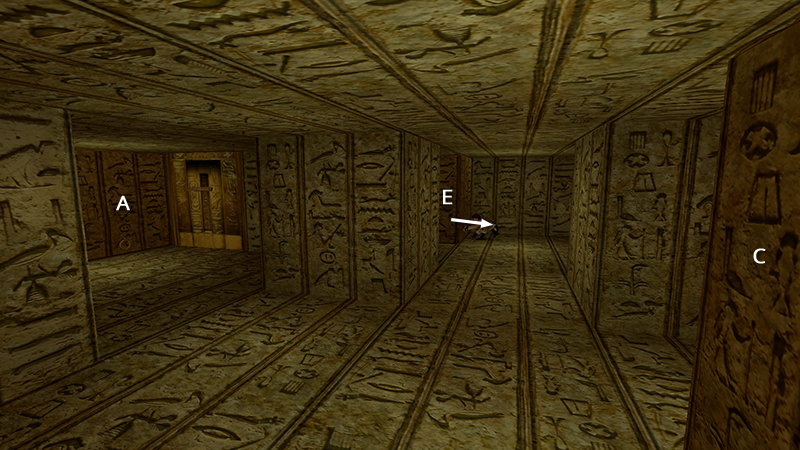
Enter the next room and pull the fifth block (E) once to get it out of the corner.
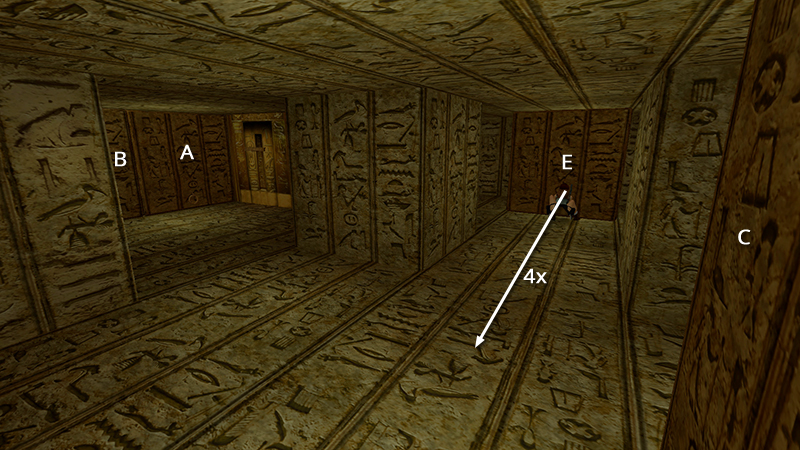
Then go around to the side and pull it 4 times to bring it through the doorway into the previous room.
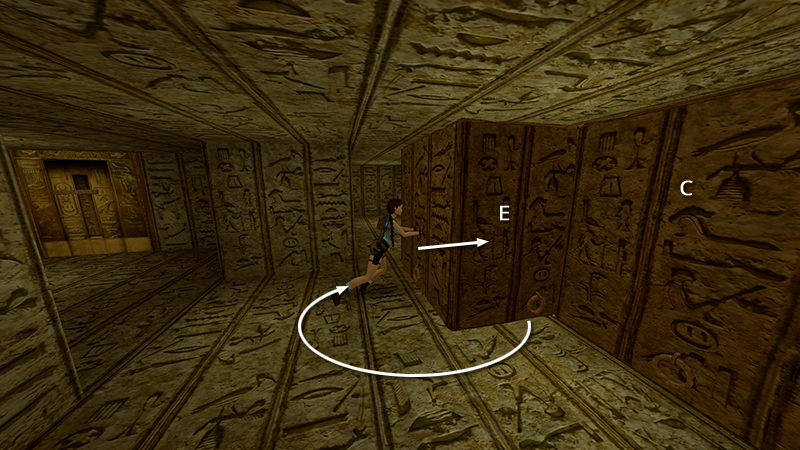
Go around to the left and push the fifth block (E) against the wall next to the third block (C), (8).
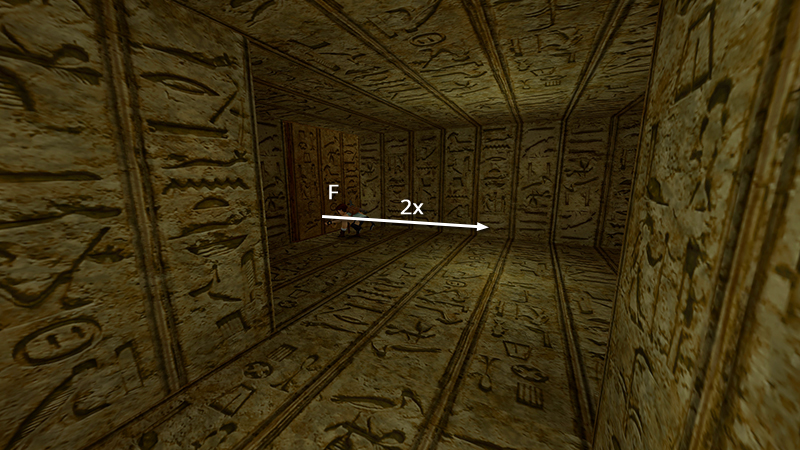
The sixth and final block (F) is obstructing the doorway to the secret room (also shown in 8). Pull it twice...
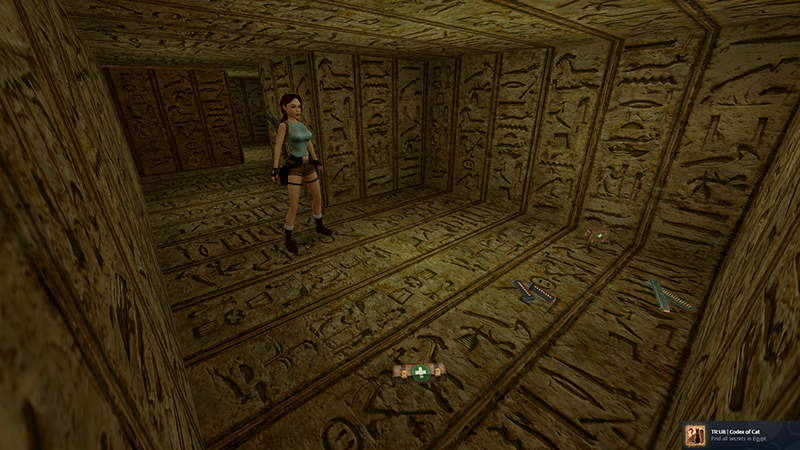
...and enter. This is SECRET #4. Pick up all four items: small and large medi packs, shotgun shells, and Uzi clips (57-60) If you found all secrets in both Egypt levels, you'll unlock the "Codex of Cat" achievement/trophy now.
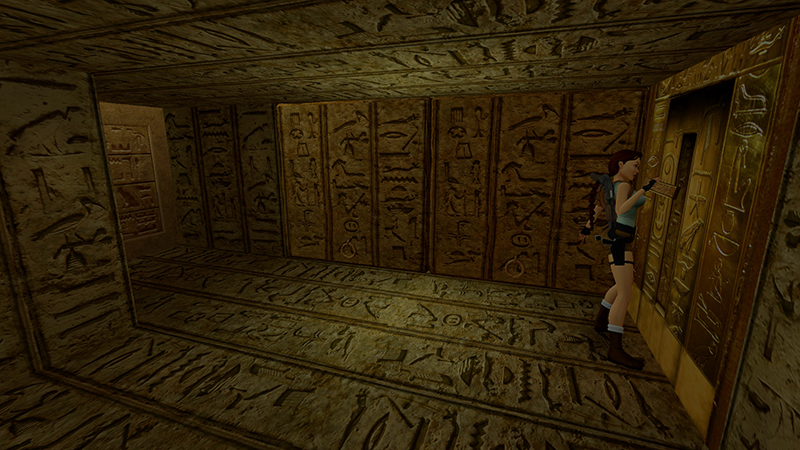
Return to the first room (with blocks A and B) and use the switch to open the exit.
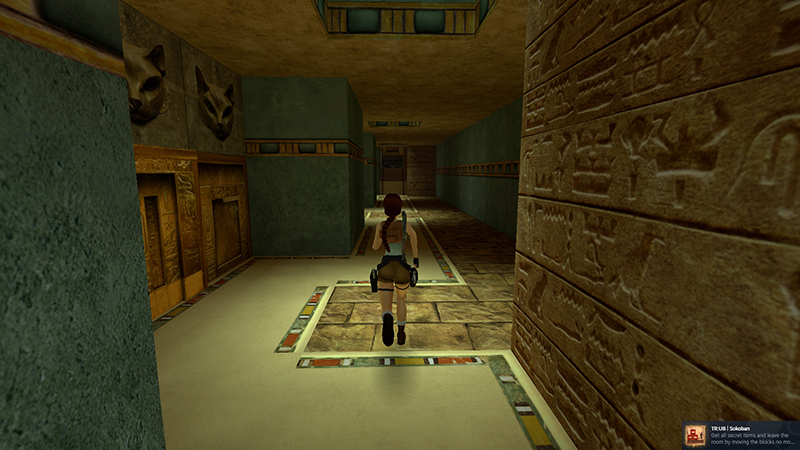
If you solved the block puzzle in 24 moves, and picked up all 4 items in the secret area, the "Sokoban" achievement/trophy will unlock as you re-enter the corridor with the gold doors.
DARK MODE: I plan to add optional dark mode for these pages, but my current priority is updating the walkthroughs. Meanwhile, may I suggest a reputable dark mode browser extension, such as Dark Reader? (Download only from trusted sites, like darkreader.org or your browser's official add-on/extension site.)
Walkthrough text and diagrams copyright © Stellalune (email ). Feel free to copy or print this walkthrough for personal use. By all means, share it with friends, but please include this credit line so people can send me their feedback. No part of this walkthrough may be reproduced on another site without permission.