Shakespeare Cliff - Secret #3 (part 2)
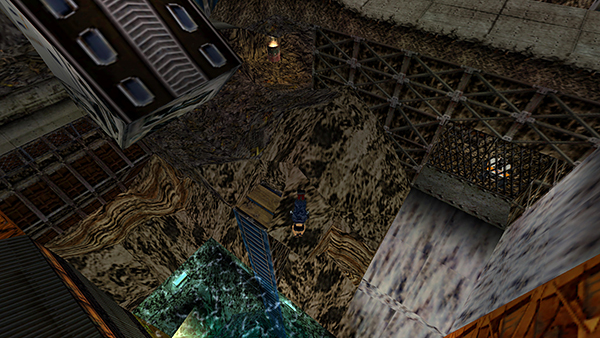
After using the PUMP ACCESS DISK to flood the pit, as shown in the previous section, exit the toilets and dive into the water below. A swan dive is fun here: Hold Walk and press Forward + Jump. Lara can do two somersaults if you hold the Roll key on the way down.

Pick up 3 bunches of harpoons from the bottom of the pool.
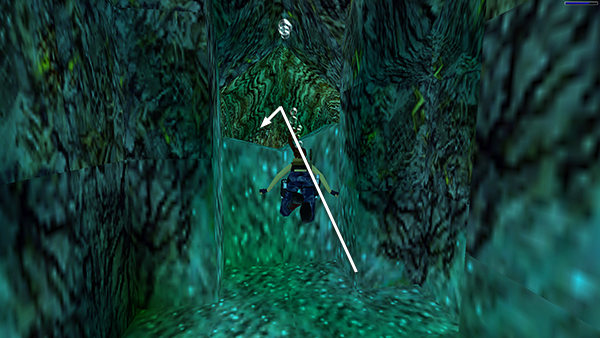
Get air if necessary, and then swim through the underwater cave...
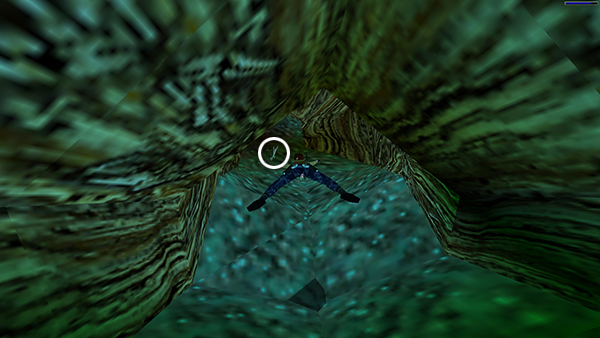
...picking up more harpoons on the way.
NOTE: If you don't yet have the HARPOON GUN, you'll get it here instead of the fourth bundle of harpoons.

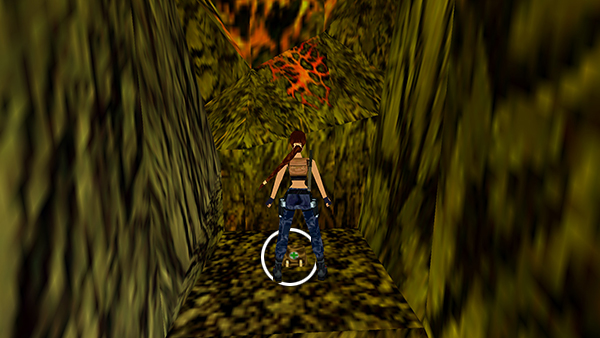
Surface and climb out of the water onto a narrow walkway. This is SECRET #3.
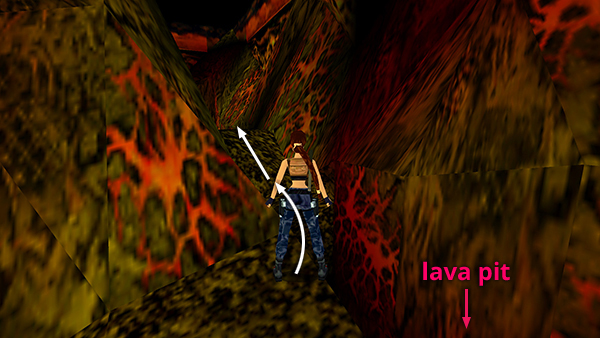
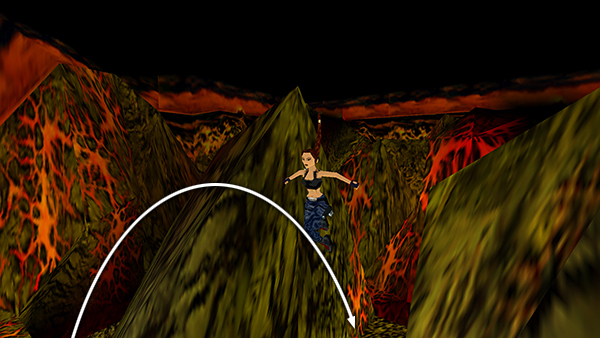
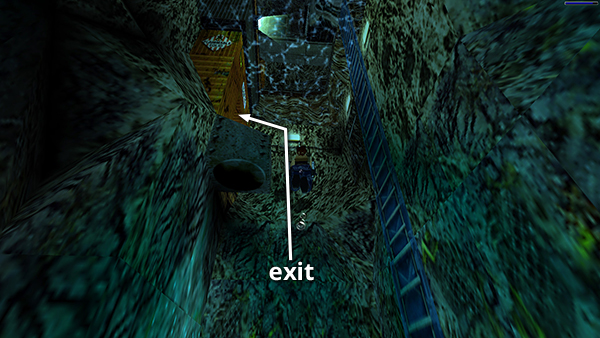
Walk carefully up the path and stop at the end, so you don't fall into the lava pit. Turn left, and take a standing jump over to the next ledge. Jump up the slope.
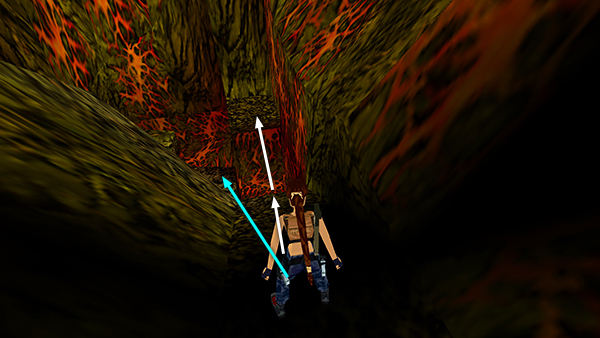
Walk forward to the edge. Now either take a carefully aimed standing jump down to the small, triangular ledge on the left at the base of the ramp. Or, slide down the ramp and jump forward to grab the corner ledge. Or, slide backwards down the ramp and grab the end. Then, while continuing to hold the Action key, pull up and press Jump + Roll to make Lara jump off the ramp, turn in the air and grab the ledge behind her, and pull up. Use whichever method you prefer.
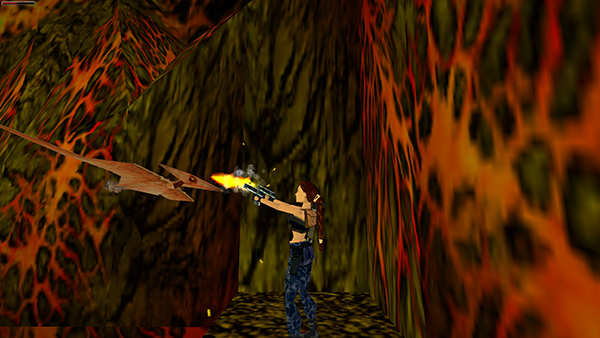
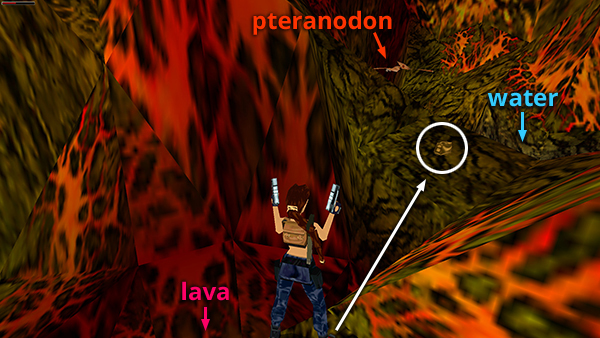
Kill the pteranodon that flies in from the left. So what if they're extinct—maybe even the scientific find of the millennium—a girl's got to defend herself.
Take a standing jump to the next ledge (or if you jumped to the triangular ledge at the base of the ramp, just run onto the next ledge at the inside corner). From there take a running jump to the wide ledge beyond that.
Take a running jump to the corner ledge ahead on the left.
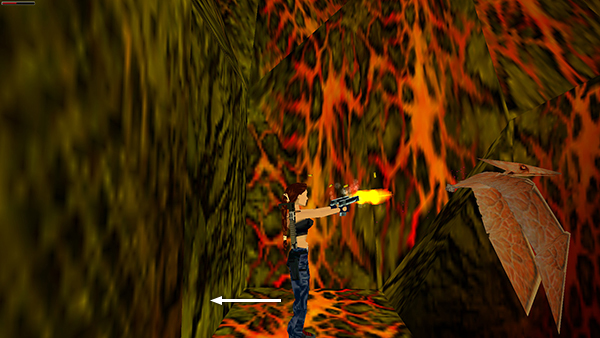
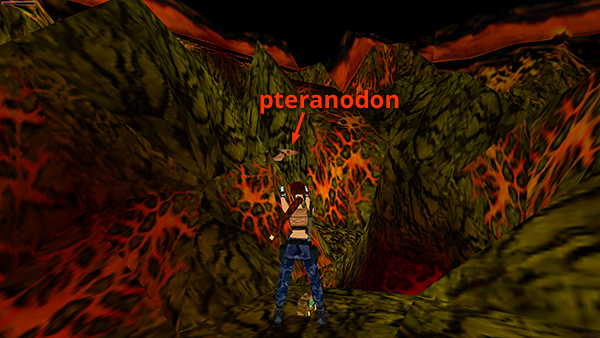
Immediately roll and shoot another pteranodon. (Back into the corner if possible so the enemy doesn't knock Lara off the edge.)
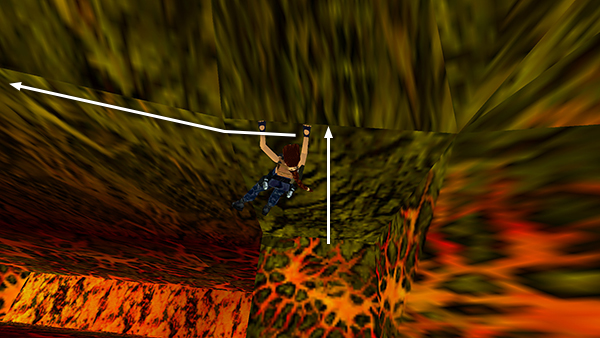
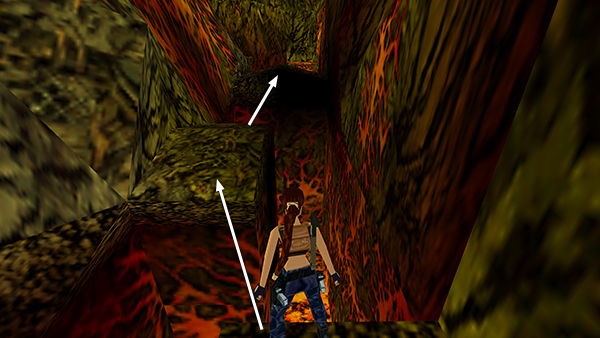
Now turn around again to face the wall. Jump up and grab the edge of the slope. Traverse to the left above the lava pit not quite to the other end of the wall.
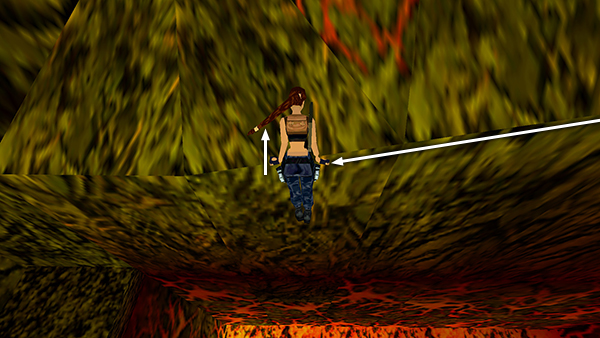
When Lara is hanging two squares away from the opposite ledge (just past a small, triangular texture with veins of red in it) pull up...
...and immediately press Jump to backflip onto a ledge behind her.
Step forward and pick up a large medi pack.
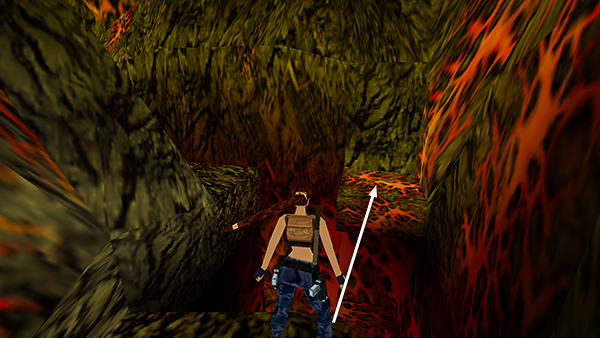
Then turn around and follow the short path toward the center of the cave, where there's another lava pit. Turn right and note another large medi pack on the next ledge. Wait for a pteranodon to fly up from behind the medi pack. Kill it. Then jump over to the second medi pack.
Turn around and shoot another pteranodon that approaches from the same direction you just came. Then take the medi pack. I found it best to kill these guys one at a time. Otherwise they mob Lara and knock her off the ledge. If you fall in the water before getting both health packs, either reload or make the circuit around the lava chasm again.
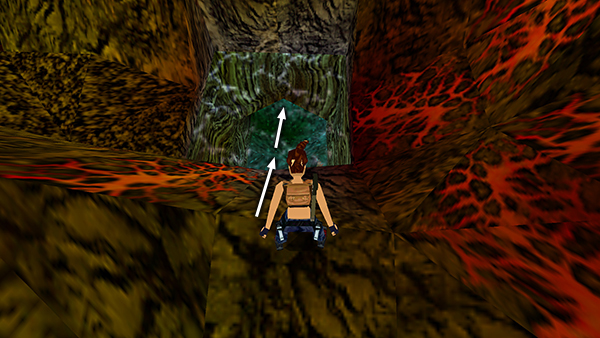
After picking up the medi pack, slide into the pool and swim back through the cave to the bottom of the excavation pit.
Swim through the hallway above on the left. This is where you found the PUMP ACCESS DISK earlier, but it's now underwater. The level ends as you approach the end of this hallway.
Copyright © 2000- - Stellalune (
). All rights reserved. Feel free to copy or print this walkthrough for personal use. By all means, share it with friends, but please include this credit line so people can send me their feedback. No part of this walkthrough may be reproduced on another site without permission. Follow this link for details about this site's advertising and privacy policy.