Reunion - Defeating Sophia Leigh (part 4)
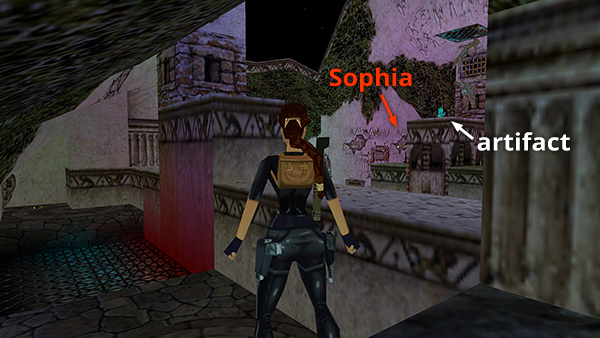
After climbing the ladder from the room with the switch and swinging burner, you'll emerge on a ledge opposite Sophia. The HAND OF RATHMORE is sitting on a ledge above her. This is the final confrontation. You'll only need a few rounds from the MP5, Uzis, or Desert Eagle—or a single rocket—but you must time your strike carefully in order to defeat her.
NOTE: You should not need additional rockets or medi packs, but if you want all the pick-ups, you can collect the remaining items after the fight. (See below.)
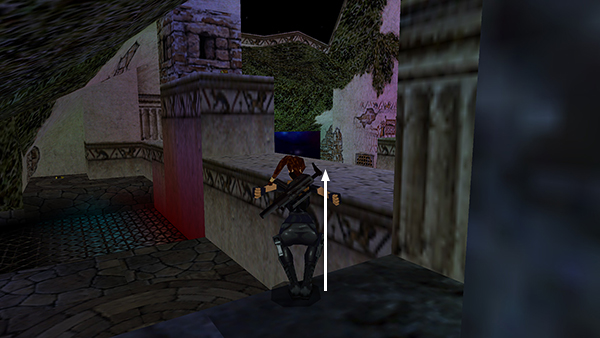
From the ledge where you enter this area, jump onto the low wall on the right.
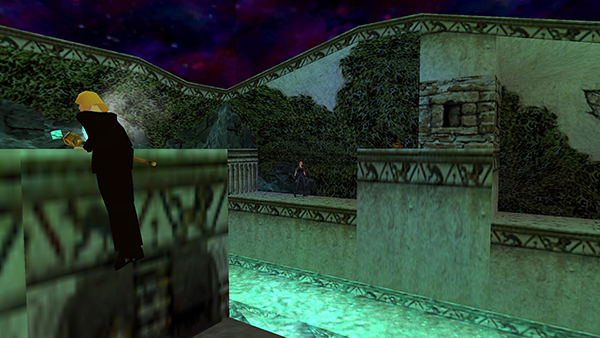
When you do this, Sophia climbs onto the ledge with the HAND OF RATHMORE.
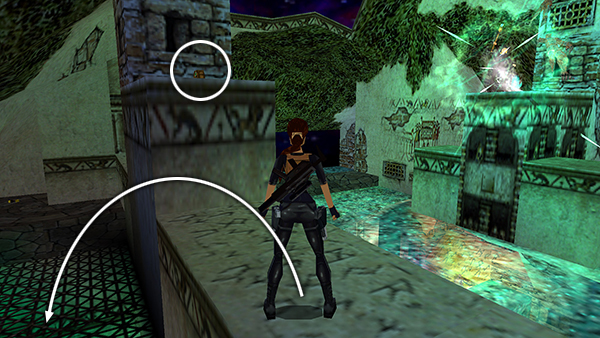
As she begins to power up her staff, side flip off the wall into the area below on the left. (Unless Lara is about to expire, there's no need to go after the large medi pack on the ledge ahead. Leave it for now.)
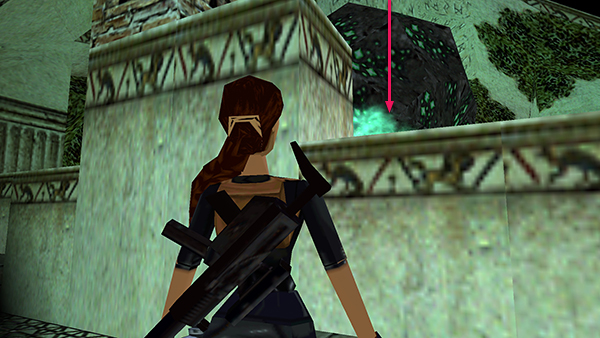
While this is going on, another huge meteor falls from above and lands in the pool, raising the level of the mutagen and the toxic mist hovering above it.
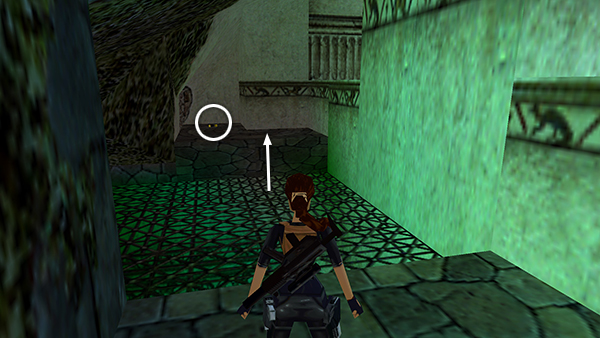
Sophia is only vulnerable after she climbs onto the ledge with the artifact and the meteor falls. Step up onto the ledge with the single rocket.
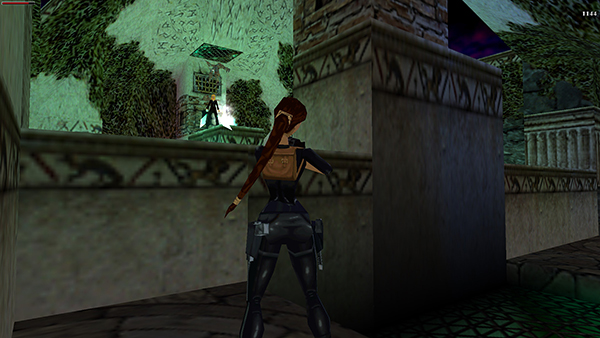
From here, you can target Sophia without being hit by her energy bolts.
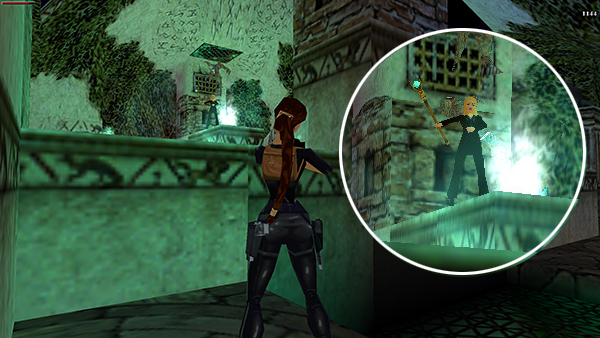
Aim with the MP5, Uzis, or pistols and count the blasts. Sophia usually fires 11 blasts per round, with the occasional pause for maniacal giggling. As soon as she has fired off the 11th blast, she'll raise her staff with one hand, as shown above. She is vulnerable just before she begins gather the crackling blue energy around herself, so this is when you need to hit her.
NOTE: Earlier versions of this walkthrough suggested using a single rocket to bring her down, but timing the shot just right can be tricky. The MP5, Uzis, or even the pistols work just as well, and you don't need to be as precise. (I don't recommend grenades or harpoons, since they tend to arc downward, missing their target at this distance.) If you're having trouble, just shoot at her continuously with pistols. You should still manage to hit her during the crucial moment.
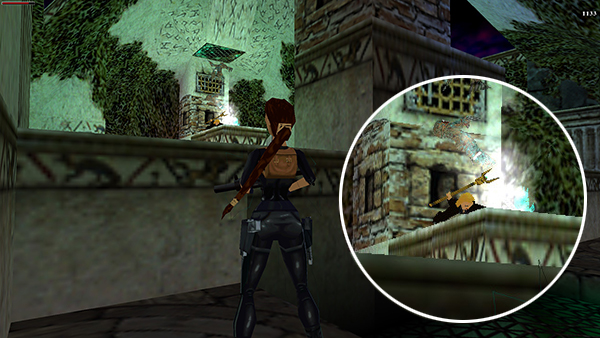
When you hit Sophia dead-on just as she's starting to power up, you'll notice static electricity swirl around Lara. Then Sophia will let out a groan and fall down.
Copyright © 2000- - Stellalune (
). All rights reserved. Feel free to copy or print this walkthrough for personal use. By all means, share it with friends, but please include this credit line so people can send me their feedback. No part of this walkthrough may be reproduced on another site without permission. Follow this link for details about this site's advertising and privacy policy.