Reunion - Defeating Sophia Leigh (part 2)
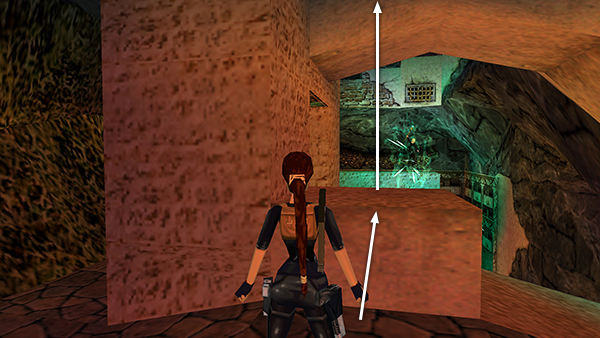
When Sophia finishes a round of energy blasts and begins to power up again, vault onto the low ledge, step forward, and then pull up onto the ledge above. As you do this, Sophia starts to climb up on her side of the gap, so you don't have to worry about her for a bit.
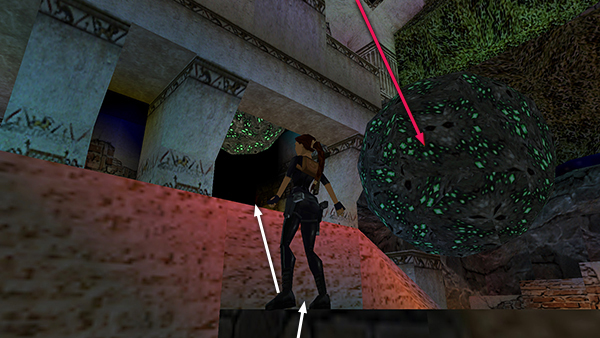
When you pull up onto the ledge, another huge meteor falls from the ceiling into the pit. Don't worry; it won't harm Lara. Turn left, vault onto the low stone wall...
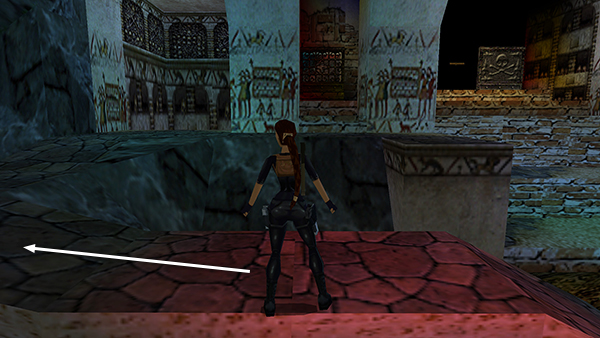
...turn left again...
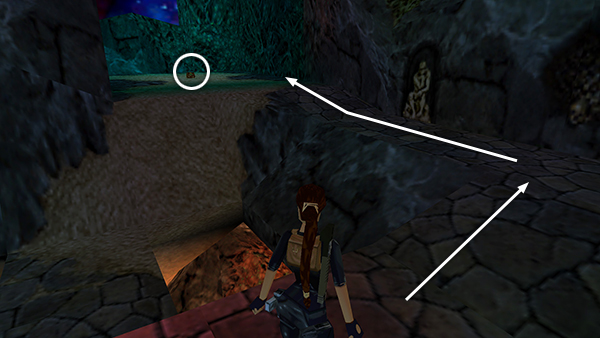
...and follow the walkway around to the wide corner ledge, where there's a large medi pack sitting out in the open.
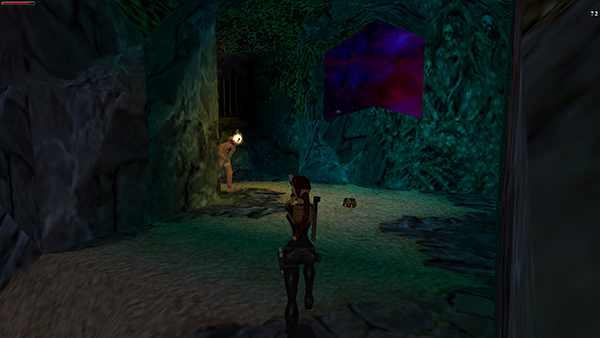
As you approach the medi pack, one of Sophia's heartless minions emerges from the alcove on the left. Shoot him and take the health. You're safe here, so take a moment to breathe and save the game if you like.
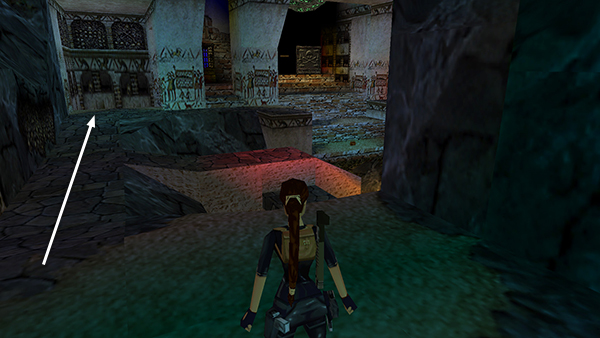
When you're ready, run straight across the room, staying close to the left wall.
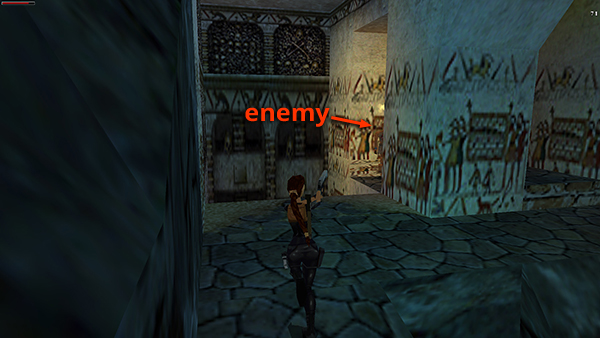
As you approach the corner, you'll see a yellow glow as another burly zombie appears behind the square pillar ahead. You can shoot him as soon as he appears...
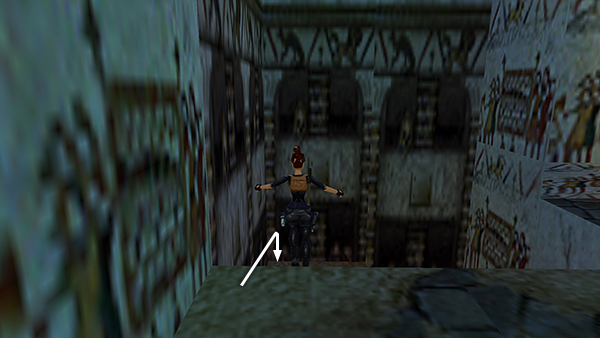
...but if Sophia has already resumed her attack, you're better off just running forward off the edge. Lara will land on a small ledge above a pool of water.
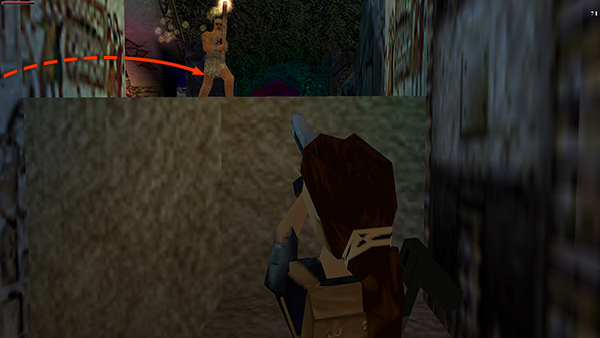
You can then roll and shoot the enemy as he approaches.
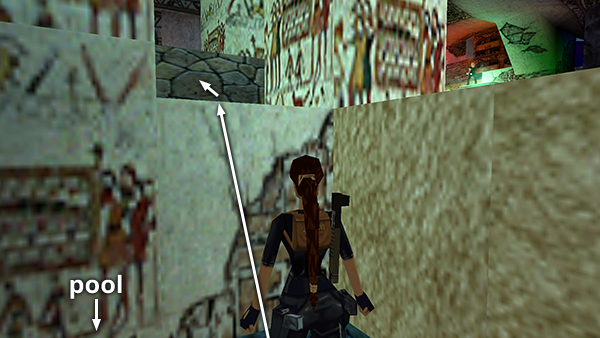
Now climb/jump onto the ledge where that last enemy spawned. If you dropped down onto the ledge near the little pool, jump and grab the ledge between the two square pillars and pull up.
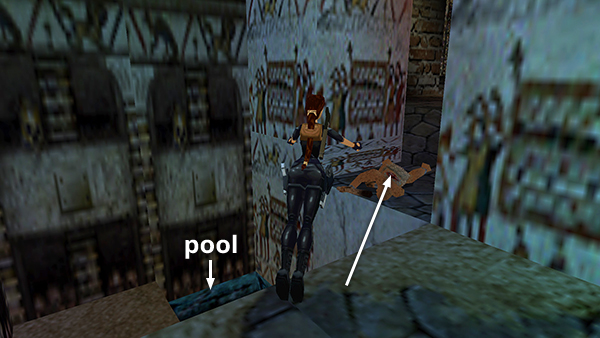
Otherwise just jump diagonally across the pool to land there.
NOTE: Sometimes saving and reloading when you reach the various safe spots in this area will cause Sophia to stop shooting at you. It doesn't always work, but it may be worth a try.
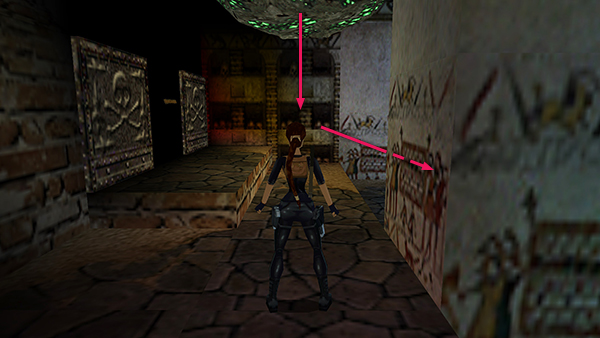
Vault up onto the ledge ahead and move forward to stand behind the next pillar. As you do, another giant meteor falls from the ceiling and rolls to the right, down the stairs.
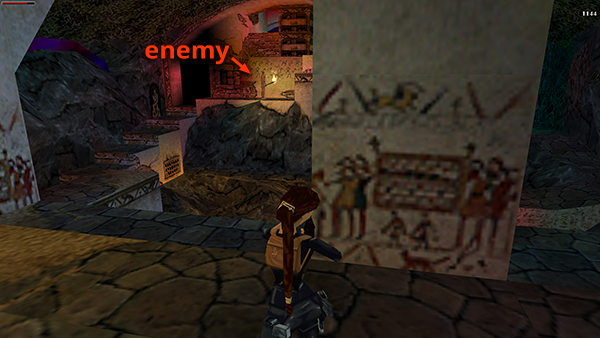
NOTE: If you didn't kill the enemy who appeared when you picked up the large medi pack on the level below, you may be able to get a good shot at him from behind this pillar.
Copyright © 2000- - Stellalune (
). All rights reserved. Feel free to copy or print this walkthrough for personal use. By all means, share it with friends, but please include this credit line so people can send me their feedback. No part of this walkthrough may be reproduced on another site without permission. Follow this link for details about this site's advertising and privacy policy.