Reunion - Dark Stairway and Mutagen Pool with Swinging Burner
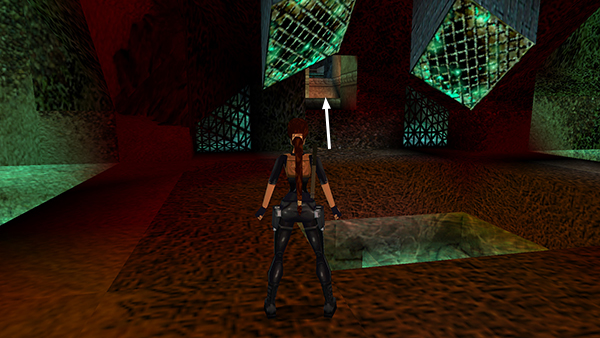
Climb into the doorway between the barred windows.
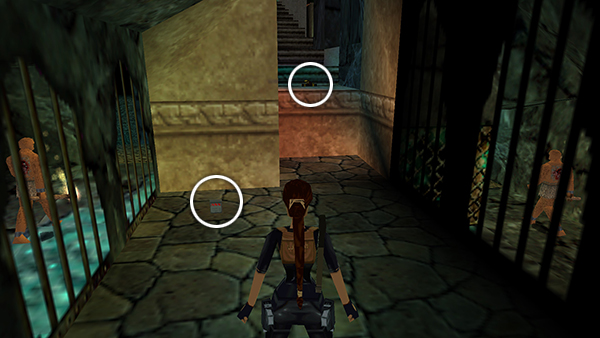
The first pair of enemies, 2 burly guys with holes in their chests, appear in the barred alcoves on your left and right. They will make their way up along the edges of the room and then back down the stairs toward you. So pick up the flares, climb onto the step and grab the MP5 clips.
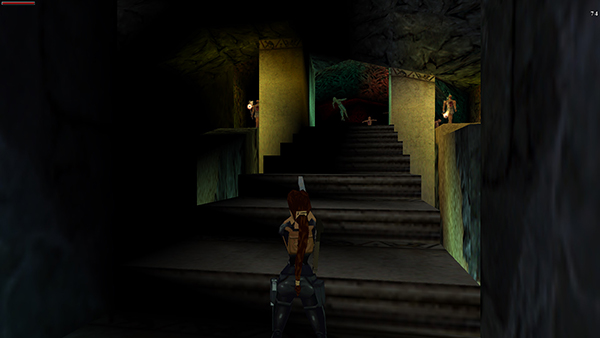
Then continue up the stairs and shoot the enemies as they approach. If you wait until they're fairly close, you can kill each one with a single Desert Eagle shot. Just don't let them hit Lara with their flaming torches or she'll catch fire.
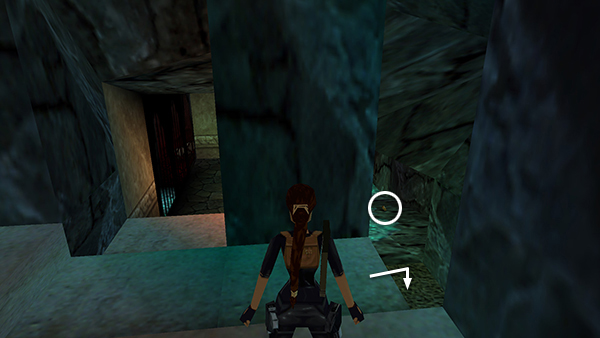
Return to the second step from the bottom and drop down into the little room on the right. Take care to avoid the sparkling mutagen as you pick up the small medi pack.
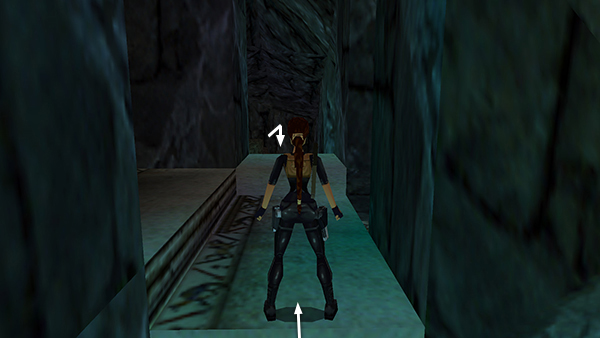
Climb back onto the stairway and drop down on the other side.
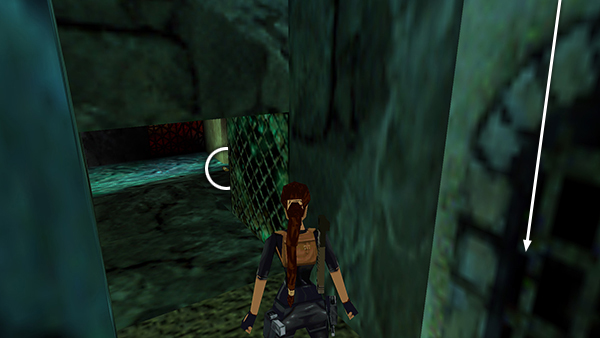
Pick up another small medi pack in the room below, while avoiding the deadly bits of floor.
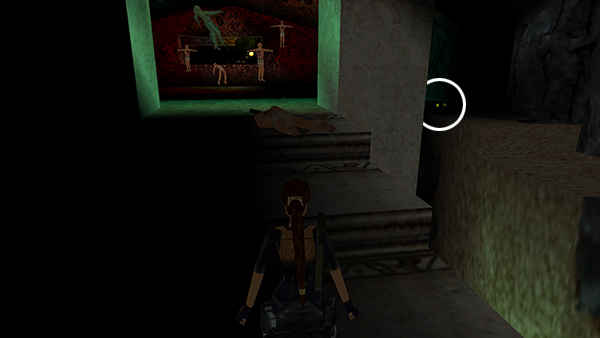
Now climb the stairs all the way to the top. The dangling corpses are just for show. They won't do any harm. Retrieve the rocket behind the square pillar on the right.
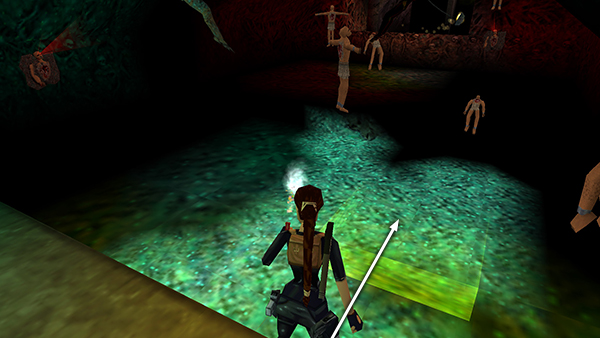
Move to the edge of the pool and use flares or pistol fire to illuminate a series of small, translucent platforms. Take a standing jump from the edge onto the first platform on the right side of the pool.
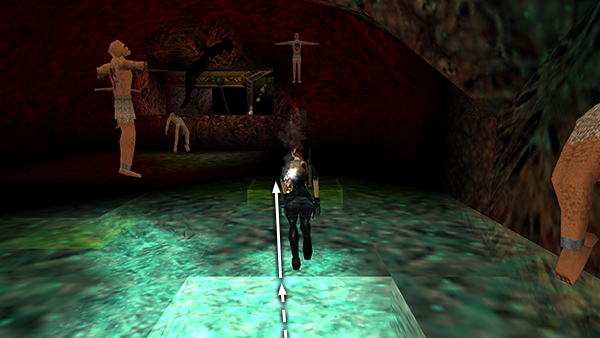
Then take a running jump to the next platform...
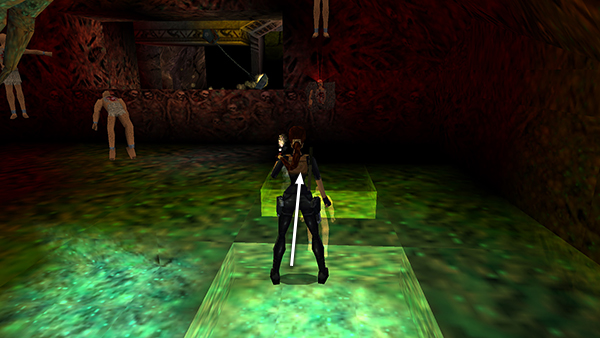
...and a standing jump to the third.
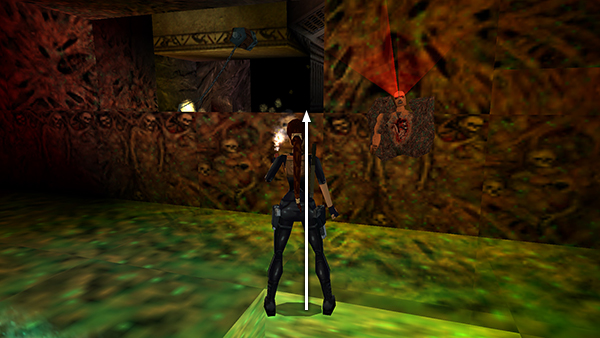
Walk to the far left corner of the third platform and take another standing jump into the opening. There's a short ramp on the other side and a swinging burner. If you angle this jump so Lara lands near the right edge of the opening...
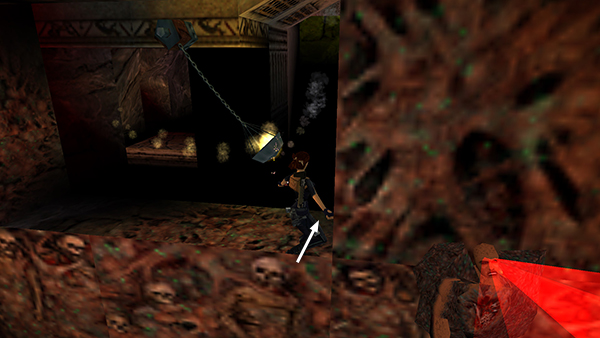
...she will slide down to a safe spot rather than into the burner.
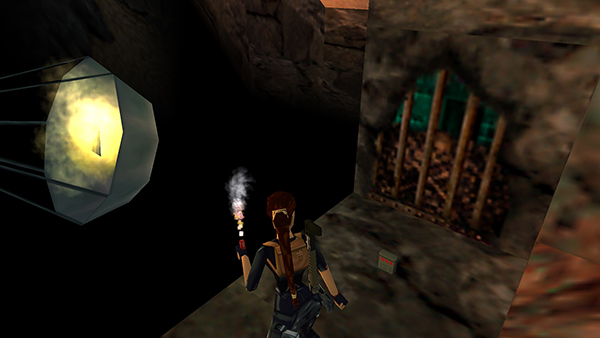
Pick up more flares on the floor to the right.
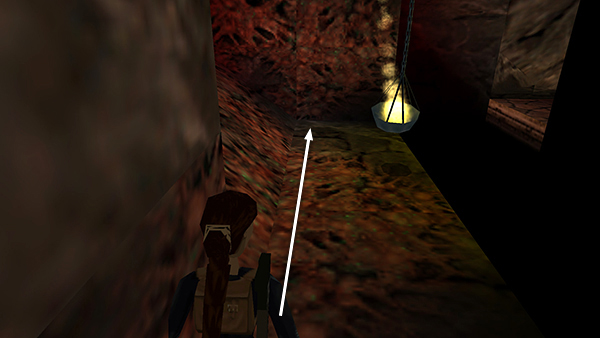
Move carefully to the other end of the ledge.
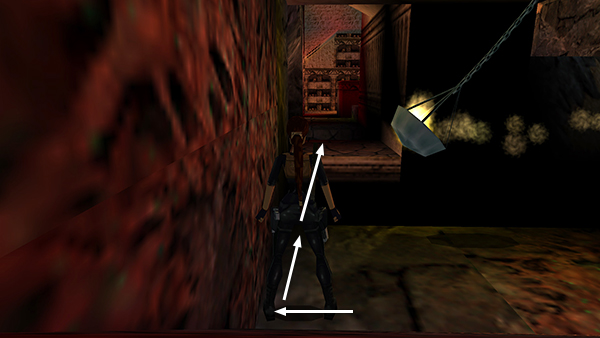
Turn so the swinging burner is on Lara's right and she's facing the small, square, flagstone ledge ahead. Sidestep toward the left wall. Then walk to the edge and take a standing jump onto the flagstone ledge to trigger the appearance of the boss, Sophia Leigh.
Copyright © 2000- - Stellalune (
). All rights reserved. Feel free to copy or print this walkthrough for personal use. By all means, share it with friends, but please include this credit line so people can send me their feedback. No part of this walkthrough may be reproduced on another site without permission. Follow this link for details about this site's advertising and privacy policy.