It's a Madhouse! - Sandy Beach with Mutant Creatures
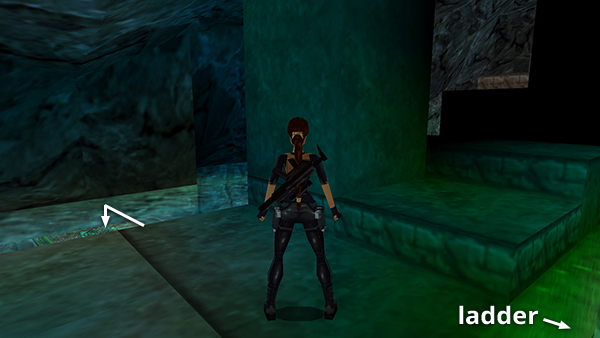
After obtaining the 3 rockets in secret area #3, drop down through the shimmering mist onto a ledge overlooking the beach. In the screenshot above, Lara is standing at the bottom of the stairs in the secret area. The wooden ladder is behind and to her right, and the bent arrow shows where to drop down.
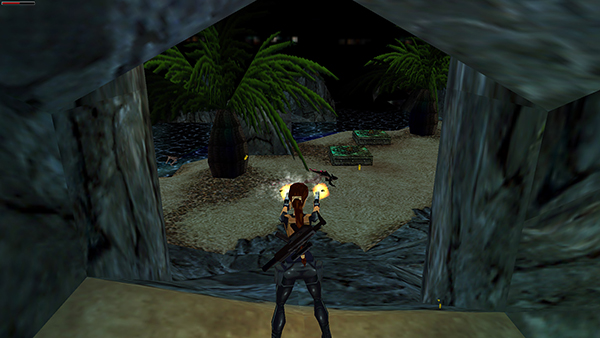
If you didn't shoot them from above while obtaining secret #1, there will be 2 mutants running around on the shore outside. Try to kill them from above with pistols. If their green breath touches Lara, she'll be poisoned. The health bar begin to flash yellow, and you'll need to use a medi pack to antidote the poison, or Lara will gradually lose health until she dies.
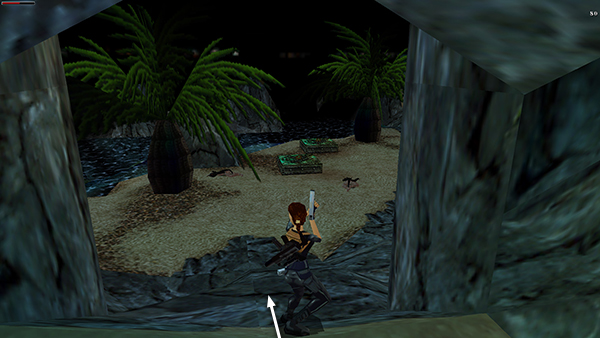
Once you slide down onto the rocks, a third mutant will appear. If you have Desert Eagle ammo to spare, slide down...
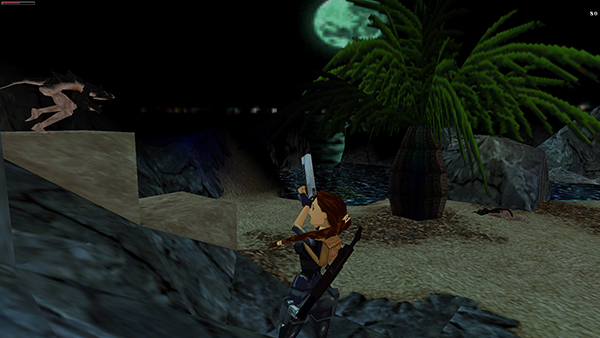
...turn right, and shoot the creature as it comes down the block steps.
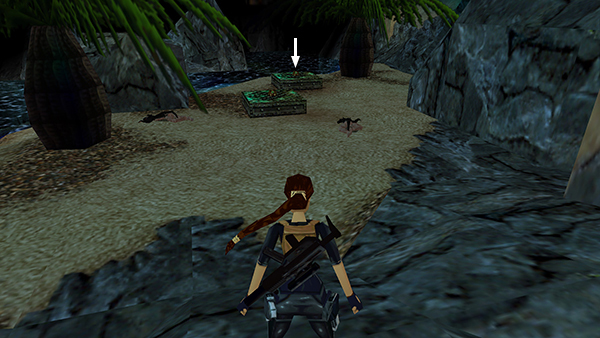
After killing the first 3 mutants, head for the square vents with the 2 large medi packs. Taking either one causes 2 more mutants to charge in. To get through this without taking damage, I suggest approaching the second health pack first.
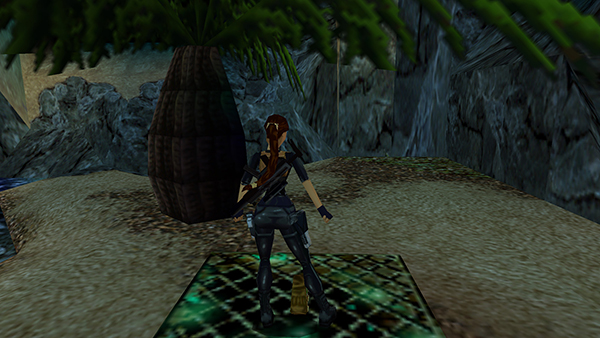
Stand on the vent, turn right, and then pick up the medi pack.
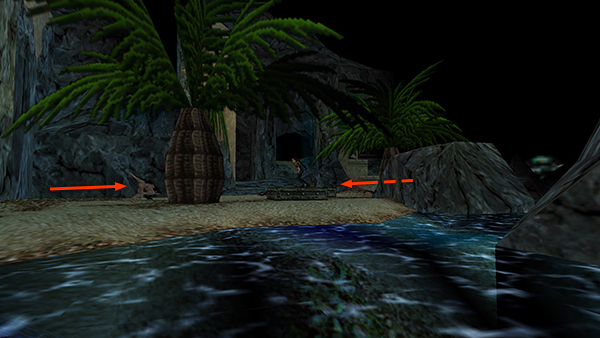
The camera shifts to a wide-angle view as the mutants approach from ahead and behind. Tap Look to get Lara's perspective back.
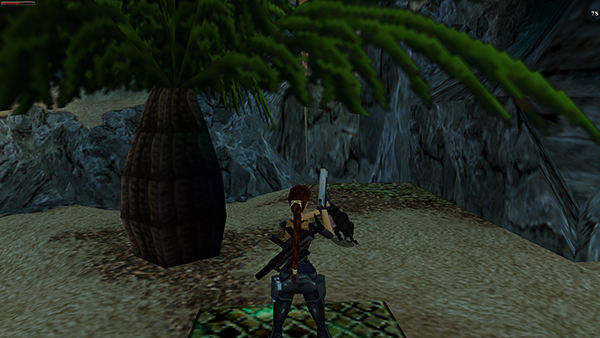
Quickly draw the Desert Eagle and kill the enemy ahead.
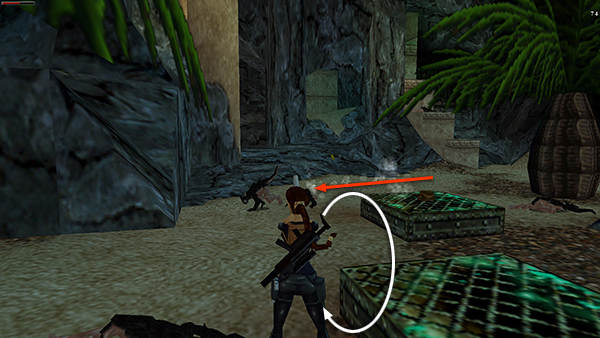
Then roll and shoot the next creature as it approaches.
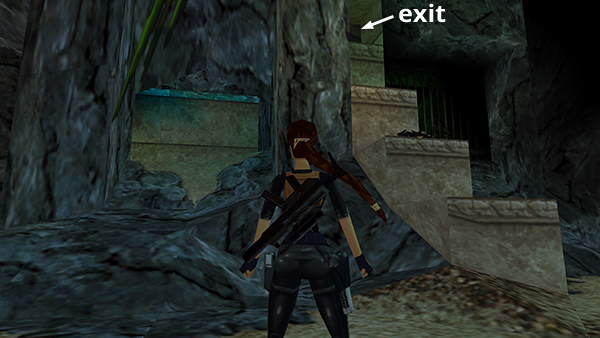
Grab the other medi pack and climb the block steps to get out of this area.
Copyright © 2000- - Stellalune (
). All rights reserved. Feel free to copy or print this walkthrough for personal use. By all means, share it with friends, but please include this credit line so people can send me their feedback. No part of this walkthrough may be reproduced on another site without permission. Follow this link for details about this site's advertising and privacy policy.