It's a Madhouse! - Secret #3 (part 2)
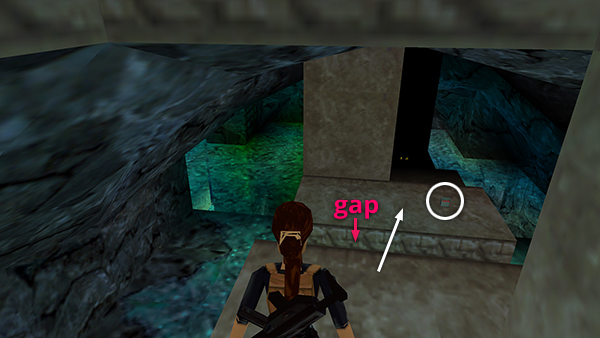
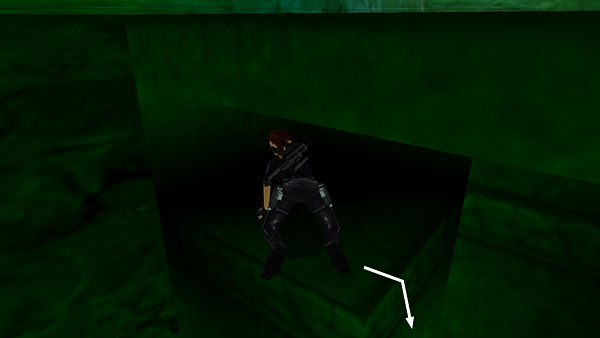
As you start down the steps the secret chime sounds. Jump the first gap above the deadly mutagen pool and pick up the flares.
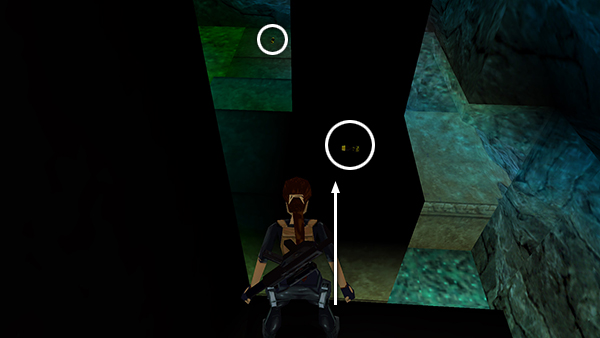
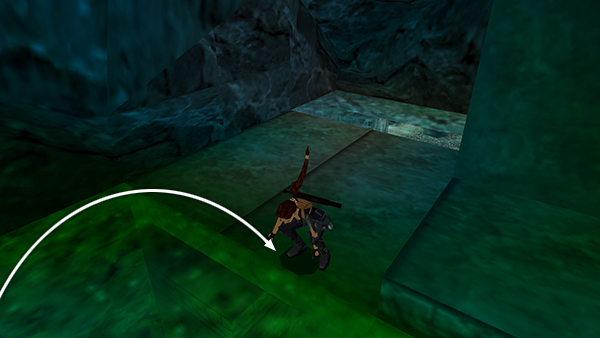
Hop across the gap onto the next step to get a rocket. Walk down to the lowest step for a second rocket.
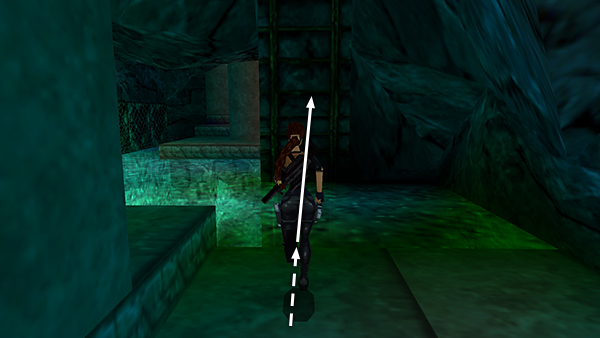
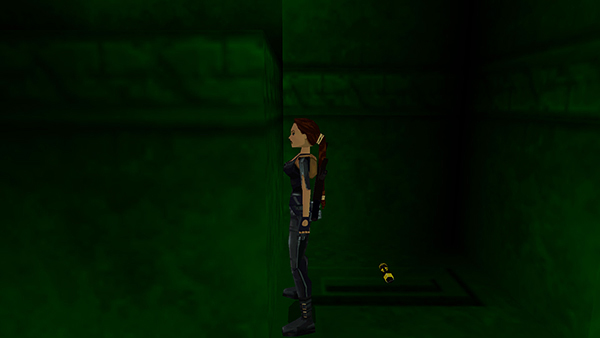
Turn left and take a running jump over the pool to grab the ladder.
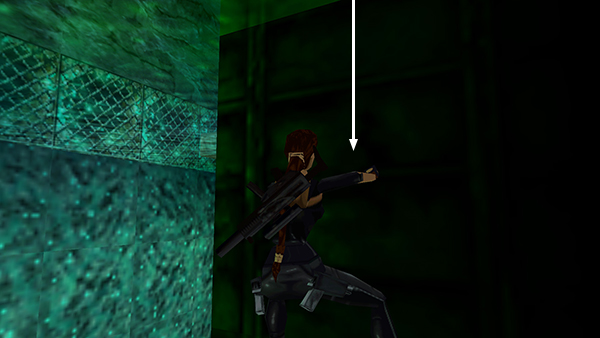
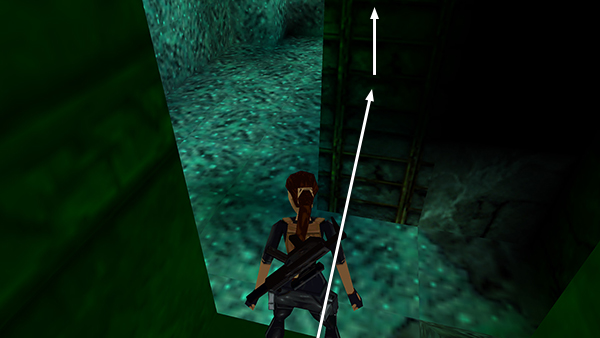
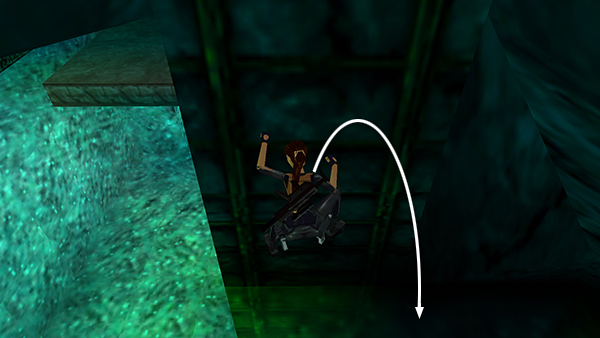
Climb down until Lara's hands are two rungs below the surface of the sparkling vapor.
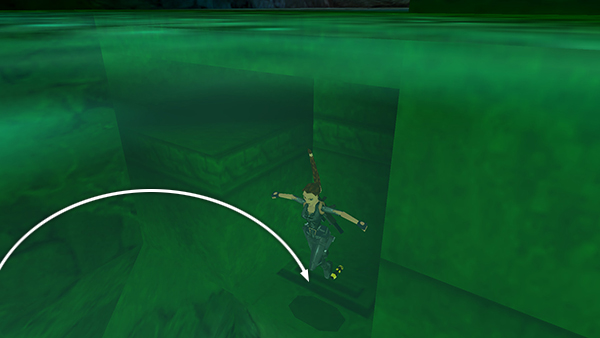
Then press Jump to backflip over the pool into an alcove containing another rocket.
NOTE: If you don't yet have the ROCKET LAUNCHER, you'll get it here instead of the third rocket.
- OR -
Alternatively, position Lara on the ledge where you found the second rocket with her back to the ladder.
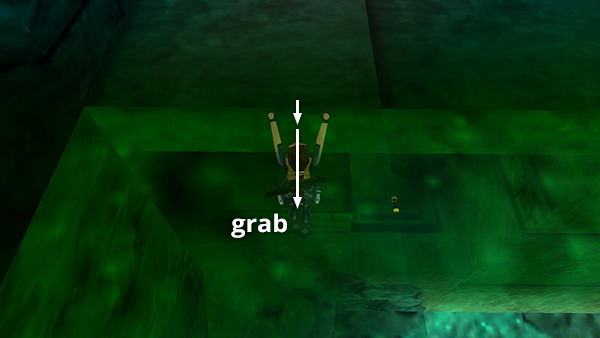
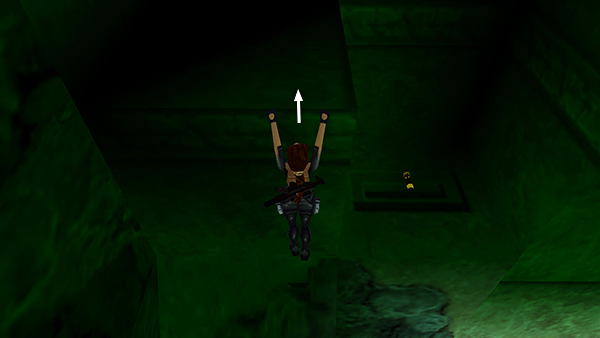
Drop and hang from the ledge. Let go and quickly press Action again to grab the ledge below. Climb into the crawlspace, turn left, crawl backwards, and drop down into the alcove with the rocket.
Drop and hang from the ledge, Let go and quickly press Action again to grab the ledge below.
Pull up into the crawlspace, turn left, crawl backwards, and drop down...
...into the alcove with the rocket.
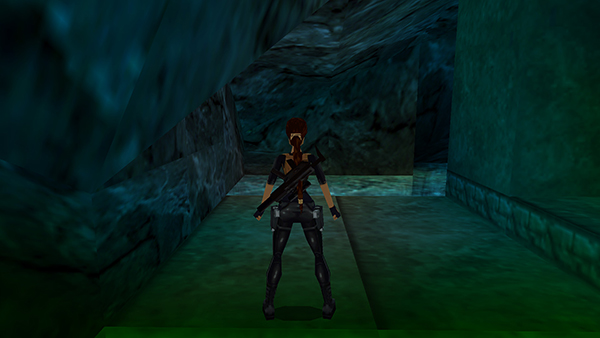
To get back up, take either a running or standing jump from the alcove to the ladder.
Climb up until Lara's feet are one or two rungs above the the surface of the sparkling vapor.
Then press Jump to backflip onto the ledge where you started.
Copyright © 2000- - Stellalune (
). All rights reserved. Feel free to copy or print this walkthrough for personal use. By all means, share it with friends, but please include this credit line so people can send me their feedback. No part of this walkthrough may be reproduced on another site without permission. Follow this link for details about this site's advertising and privacy policy.