NOTE: The numbers and letters for the various switches and gates correspond to the diagram in the main walkthrough.
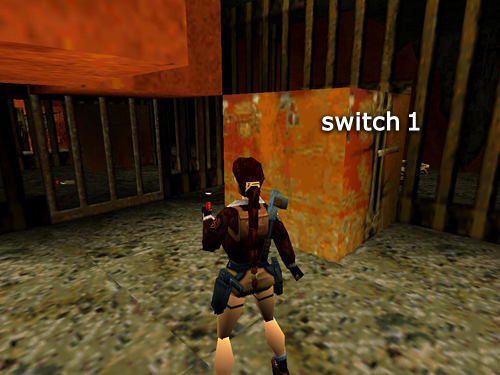
Begin by pulling switch #1 (in the cage where you start) to open gates A and B.
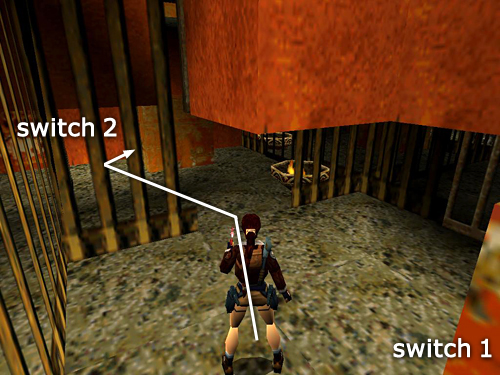
Turn left and go through gate A into the next cage.
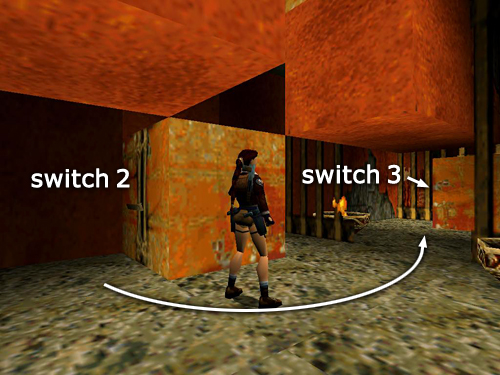
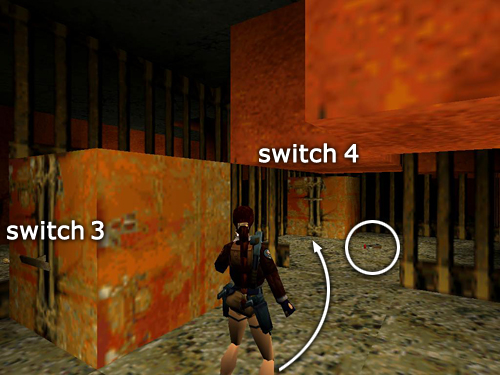
Pull switch #2 there to open gate C (ahead) and close gate A. Go through gate C into the next cage and pull switch #3 to open gates D and E, and close gate B.
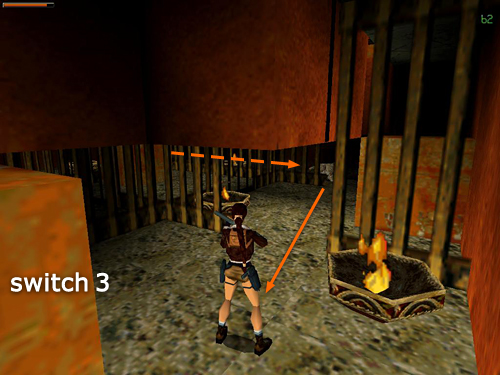
If the leopard in the cage at the far right (bottom of the diagram) went into the adjacent cage (bottom left of diagram, with pool) when gate B was opened, it will now be able to reach you. Turn right, ready a weapon, and shoot it as it approaches through gates E then C.
Go through gate D and pick up the shotgun shells.
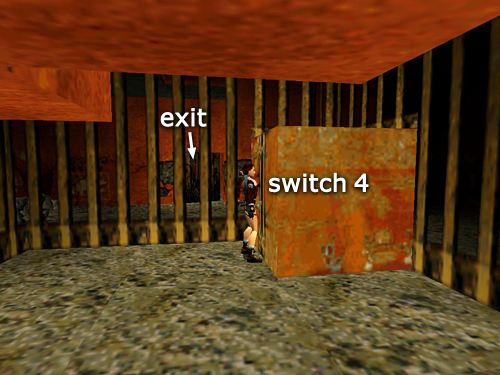
Pull switch #4 to open the exit from this area, which is on the other side of the bars to Lara's left.
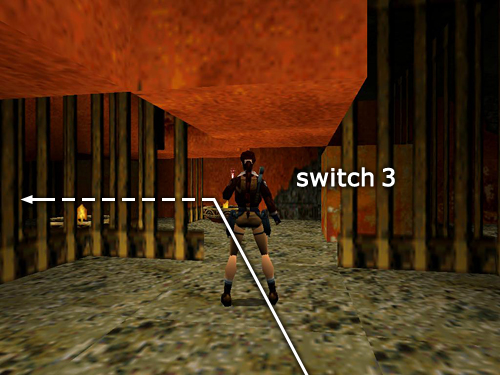
After pulling switch #4, turn around and return through gate D into the cage with switch #3. Turn left and go through gate C. . .
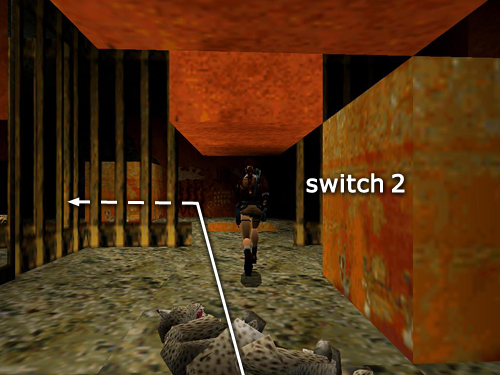
. . . into the cage with switch #2. Then continue straight ahead through gate E into the cage with the small pool. Inside that cage, turn left.
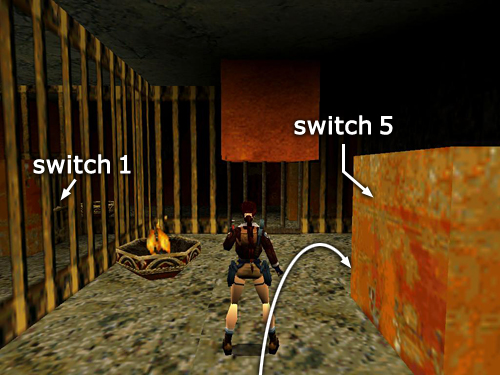
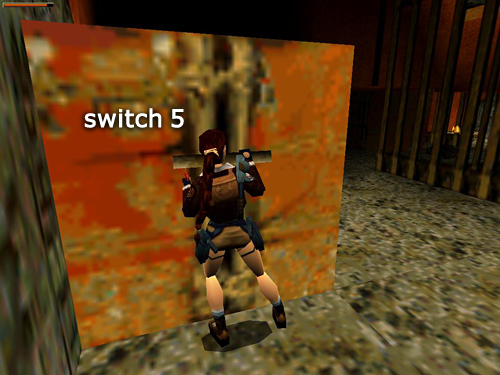
Switch #5 is on the back side of the orange block.
Use it to open gates A, F and G. Gate B, behind you, remains closed for now.
[Part 2 | Return to the Kingdom Walkthrough]
Copyright © 1999- - Stellalune (). All rights reserved. The screenshots and videos included here were made using Fraps. Feel free to copy or print this walkthrough for personal use. By all means, share it with friends, but please include this credit line so people can send me their feedback. No part of this walkthrough may be reproduced on another site without permission. Follow this link for details about this site's advertising and privacy policy.
|