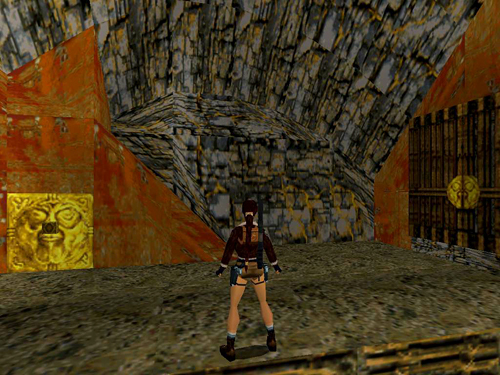
When you place the mask in its receptacle on the gold panel, the door on the right closes. . .
. . . the stone-and-gold structure behind you transforms into a long ramp with a room at the top, and the GUARDIAN emerges.
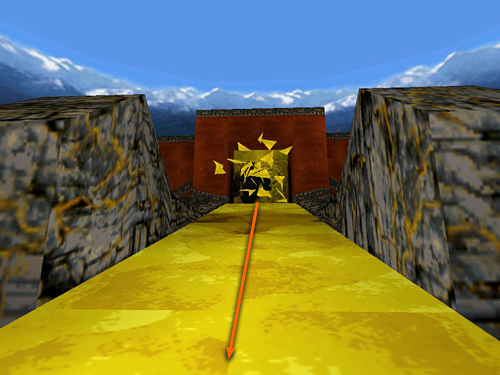
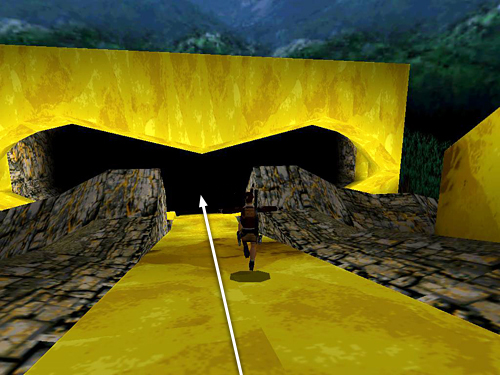
Immediately press Look to get camera control back. Then roll and move to either side of the base of the long, golden ramp. As the guardian comes stomping down, get ready to run. When it reaches the bottom, jump past it onto the ramp and head for the top. Use running jumps to cover more distance faster.
When you reach the building at the top of the ramp, go around either side of the gold panel to get inside.

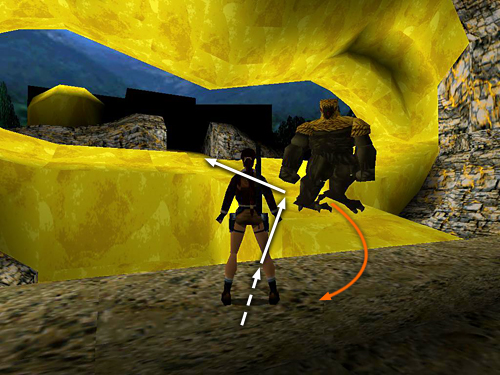
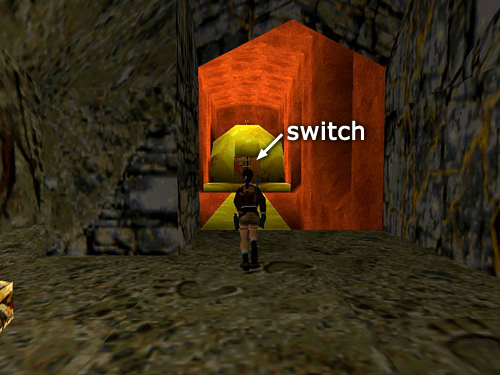
Here you'll find a large medi pack, grenades, and a switch.
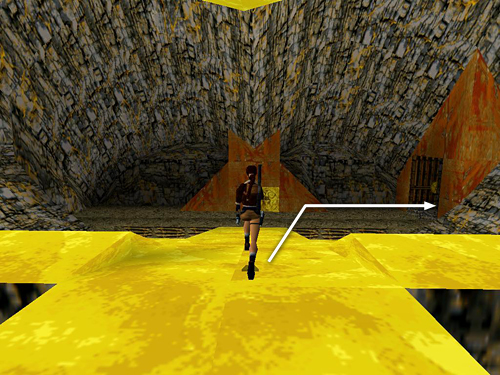
If you want everything, you'll probably need to run into the room, grab one item, and run out the other side and back down the ramp. Let the guardian chase Lara down, then run back up for the next item. Take a third pass to flip the switch. Doing so re-opens the double doors to the right of the mask receptacle and extends a bridge across the pit in the room beyond those doors.
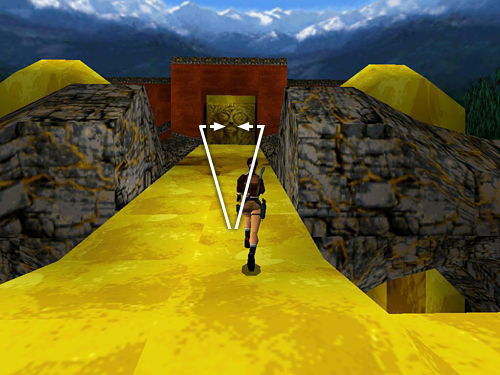
Run down the ramp one last time.
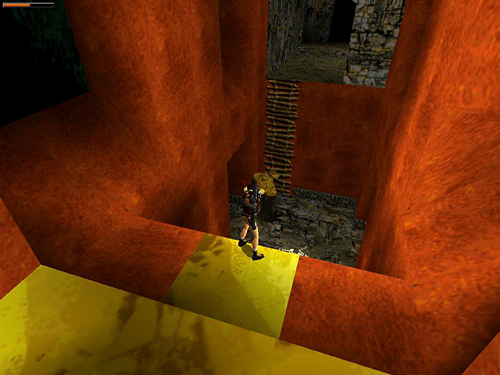
At the bottom, continue into the room on the right.
Cross the bridge with the guardian close on Lara's heels.
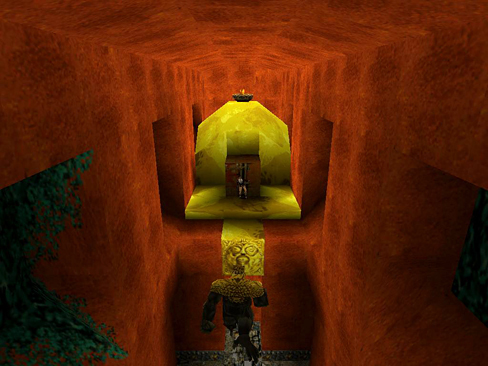
Pull the switch on the other side to retract the bridge. Depending on how fast you are, the guardian will either be trapped on the other side of the gap, or it will fall into the pit, as shown above.
Shoot it until it falls and the level ends.
[Return to the Kingdom Walkthrough]
Copyright © 1999- - Stellalune (). All rights reserved. The screenshots and videos included here were made using Fraps. Feel free to copy or print this walkthrough for personal use. By all means, share it with friends, but please include this credit line so people can send me their feedback. No part of this walkthrough may be reproduced on another site without permission. Follow this link for details about this site's advertising and privacy policy.
|