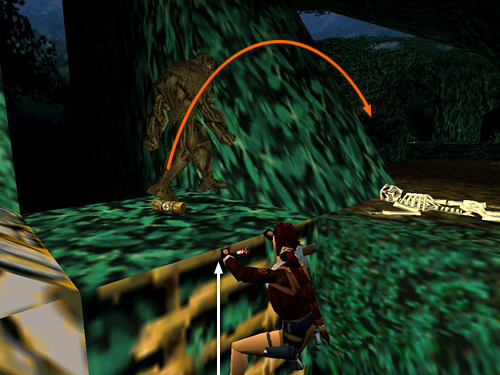
This time, climb all the way to the top of the ladder. At first, hang onto the ledge without pulling up and watch the movements of the 2 sasquatches. When they head off to the right. . .
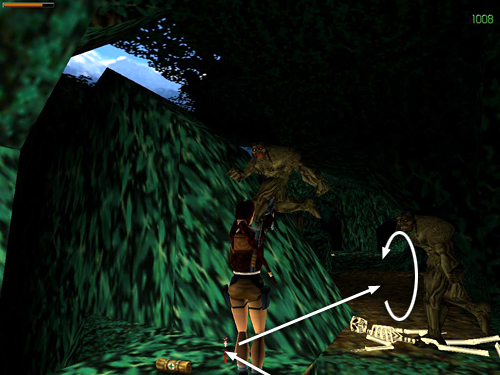
. . . climb up, turn right and jump over to the flat area beyond the skeleton. You want to get away from the edge as fast as you can so the beasts don't knock Lara off. As you jump, pull out the Uzis or another powerful weapon and start shooting.
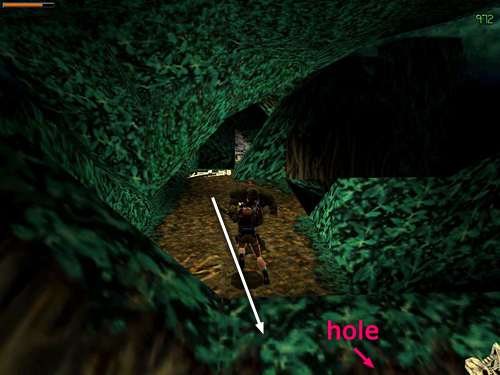
Roll and hop back while firing. Just take care not to back up too far since there's a large hole beyond the second skeleton.
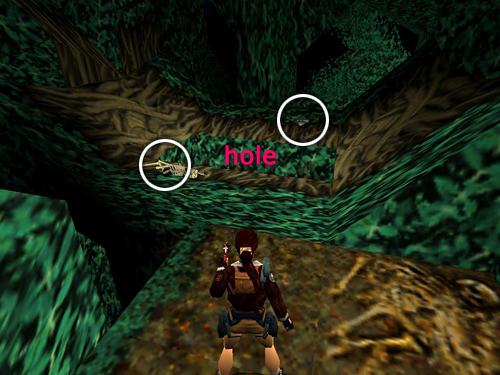
When both sasquatches are dead, pick up the small medi pack at the top of the ladder, plus automatic pistol clips among the bones of the second skeleton and M16 clips on the other side of the hole. Mind the edges; it's a long way down.
Climb down the ladder near the second skeleton to get another small medi pack.
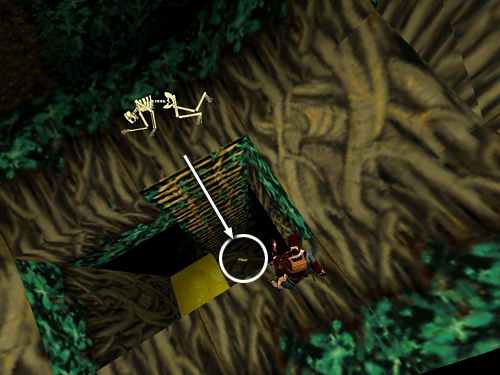
Stand at the right side of this ledge facing the ladder. Light a flare and side flip onto the gold ramp.
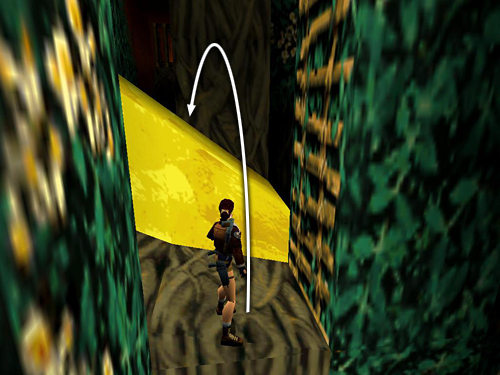
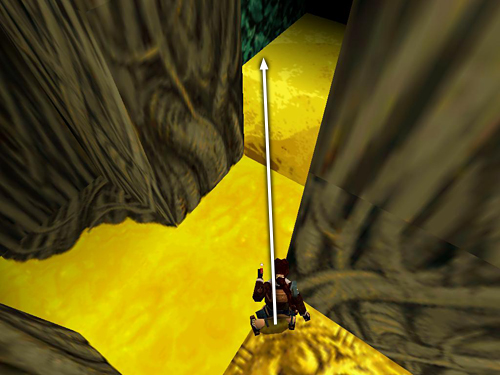
Slide down onto the perpendicular green ramp, which points down to the left. As soon as Lara lands on the green ramp, jump. . .
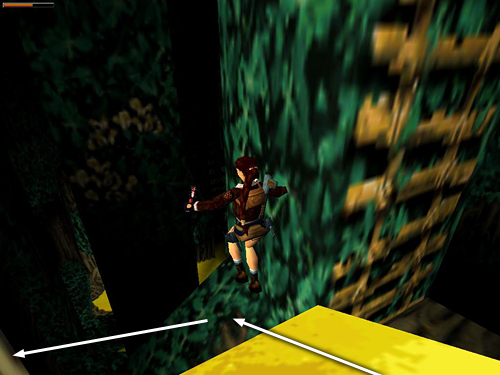
. . . and Lara will land on the long, gold slope ahead. (It's near the wall and perpendicular to the green one.) If you don't jump quickly, she'll slide down a series of green slopes into the molten gold pool. Once she lands on the long, gold slope, just let go and she'll slide down to the left. . .
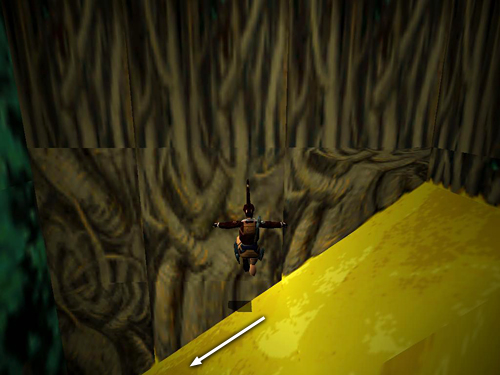
. . . through a series of slopes to the bottom of the cave, landing at last on a flat ledge with some shotgun shells.
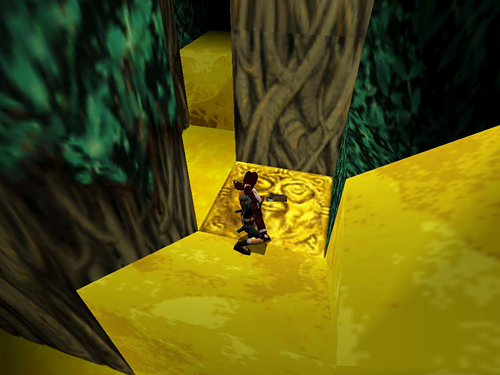
Take a carefully angled standing jump over the molten gold onto the raised, gold block in the doorway ahead. Do not press Action since this shortens the jump, though you might want to try and veer to the right a bit to stick the landing. Don't run forward since there's more molten gold below.
[Part 1 | Return to the Kingdom Walkthrough]
Copyright © 1999- - Stellalune (). All rights reserved. The screenshots and videos included here were made using Fraps. Feel free to copy or print this walkthrough for personal use. By all means, share it with friends, but please include this credit line so people can send me their feedback. No part of this walkthrough may be reproduced on another site without permission. Follow this link for details about this site's advertising and privacy policy.
|