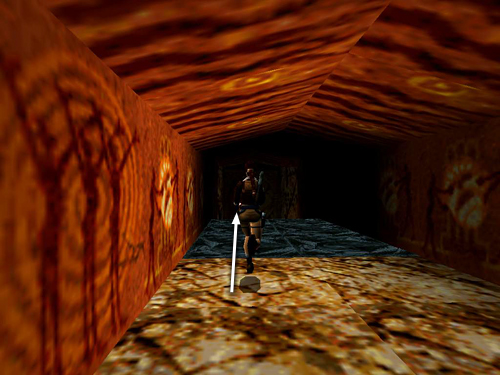
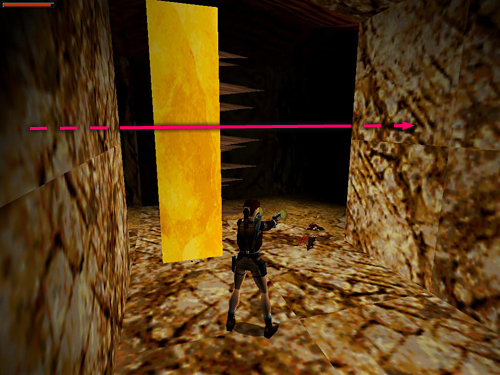
Ahead is a section of breakaway tiles with spikes below. Beyond that is a short slope and two converging spiked walls. One comes in from ahead, the other from the right. Instead of trying to outrun the spiked walls, run across the breakaway tiles. . .
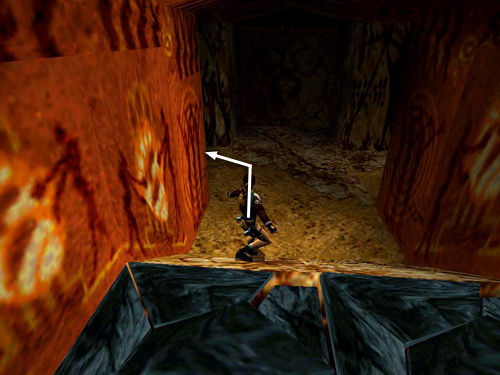
. . .slide down the slope on the other side, and hurry into the hallway on the left.
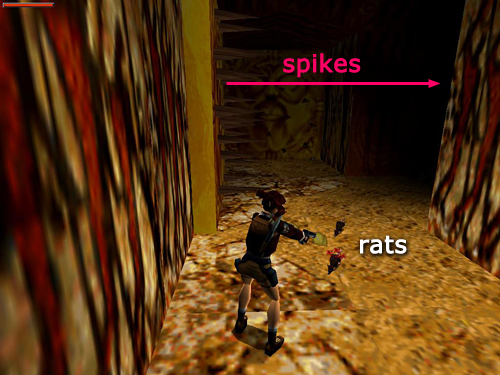
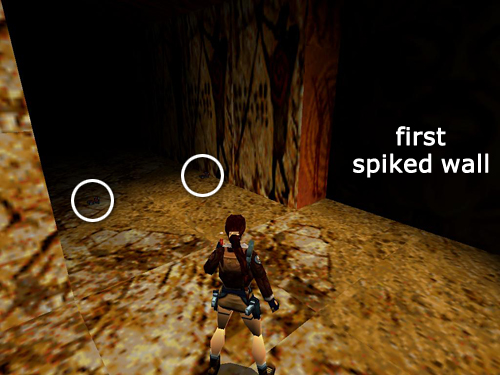
Wait there as the first spiked wall moves past you heading toward the breakaway tiles. If you like you can shoot the 2 rats nibbling on Lara's boot laces, but don't let them distract you from the spikes.
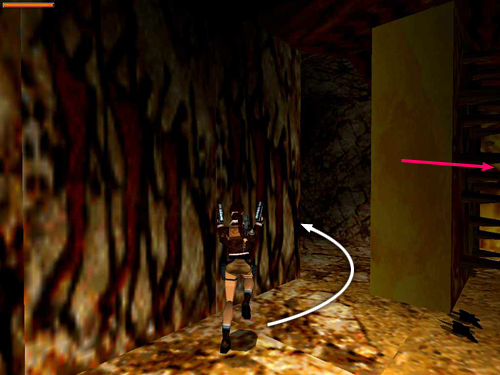
Once the first wall passes, move into the space where it originated.
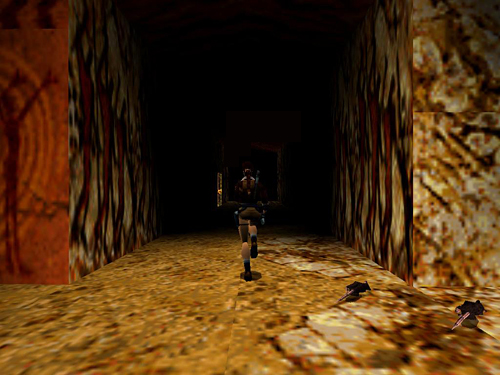
You'll be safe here as the second spiked wall moves away down the long hallway.

Step out and shoot a third rat off to the right.
Then pick up 2 sets of automatic pistol clips on the floor to the left, near where the second wall originated.
NOTE: If you didn't get the AUTOMATIC PISTOLS in a previous level, you'll receive them here in place of one set of clips.
Now head for the other end of the hall, where the second spiked wall ended up.

Find the metal cage wrapped in gold chain embedded in the left wall and push it twice to get into the passageway behind it. Go through to the next area.
[Return to the Furnace of the Gods Walkthrough]
Copyright © 1999- - Stellalune (). All rights reserved. The screenshots and videos included here were made using Fraps. Feel free to copy or print this walkthrough for personal use. By all means, share it with friends, but please include this credit line so people can send me their feedback. No part of this walkthrough may be reproduced on another site without permission. Follow this link for details about this site's advertising and privacy policy.
|