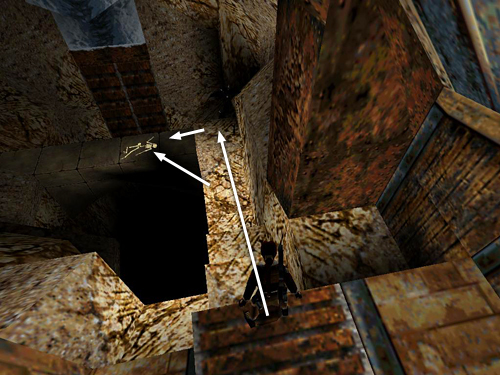
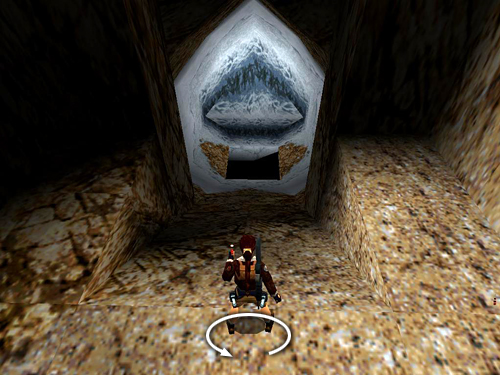
Return to the edge overlooking the cave and climb back down the blocks along the right wall. When you come to the higher block above the bridge with the skeleton, hop from there down to the bridge. (Or, if you're avoiding that block so you don't trigger the crows, take a running jump from the flat ledge below it to land on the bridge.)
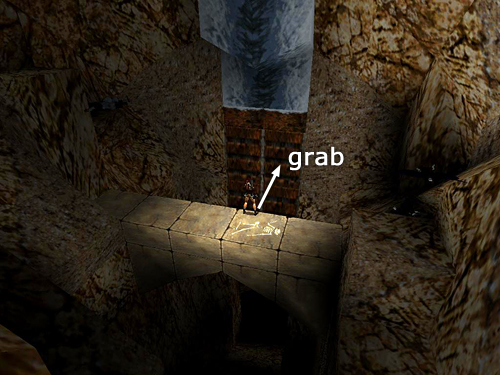
Take a standing jump from the bridge to grab the ridged metal wall below the icy section.
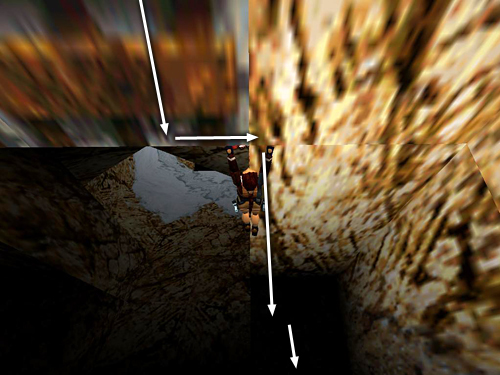
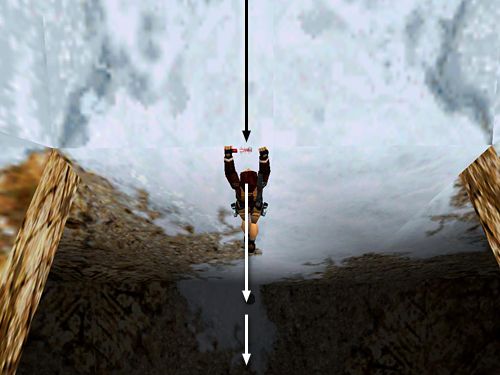
Climb down to the bottom, but do not drop onto the slope below. If you do, Lara will slide down, and you'll miss the next pickup. Instead climb to the left or right as far as you can. Then drop onto one of the flat ledges beside the ramp.
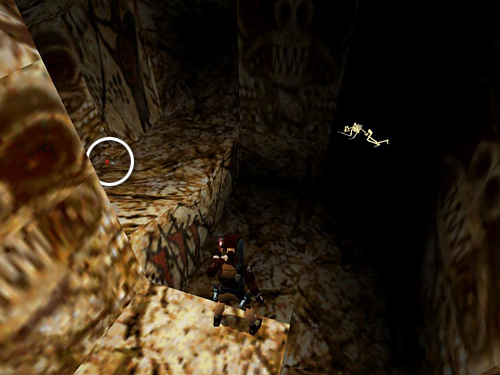
Turn around, run back toward the skeleton, take the large medi pack, and kill 5 rats. Two rats come out as you approach; 3 more emerge when you take the medi pack.
Now move to the edge of the slope and turn around.
Slide backwards down the long slope, grab the edge and drop into the room below. Lara will slide back a bit farther before coming to a stop on flat ground.
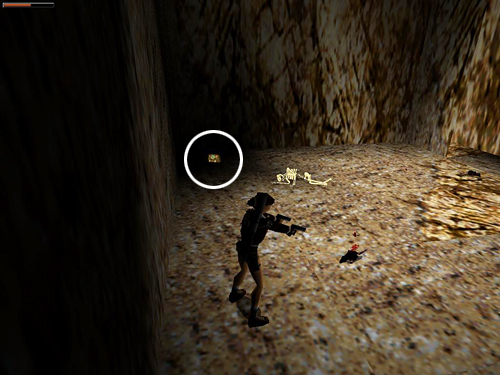
Turn around and head to the left side of the cave. You'll find 3 boxes of shotgun shells behind a low wall.
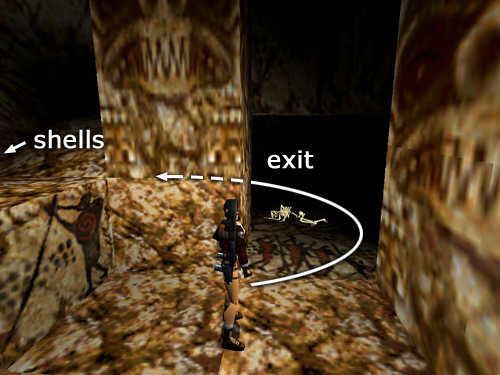
Grab them and vault back over the low wall. Head around the corner to the left.
Save the game, since you'll need to make a tricky jump at the beginning of the next level and may want to reload if you miss. Then follow the tunnel beyond the skeleton to finish this level.
[Part 2 | Return to the Fool's Gold Walkthrough]
Copyright © 1999- - Stellalune (). All rights reserved. The screenshots and videos included here were made using Fraps. Feel free to copy or print this walkthrough for personal use. By all means, share it with friends, but please include this credit line so people can send me their feedback. No part of this walkthrough may be reproduced on another site without permission. Follow this link for details about this site's advertising and privacy policy.
|