Fool's Gold - Rooftops and Circuit Board
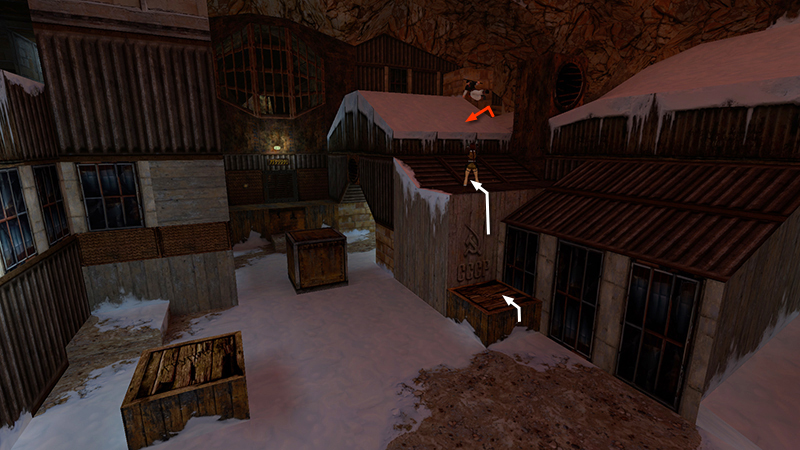
After clearing out the snipers and dogs in the OUTDOOR AREA, as shown in the last section, use the wooden crate under the Soviet hammer-and-sickle sign to climb onto the roof. A guy with a club (14) pops out from behind the roof peak and 2 crows (15-16) fly in from behind. Take care of the man first...
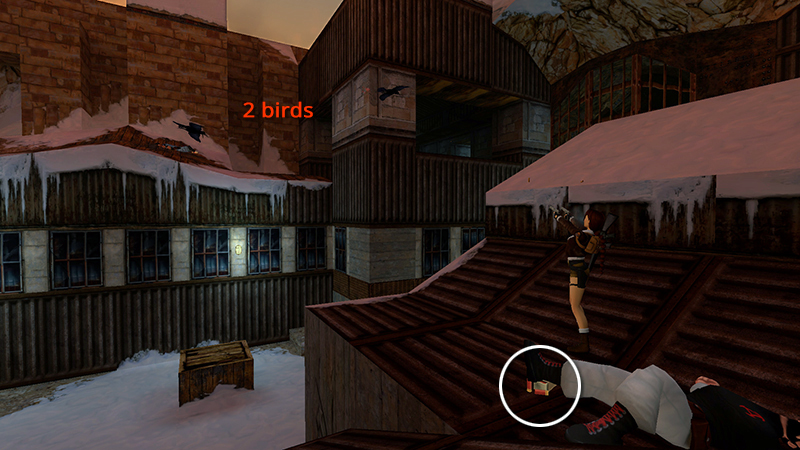
...then the birds. Then grab the goon's shotgun shells (19).
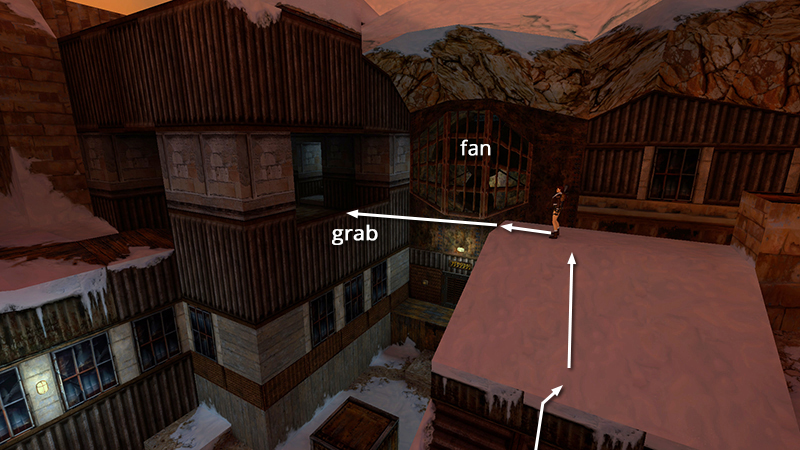
Face the end of the open area where you came in. (There's a huge fan high on the wall.) Climb to the top of the snow-covered roof and turn left so the big fan is on Lara's right. Take a running jump to grab the edge of the wide opening on the other side of the gap and pull up.
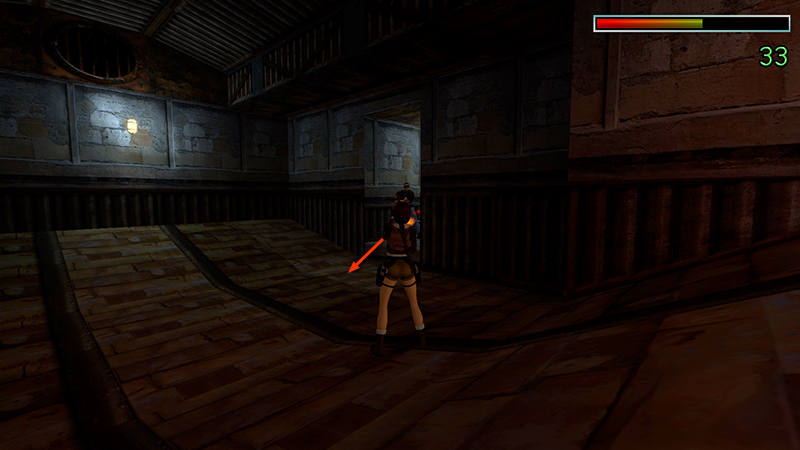
Immediately draw weapons and shoot the shotgun-wielding bad guy (17) who emerges from the doorway on the right.
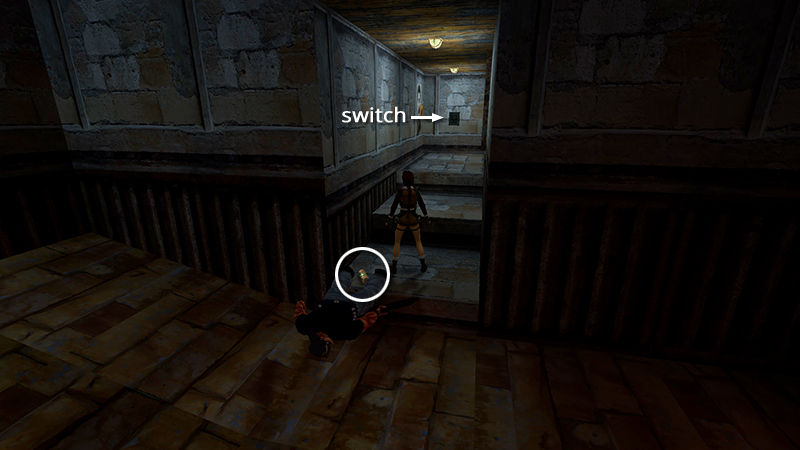
Take his small medi pack (20) and enter the passageway where he came from. Use the switch to open the nearby door.
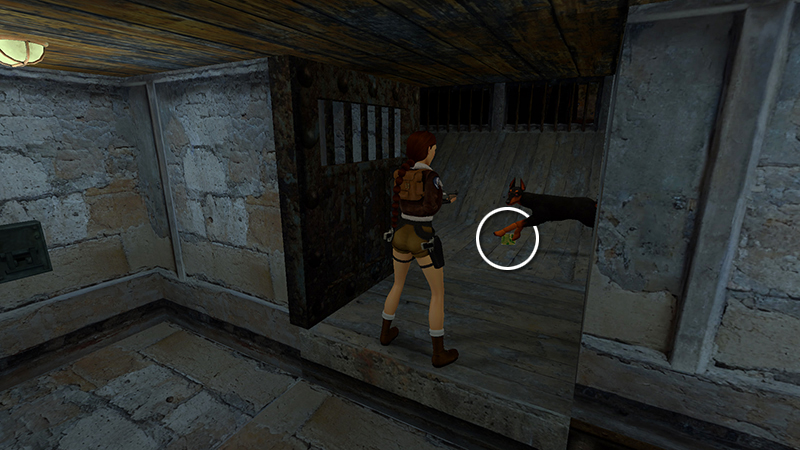
Step inside with shotgun drawn. Take out the Doberman (18) that charges from the right and pick up the CIRCUIT BOARD (21).
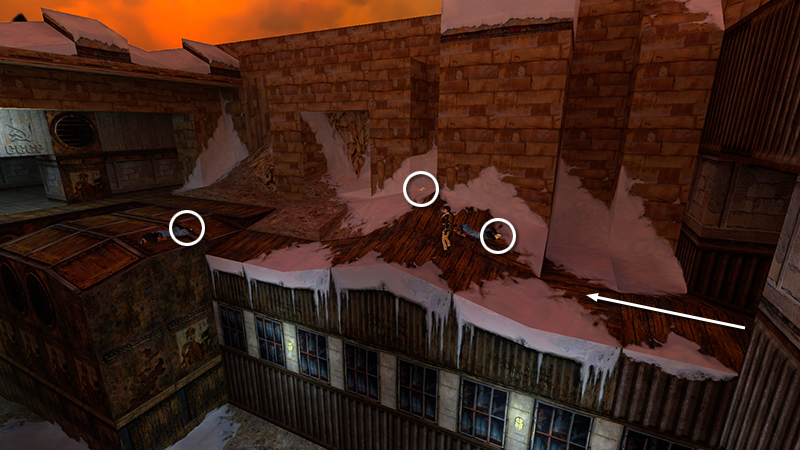
Exit the narrow hallway and continue forward along the snowy rooftops. Retrieve 3 boxes of shotgun shells (22-24)—one from each of the snipers you killed earlier and one lying on the ground about halfway along on the right.
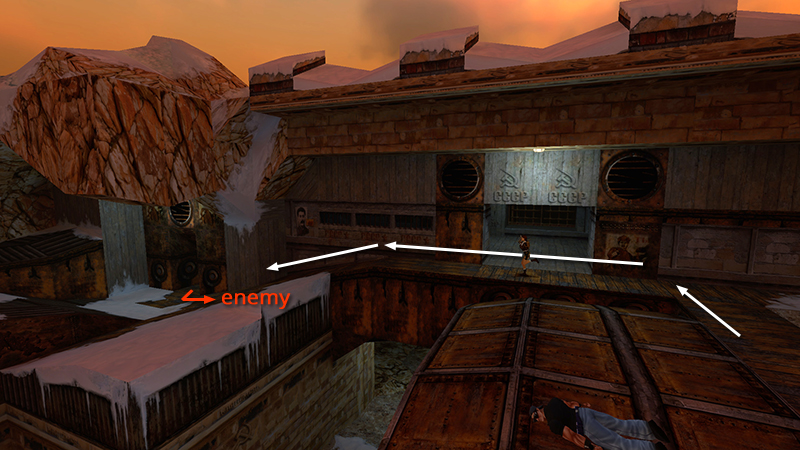
Continue following the rooftops to the far end. Turn left and move past the wide doorway with the two hammer-and-sickle symbols above.
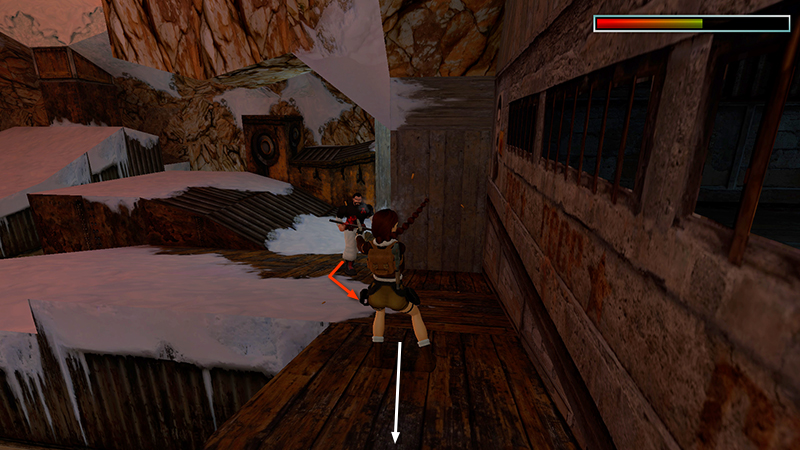
As you approach the next corner, another enemy with a baton (19) emerges. You can hop away firing, but care not to fall off the edge as you fight.
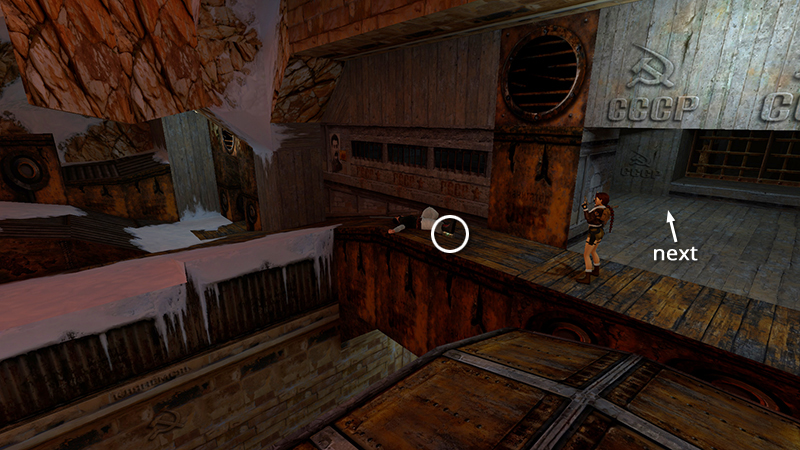
Claim his small medi pack (25).
NOTE: There's no need to enter the room where this enemy came from, but if you want to check it out, you'll be able to glimpse the gold bars through the barred windows. You'll get this secret later from the other side. (screenshot) There are also two ramps leading back down to the lower level. If you slide down the first ramp, you'll end up in the tunnel at the end of the OUTDOOR AREA. The other ramp leads back to the hallway near the WINDOWED ROOM WITH THE SWITCH, where you were earlier. In either case, return to the OUTDOOR AREA and climb back onto the rooftops to continue.
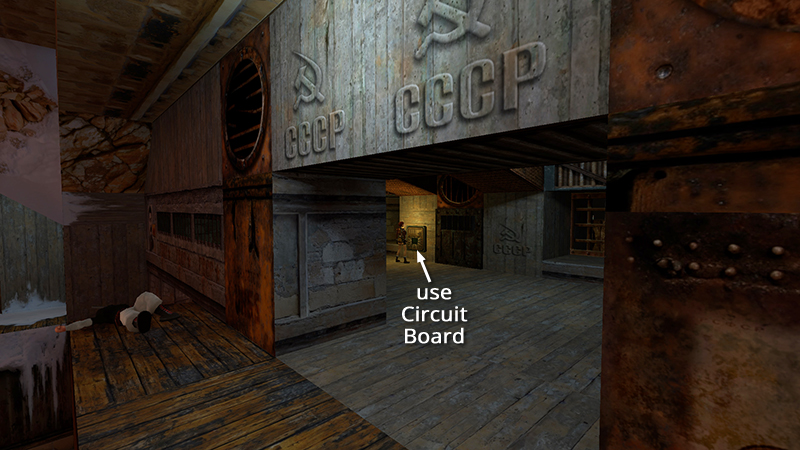
Enter the room below the two hammer-and-sickle symbols. Place the CIRCUIT BOARD in the electrical panel to open the nearby door.
DARK MODE: I plan to add optional dark mode for these pages, but my current priority is updating the walkthroughs. Meanwhile, may I suggest a reputable dark mode browser extension, such as Dark Reader? (Download only from trusted sites, like darkreader.org or your browser's official add-on/extension site.)
Walkthrough text and diagrams copyright © Stellalune (email ). Feel free to copy or print this walkthrough for personal use. By all means, share it with friends, but please include this credit line so people can send me their feedback. No part of this walkthrough may be reproduced on another site without permission.