Fool's Gold - Snowy Area with Iron Beams and Wooden Crates
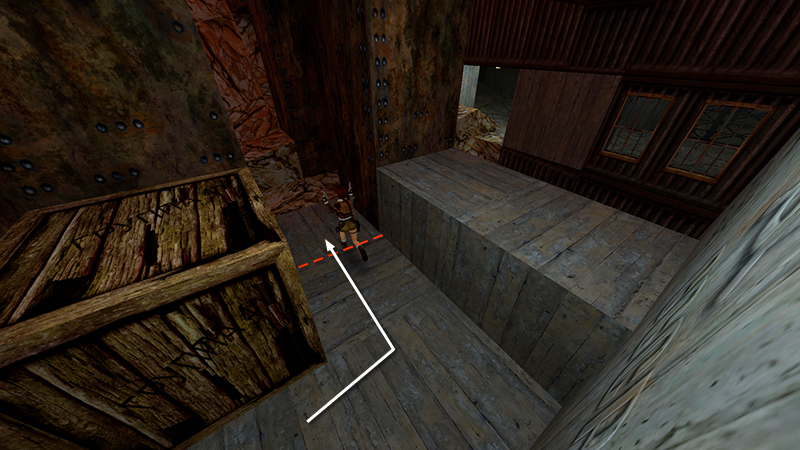
In the last section, you obtained two new keycards—one with a YELLOW STAR, one with a RED STAR—then used the red one to unlock the door leading into this new area. After the door closes behind you, step forward and turn left. If you advance cautiously, you can fight the next 2 enemies with clubs (35-36) one at a time.
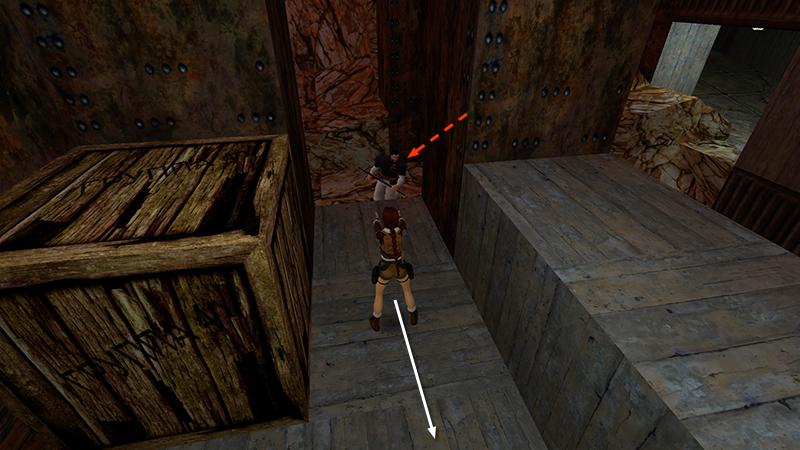
The first comes down the rocky slope on the right when you approach the doorway leading outside. Hop back firing as he approaches.
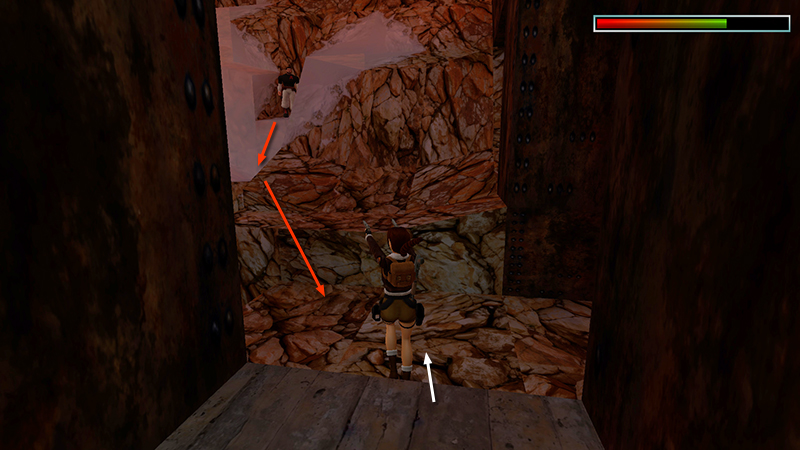
The second comes down the slope on the left when you step down onto the rocks.
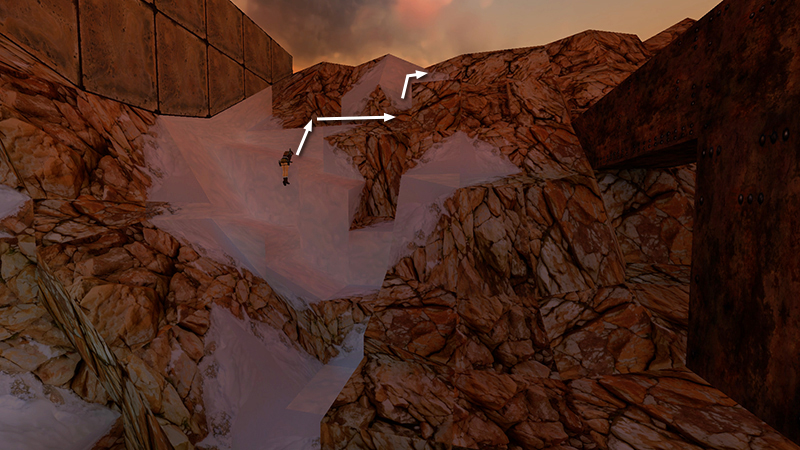
Next, climb the snowy rocks in the far left corner. At the top, turn right and follow the ledge toward the rusted metal support beam.
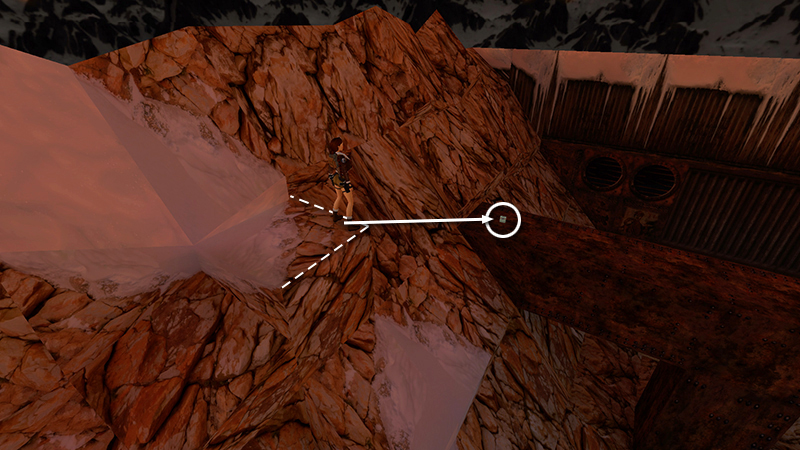
When you reach the highest block, walk to the edge and take a standing jump down to the beam, where you'll find some flares (46).
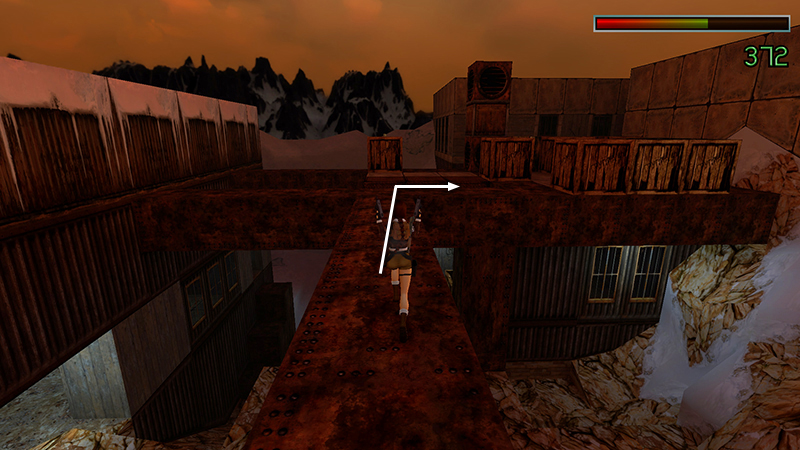
Ready a decent weapon, then cross the beam to the central structure, turn right...
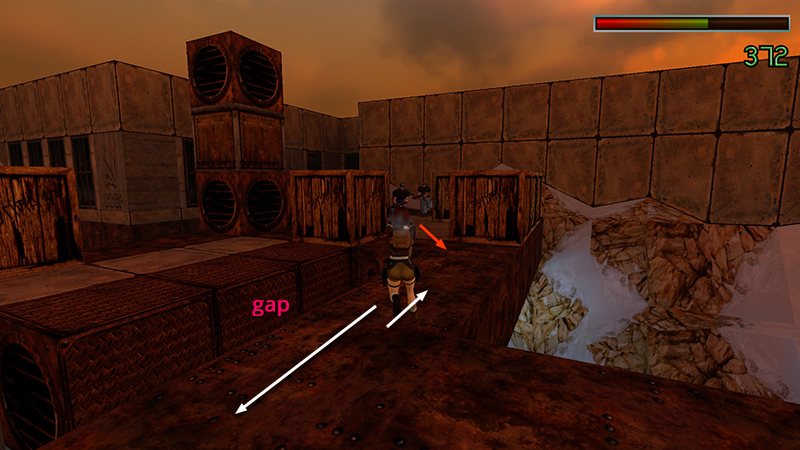
...and shoot the 2 thugs with shotguns (37-38) who emerge from behind the wooden crates.
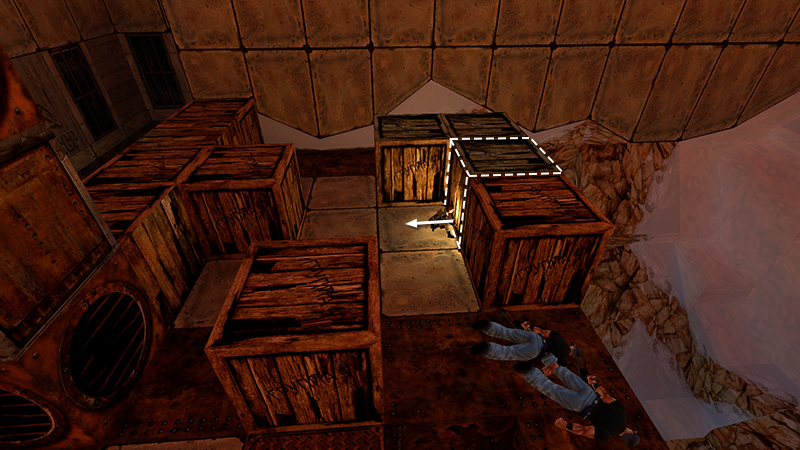
Locate the 3 movable crates near the back. They're arranged in an L shape along with a fourth, stationary crate. Grab the second crate in the group (i.e. the one next to the crate that doesn't move) and pull it once away from the edge.
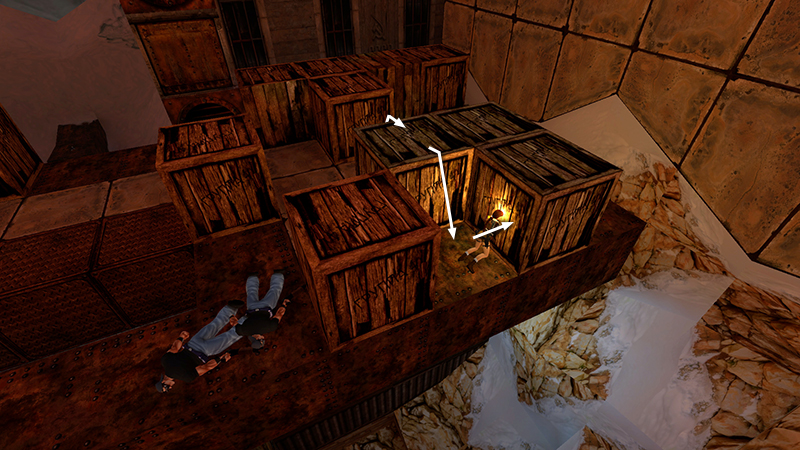
Climb over it and drop down into the space you just made. Turn left and push the next crate...
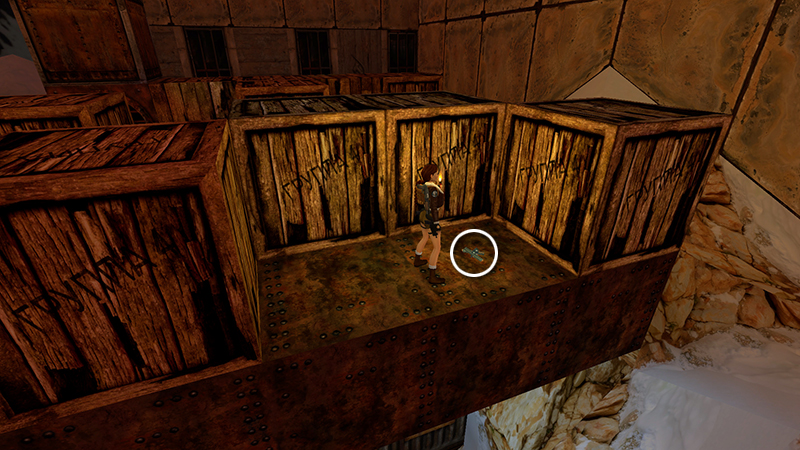
...to reveal grenades and 2 sets of Uzi clips (47-49) underneath.
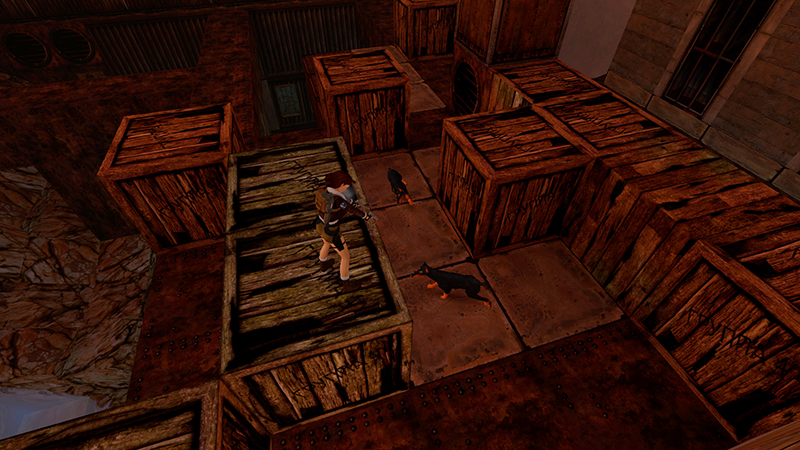
Climb back on top of the crates but don't hop down yet or you'll be cornered by 2 vicious dogs (39-40). Shoot them from above. Then continue on your way. There's nothing under the third crate.
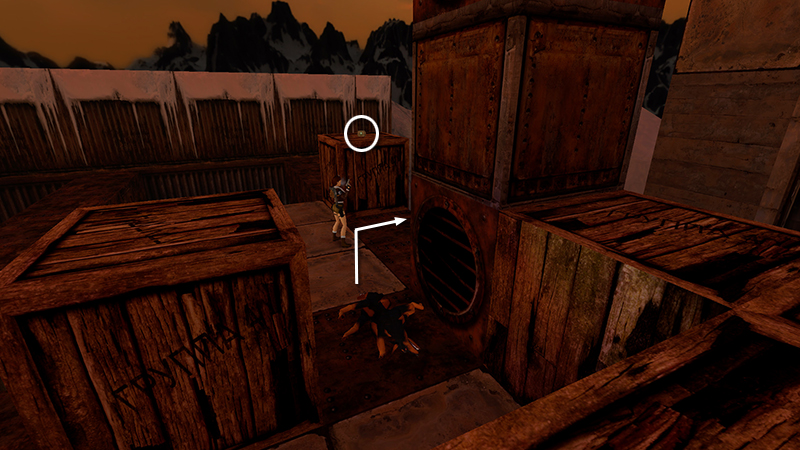
There's a large medi pack (50) on top of another wooden crate near the opposite corner of the central structure. Approach it but don't climb up yet.
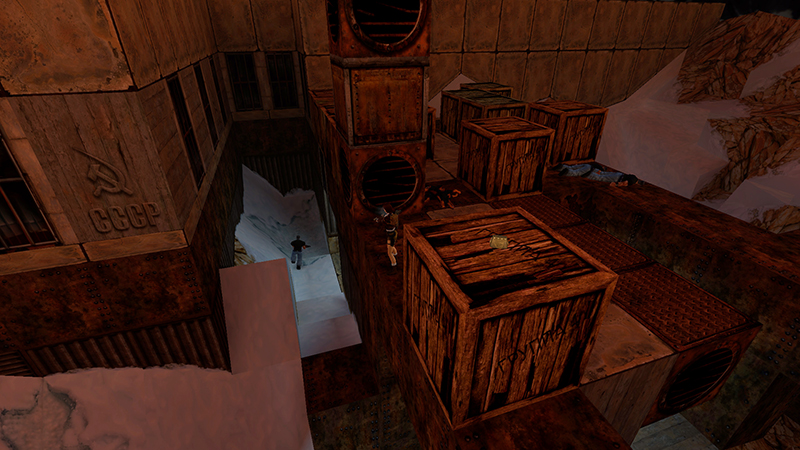
Instead, ready weapons and look over the edge. There's a thug with a shotgun (41) below on the right. (You may have noticed him earlier through the window of the room with the RED-STAR LOCK.) You can take him out from above using pistols.
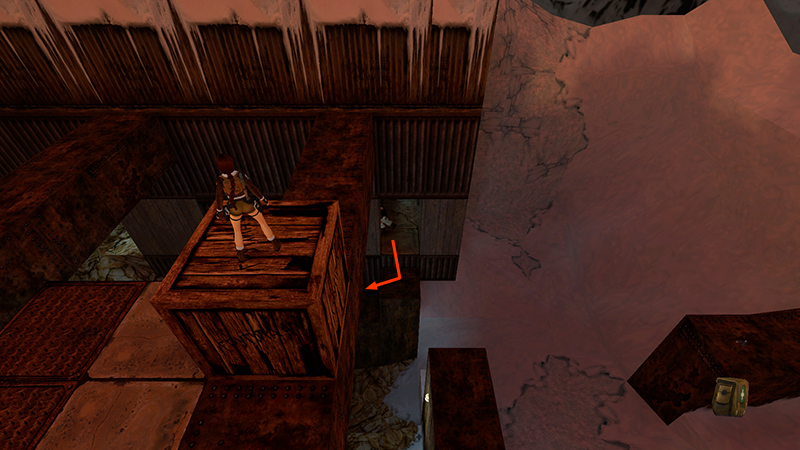
When you do pick up the large medi pack on top of the crate, another guy with a club (42) comes out of the building below...
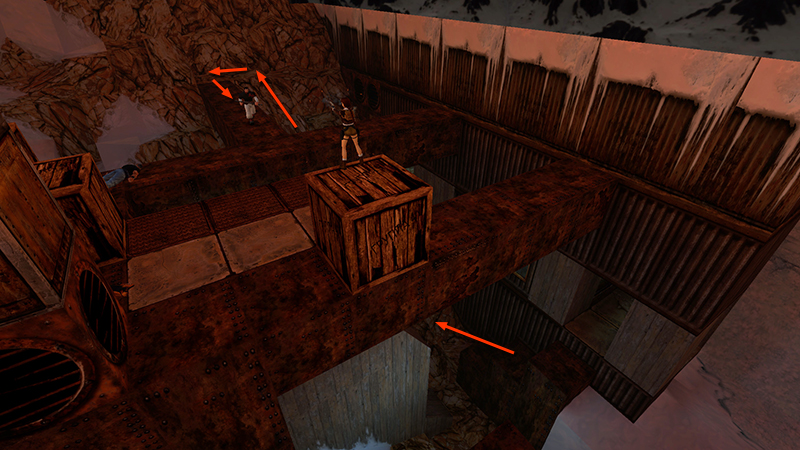
...and makes his way up the rocks and across the metal structure. If you start shooting as soon as you get a lock on him, you can easily kill him with pistols before he reaches you.
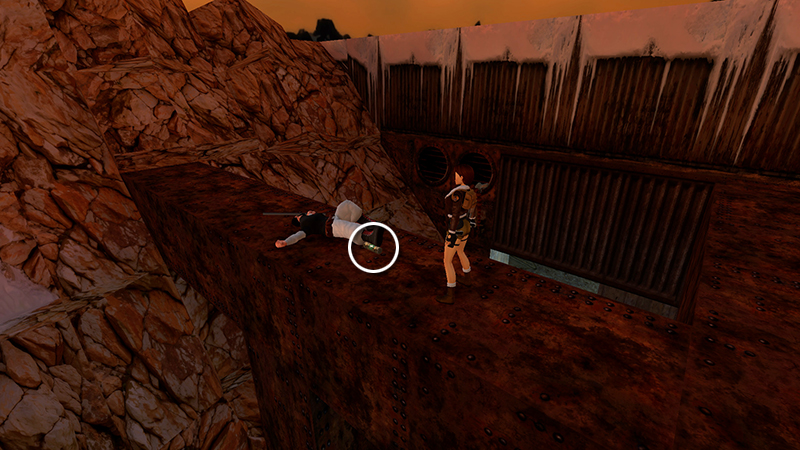
He drops a small medi pack (51).
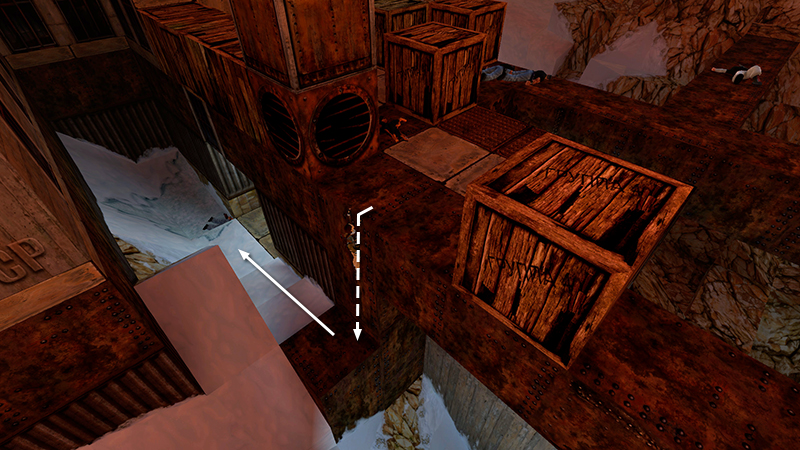
Return to the edge next to the crate where you found the large medi pack. Turn around and safety drop onto the rusty block below.
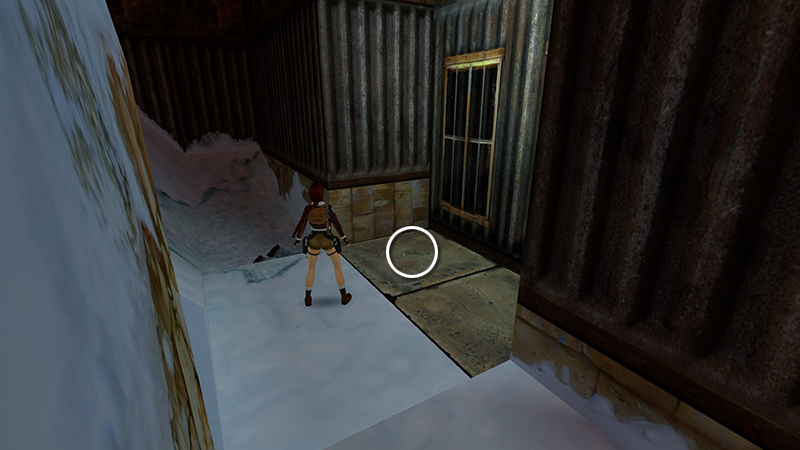
The thug you shot earlier isn't carrying any goodies, but there are 2 sets of Uzi clips (52-53) lying next to the window close to where he fell.
NOTE: If you didn't get them earlier, you'll receive the UZIS here instead of one set of clips.
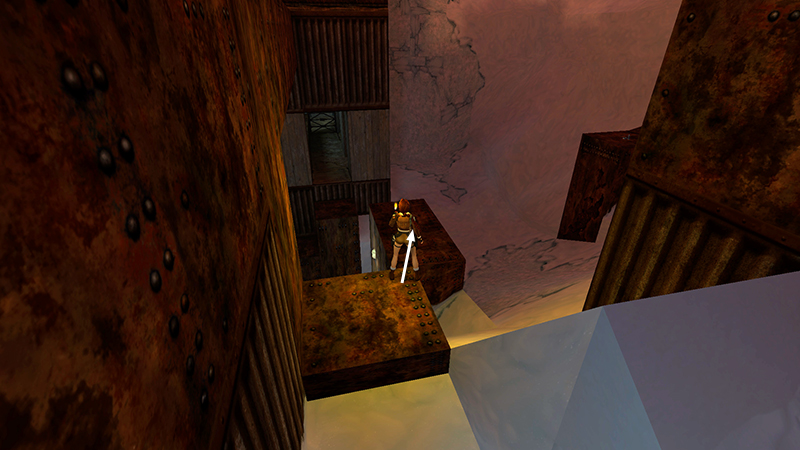
Now, return to the rusty block where you dropped down. Take a standing jump down to the tall, rectangular block ahead.
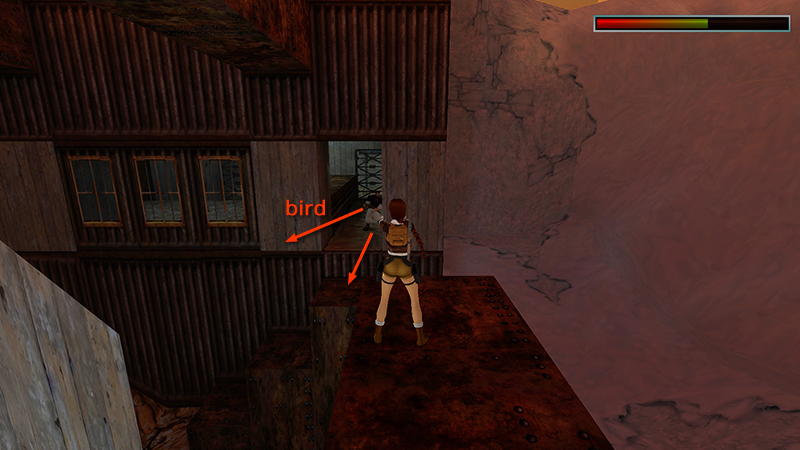
When Lara lands there, another guy with a club (43) and his crow sidekick (44) emerge from the building.
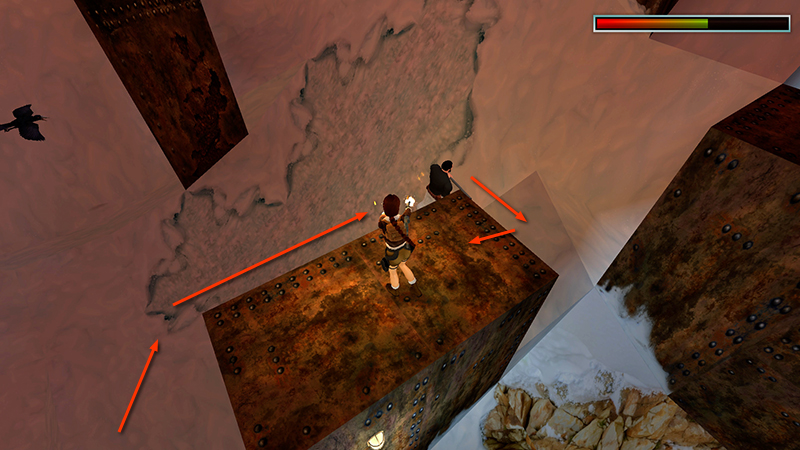
Get a pistol lock on the man and take him out as he approaches. Then deal with the bird.
NOTE: If you don't care about getting all the kills, you can avoid the man and bird by dropping down onto the snow instead of landing on top of the tall, rusty block.
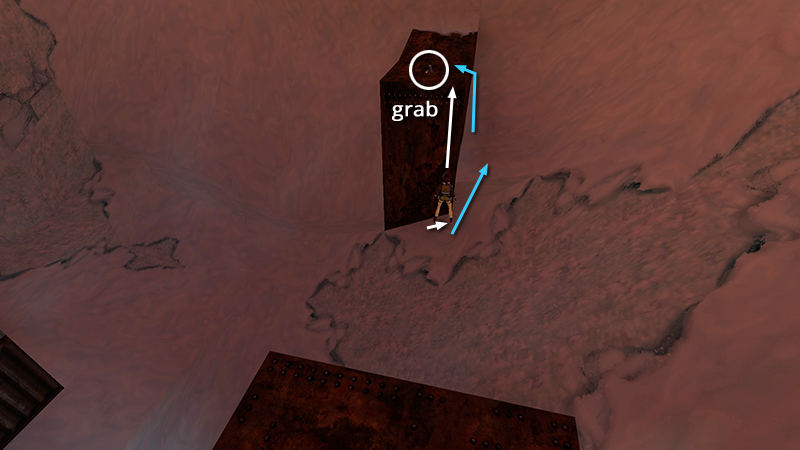
There are clips for the automatics (54) on the rusty pillar off to the right. Cross the snow and walk up the slope in front of the pillar. Stand close to it and sidestep to the right as far as you can. Then press Action + Up (don't press Jump) to pull up onto the block and retrieve the ammo. (Or jump up onto the snowy ledge to the right of the column and climb up from there.)
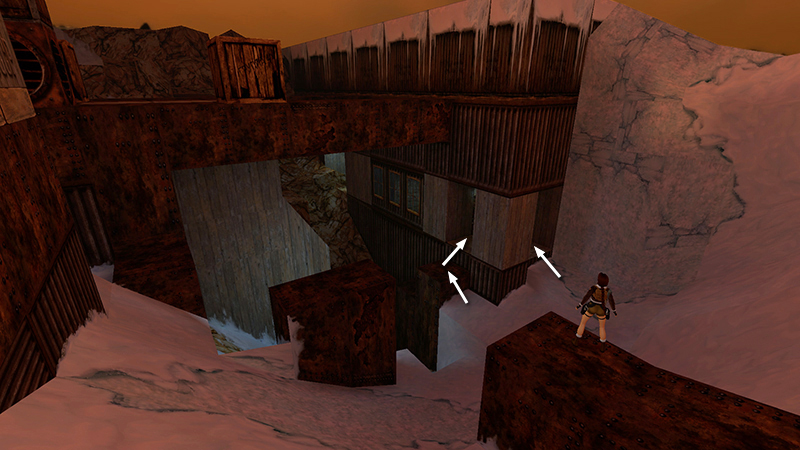
When you're ready to go, drop down and head for the building where the guy and bird came from. Save the game before going inside.
DARK MODE: I plan to add optional dark mode for these pages, but my current priority is updating the walkthroughs. Meanwhile, may I suggest a reputable dark mode browser extension, such as Dark Reader? (Download only from trusted sites, like darkreader.org or your browser's official add-on/extension site.)
Walkthrough text and diagrams copyright © Stellalune (email ). Feel free to copy or print this walkthrough for personal use. By all means, share it with friends, but please include this credit line so people can send me their feedback. No part of this walkthrough may be reproduced on another site without permission.